
Picked up a bag on donated fabric to complete a quilt for the Linus Project. It introduced the Flip & Sew method which I have never tried before. I read the directions- but I’m the kind of person that also needs pictures. I was lucky enough to find some videos online.

Since I couldn’t find any step- by step directions with pictures I decided to blog my steps. It’s also a new challenge for me and something new to try.
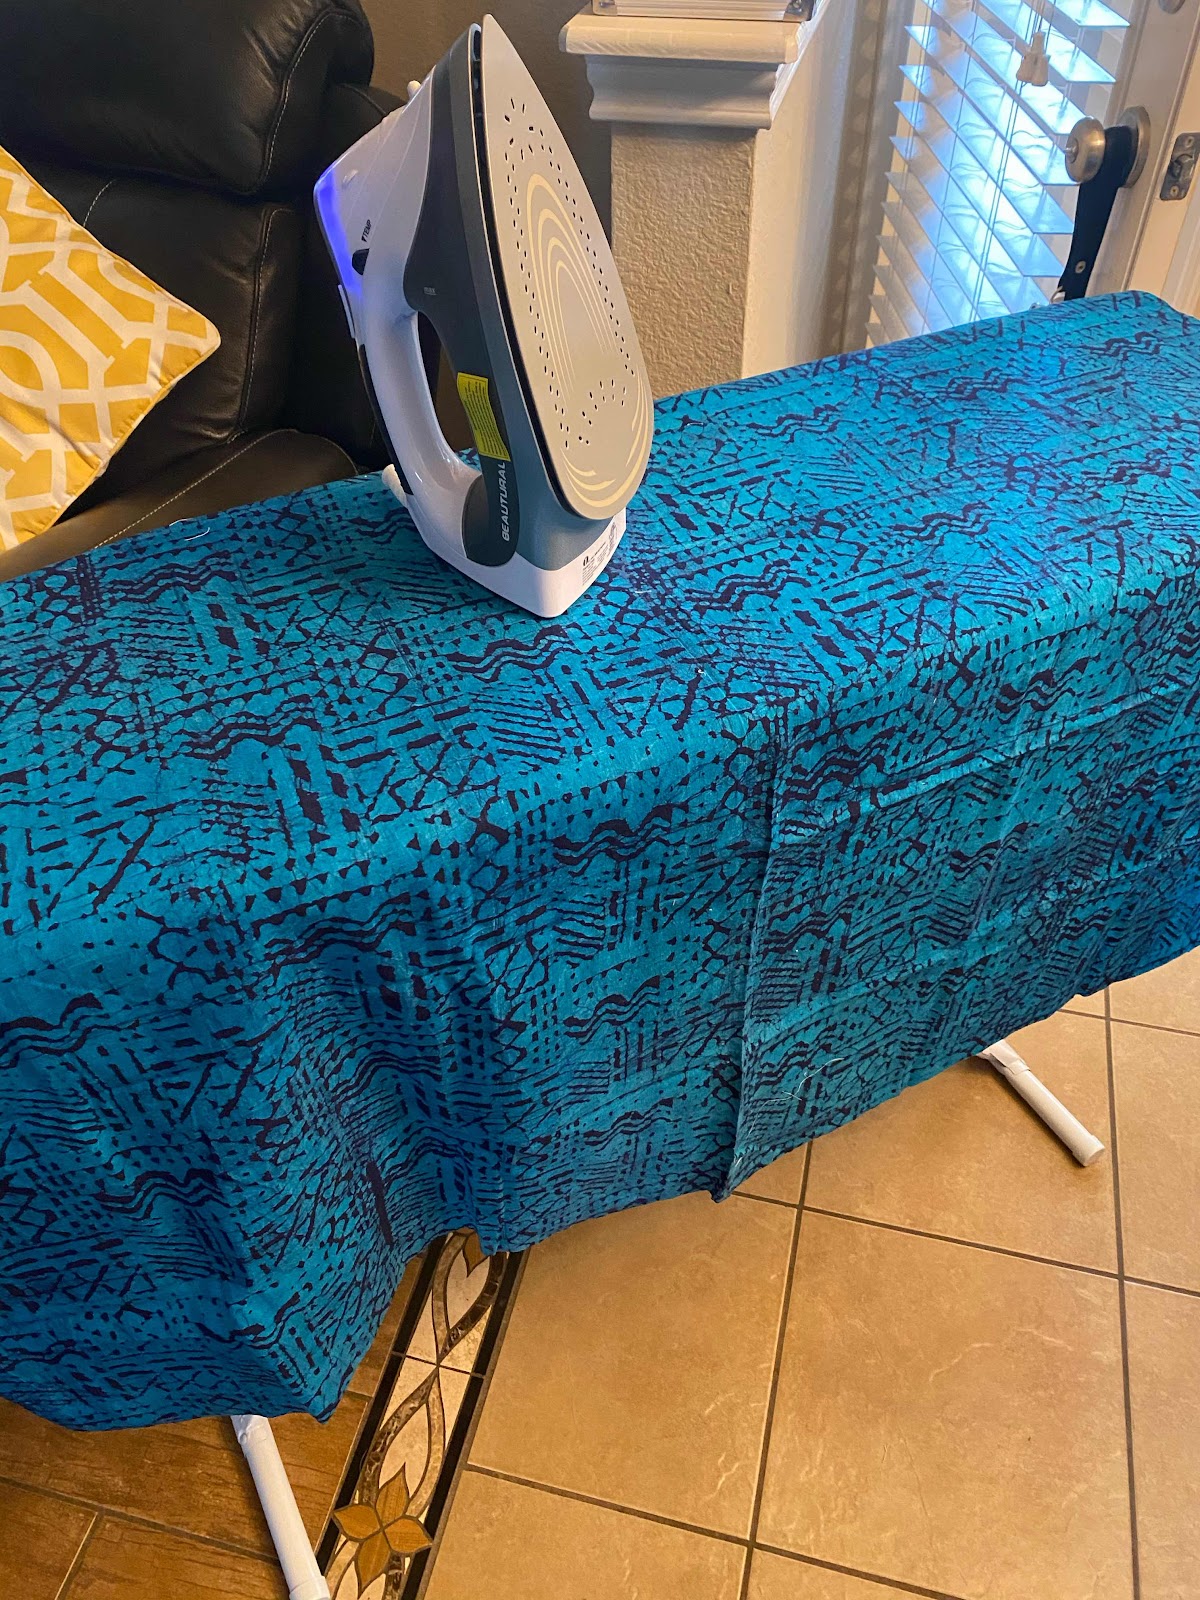
First I had to iron the fabric that came in the bag.
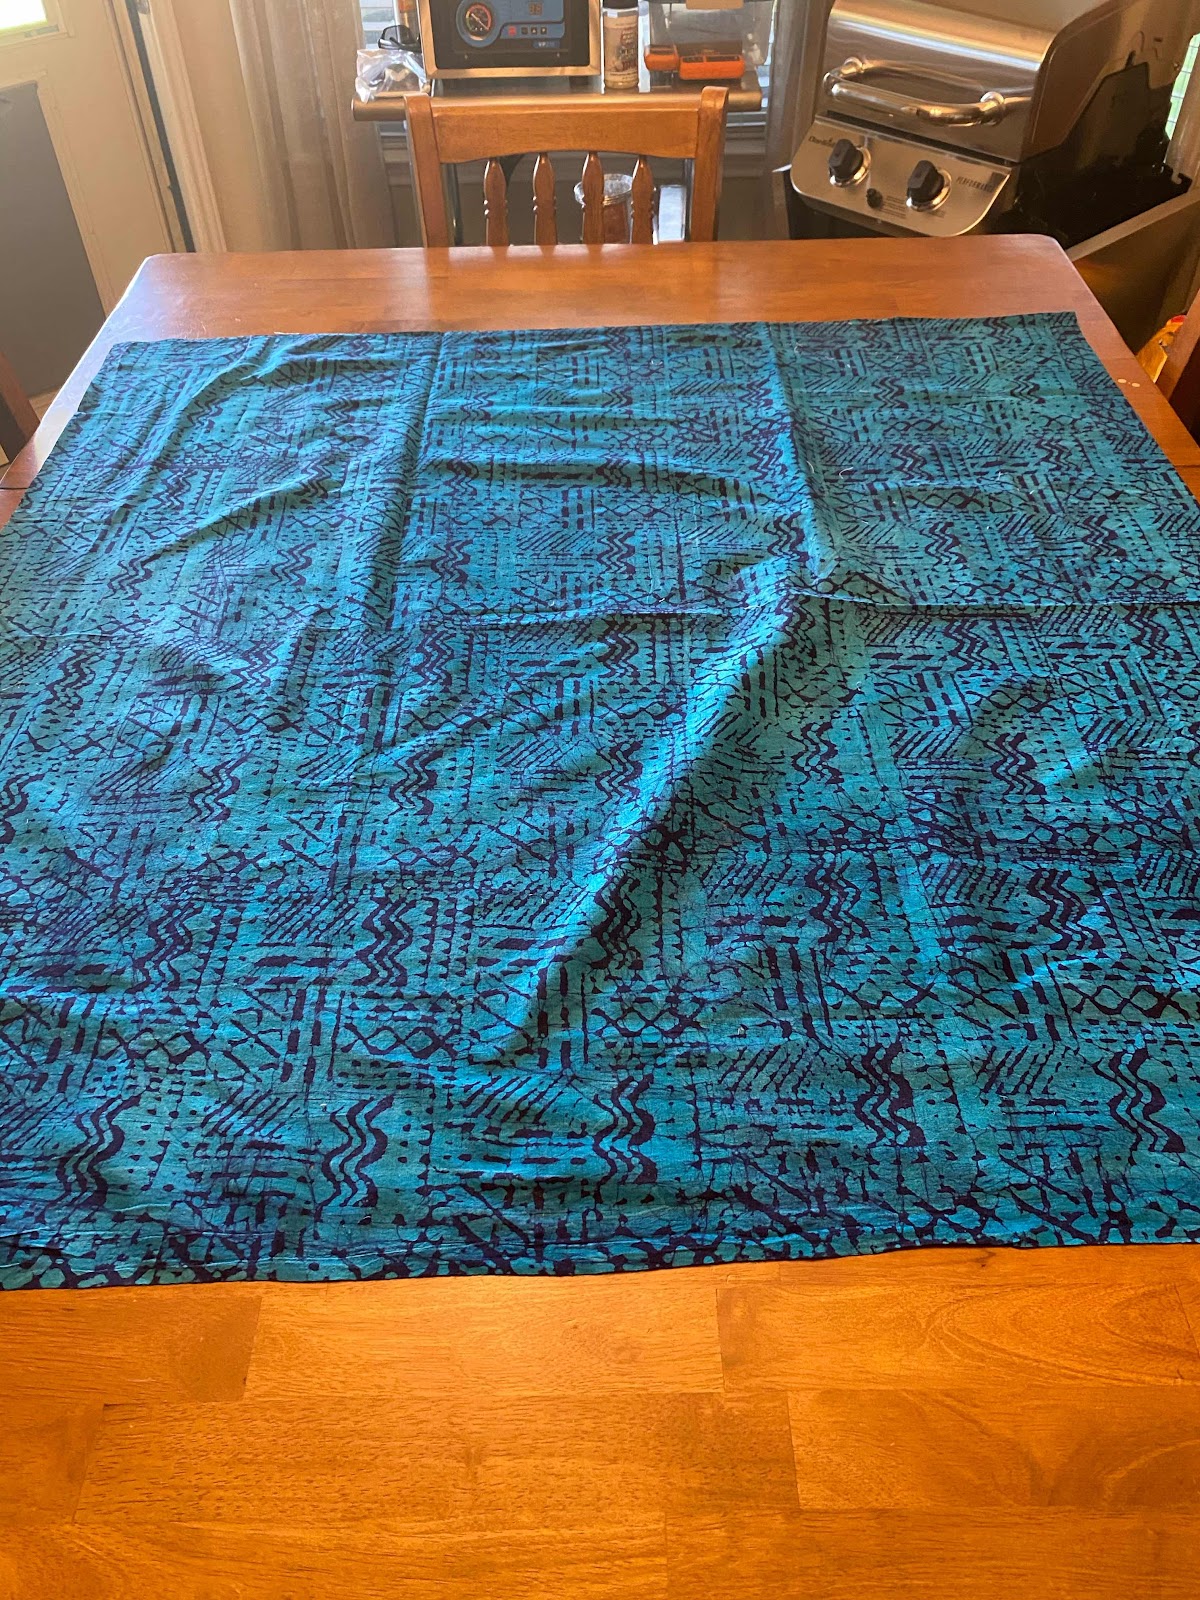
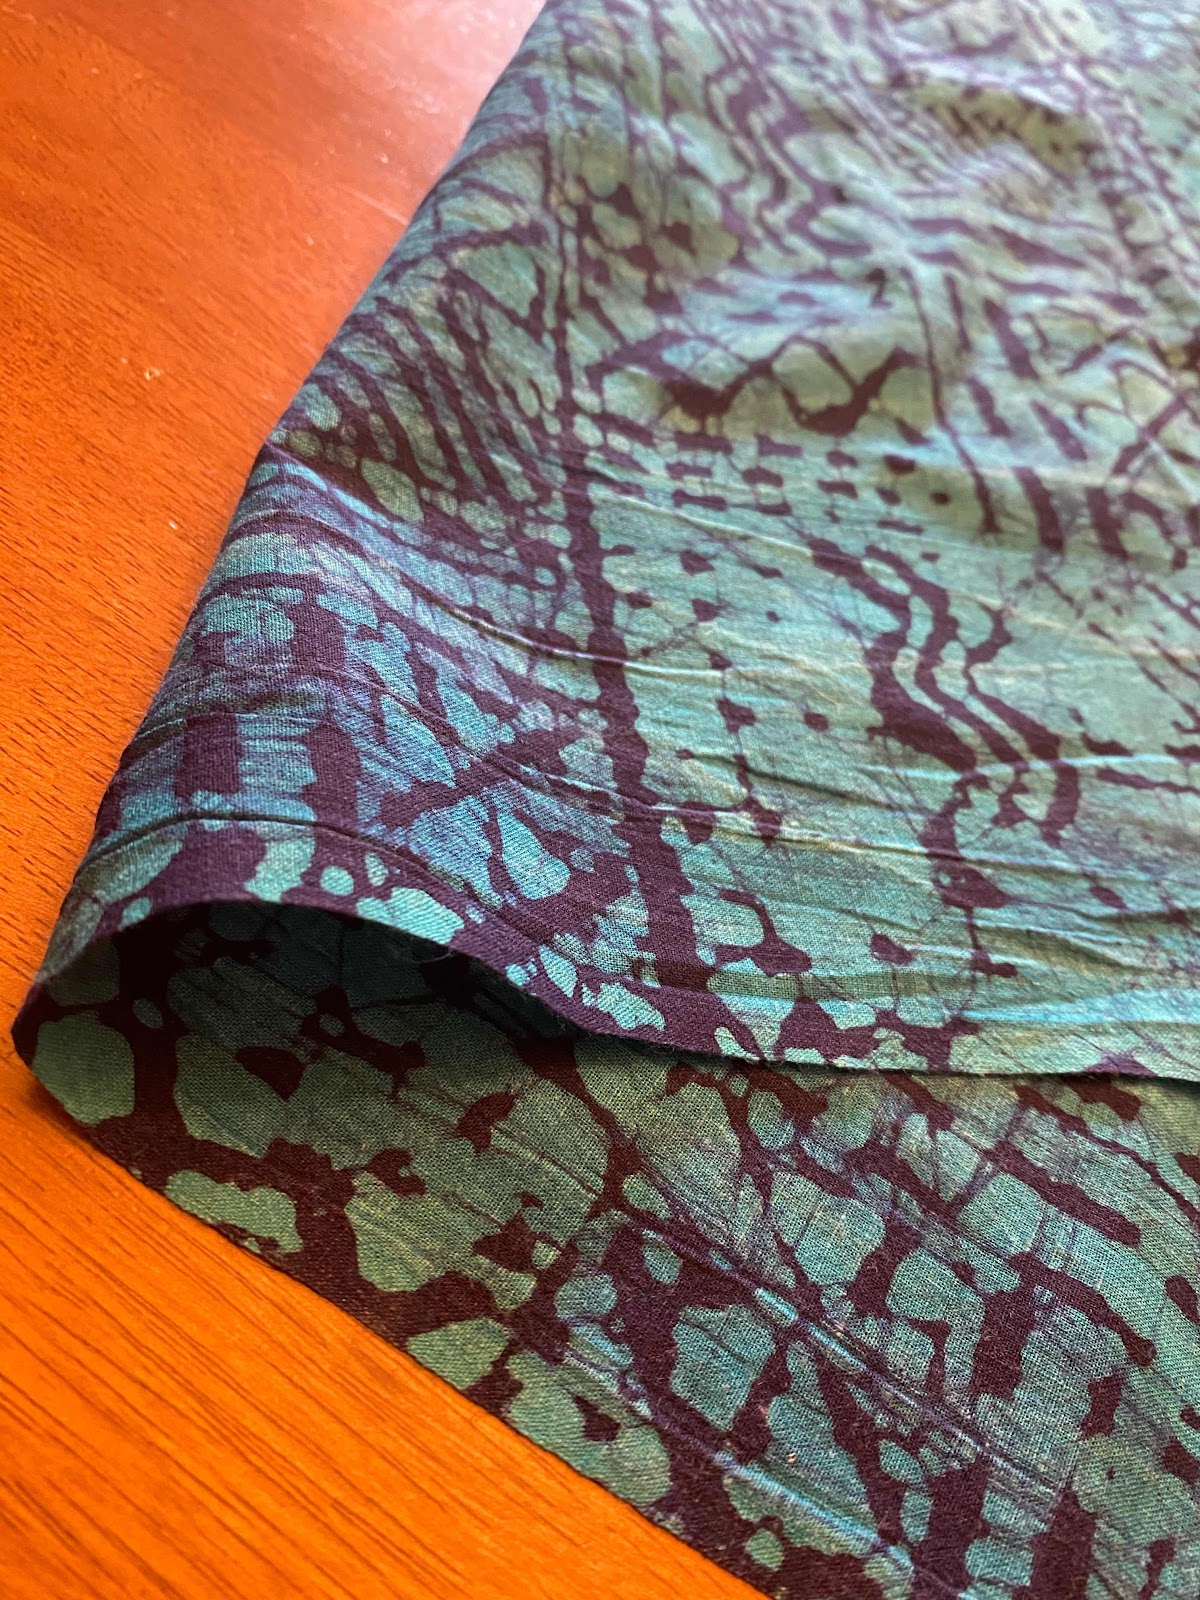
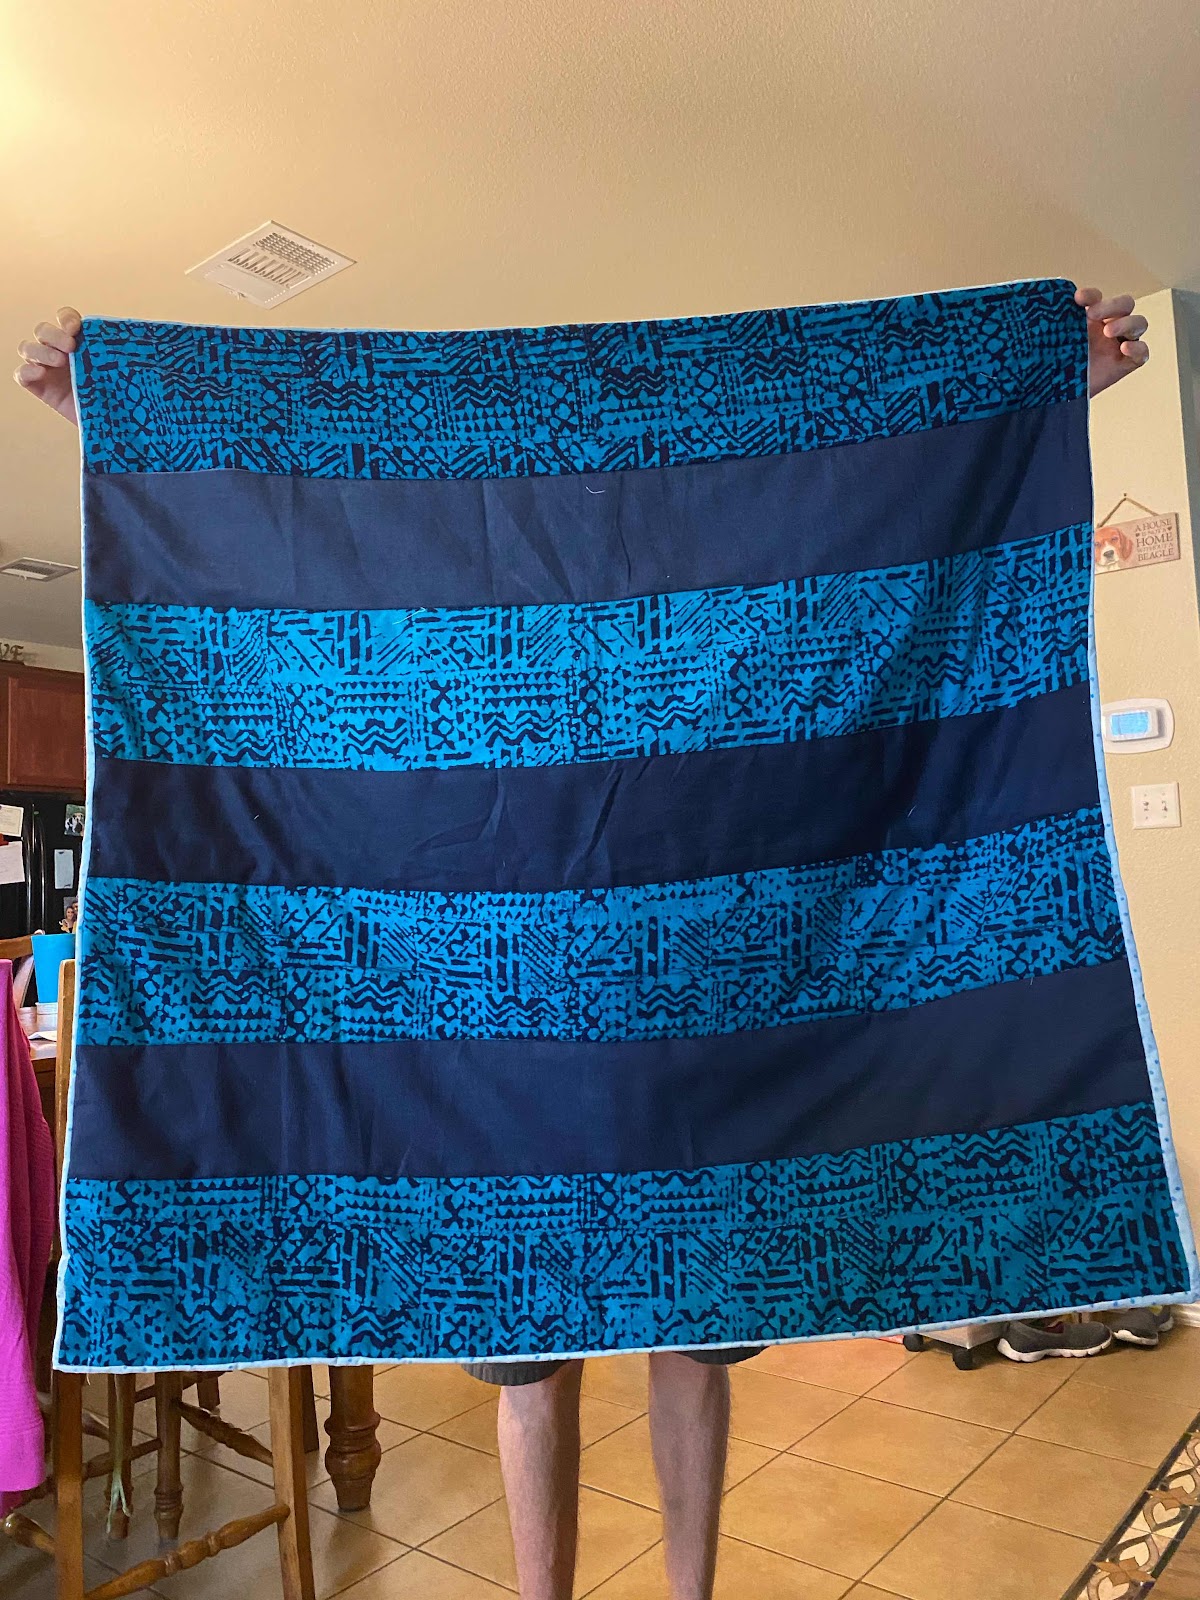
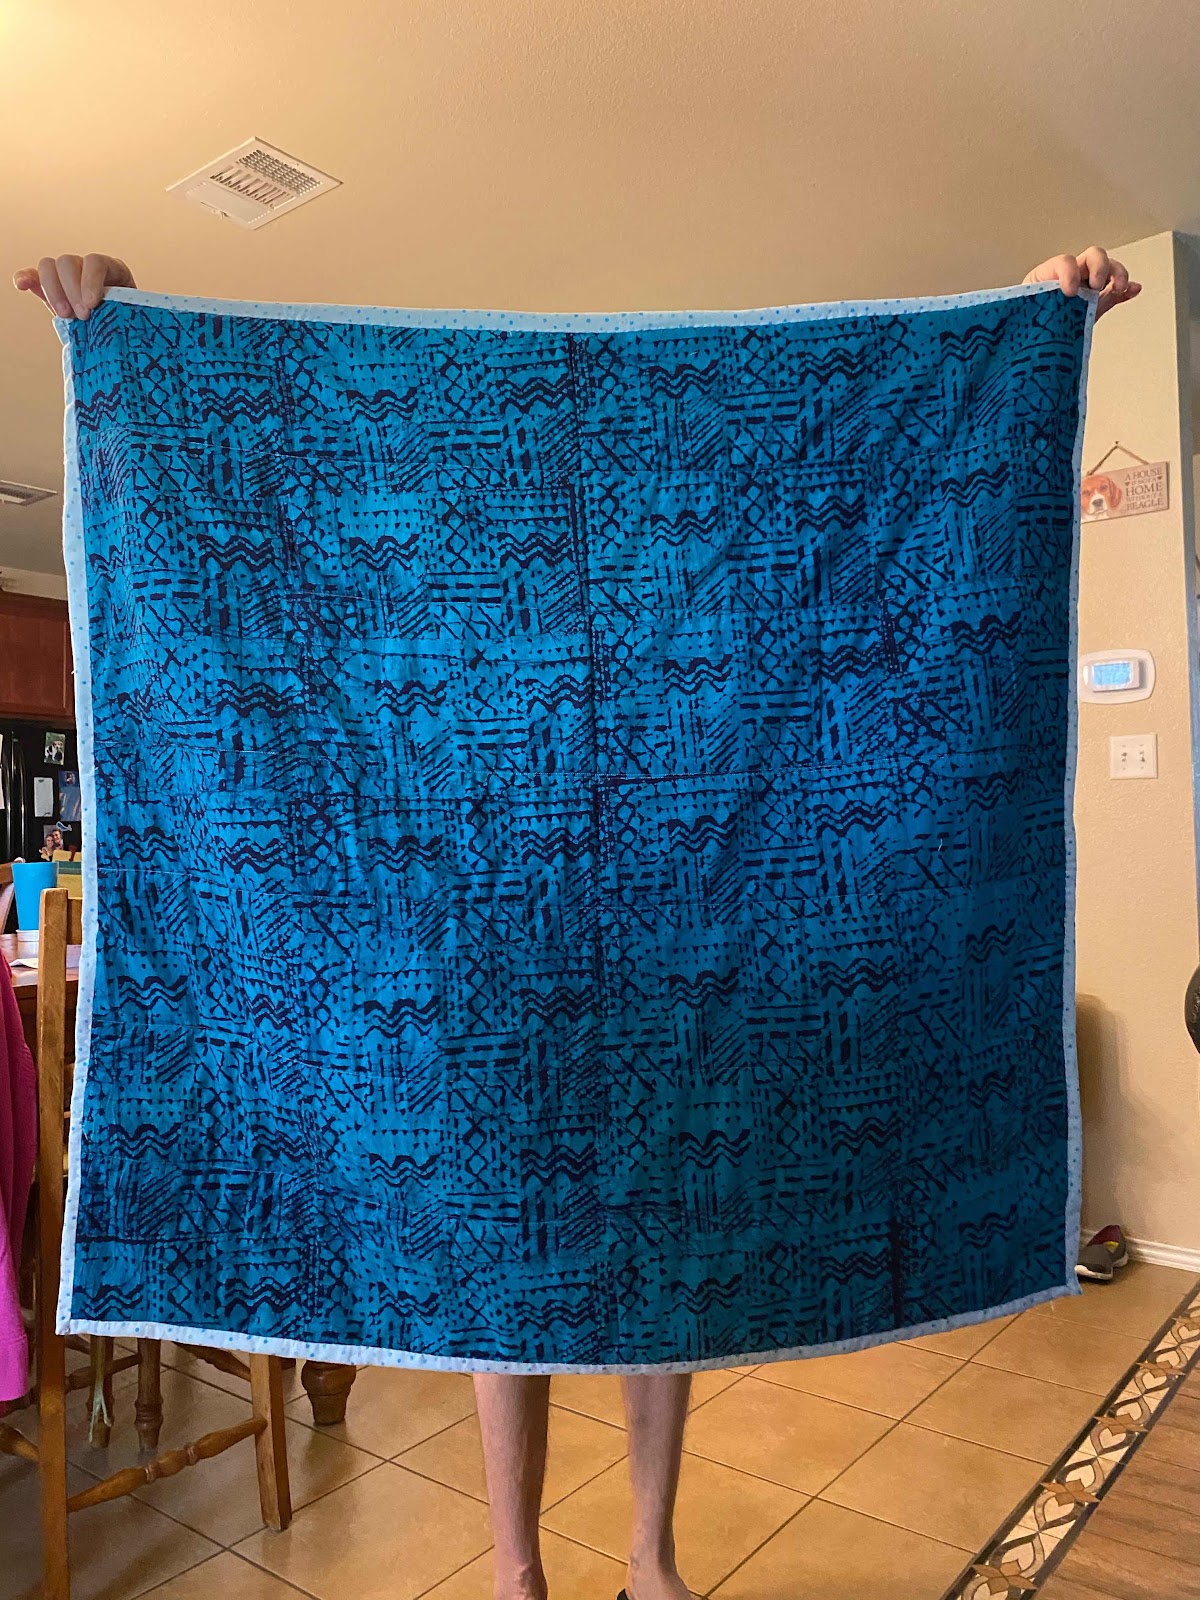
Pictured is the back panel, can’t really tell which is the right side or wrong side- so I’m just going to pick a random side to start with.
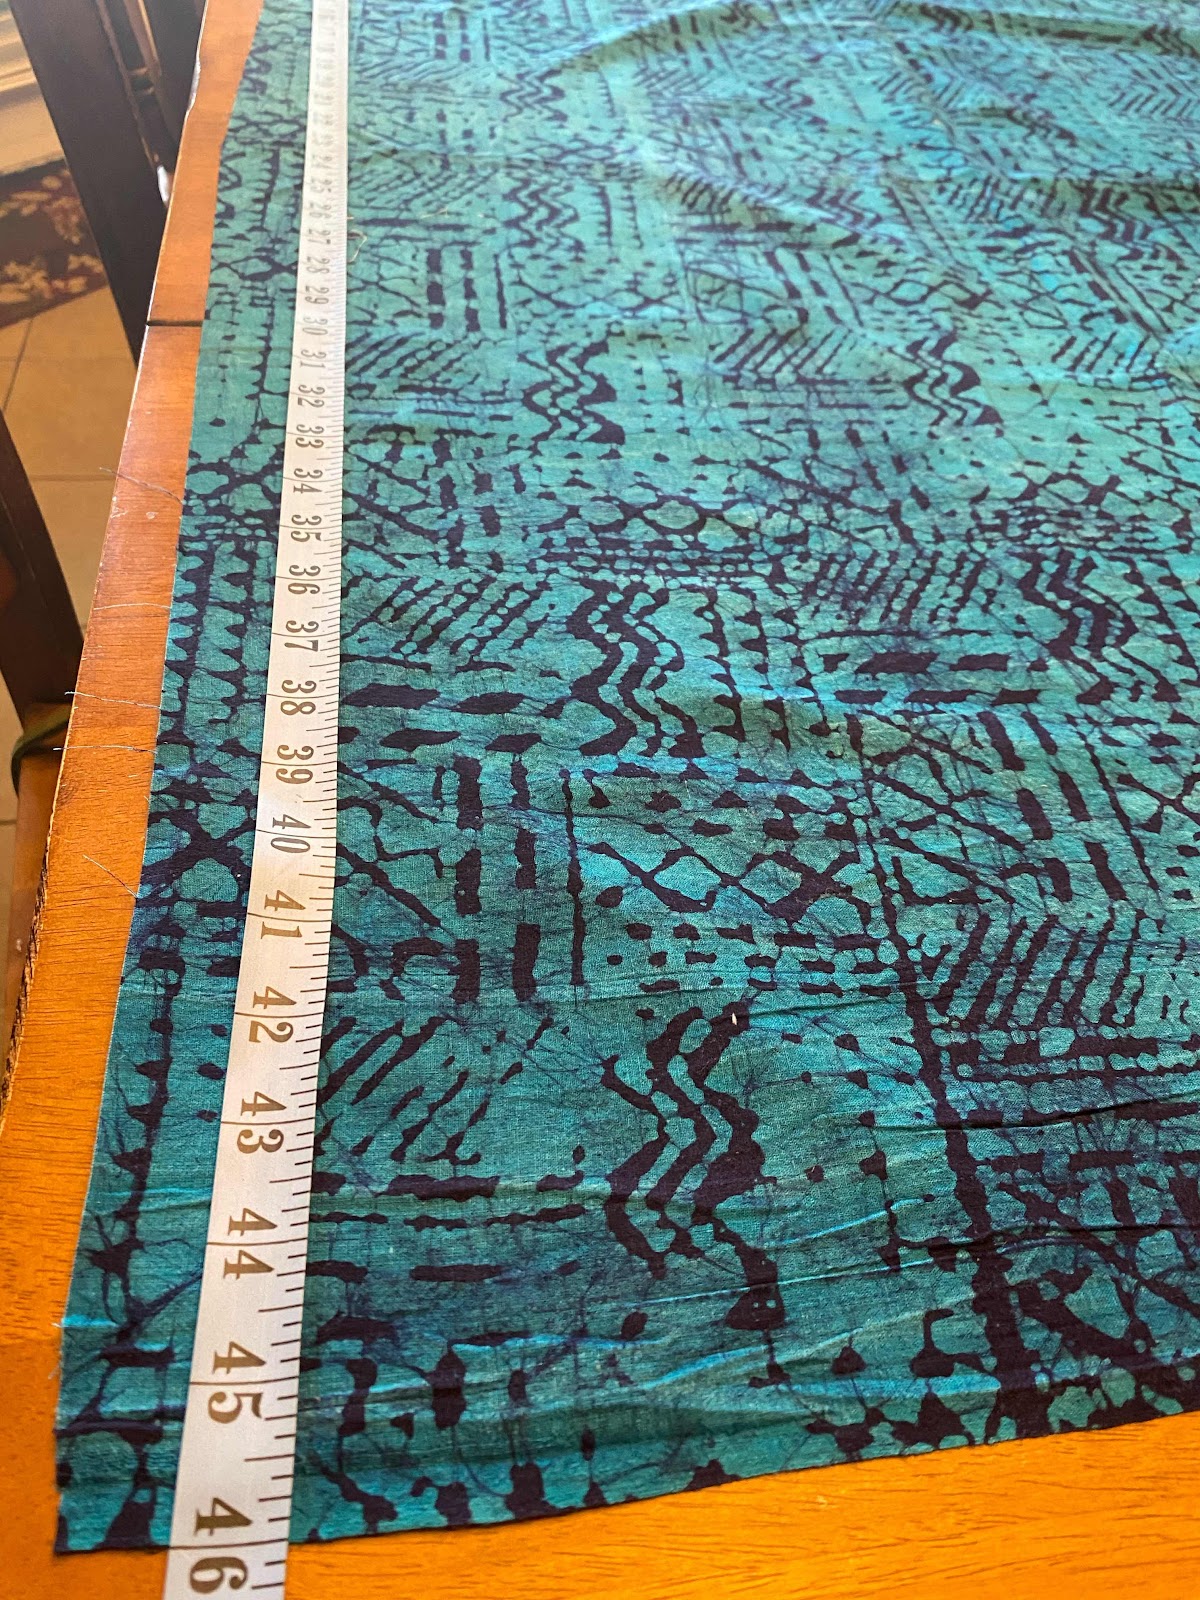
I measured the back panel and it was a perfect 46” square.
Then I looked through my fabric scraps in the closet and found some batting. I cut the batting slightly larger than the panel.

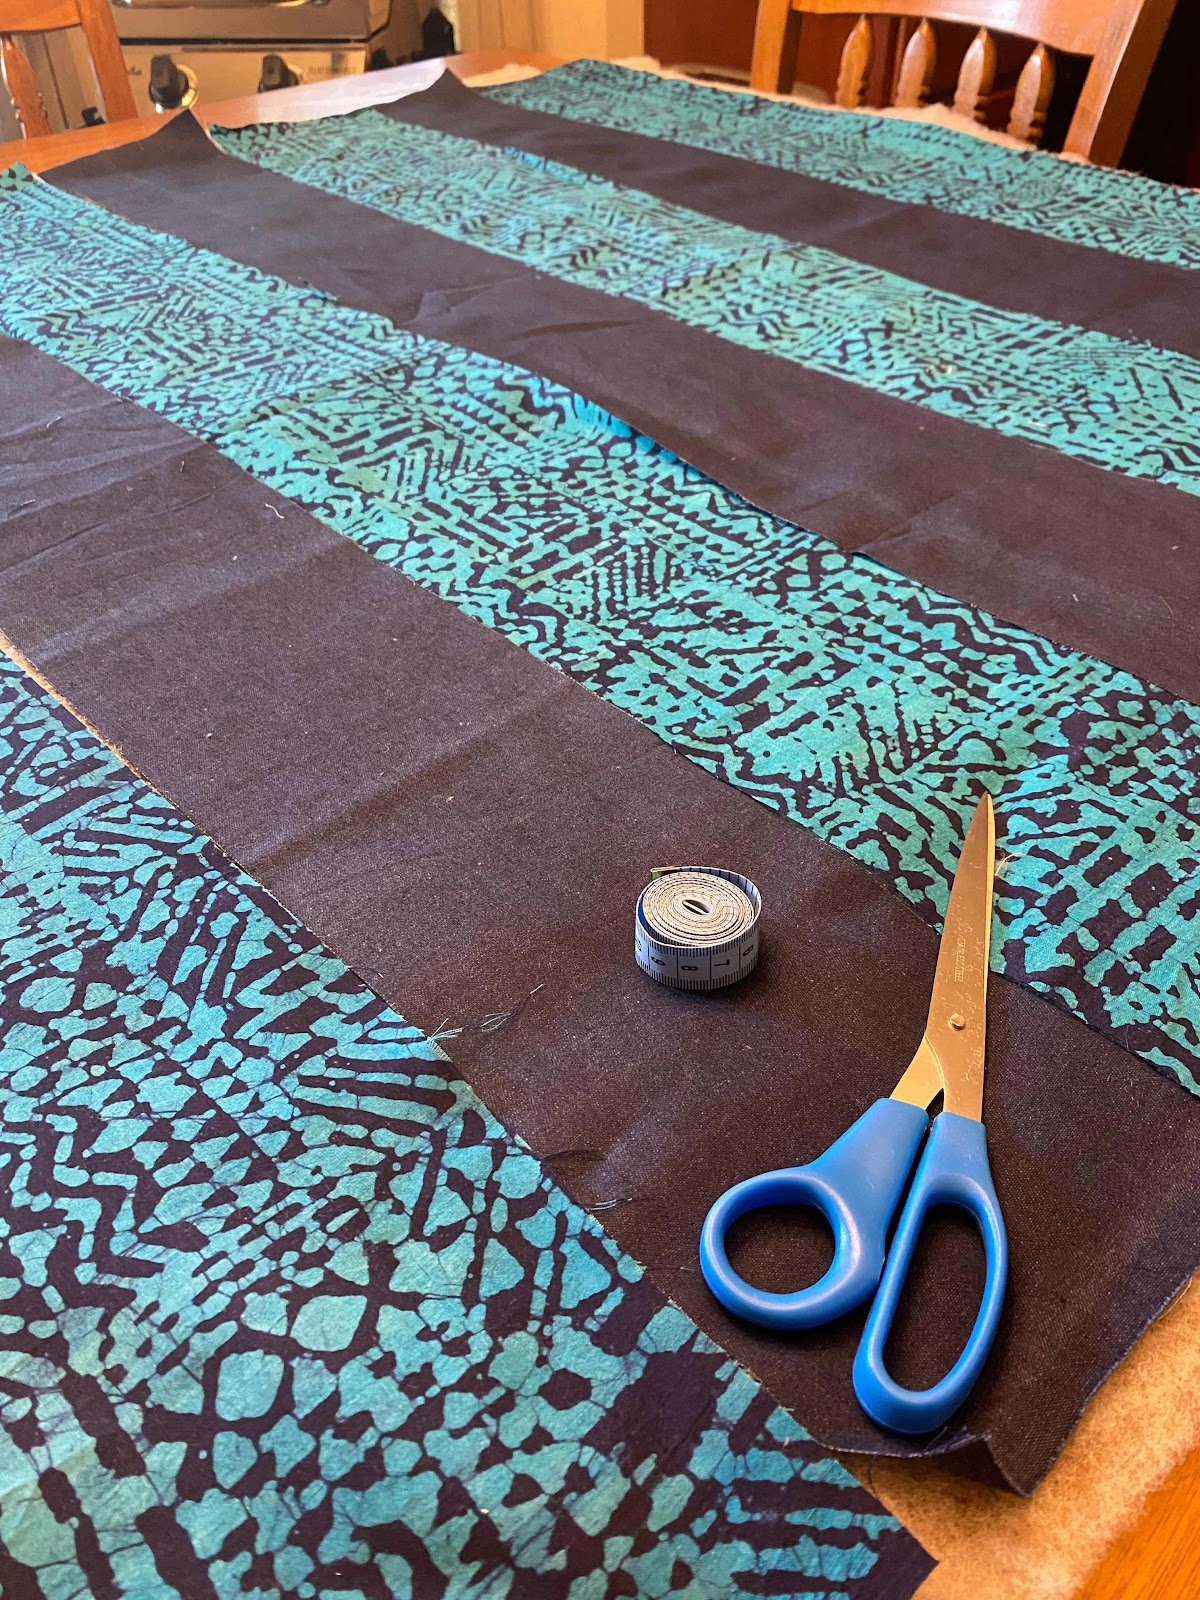
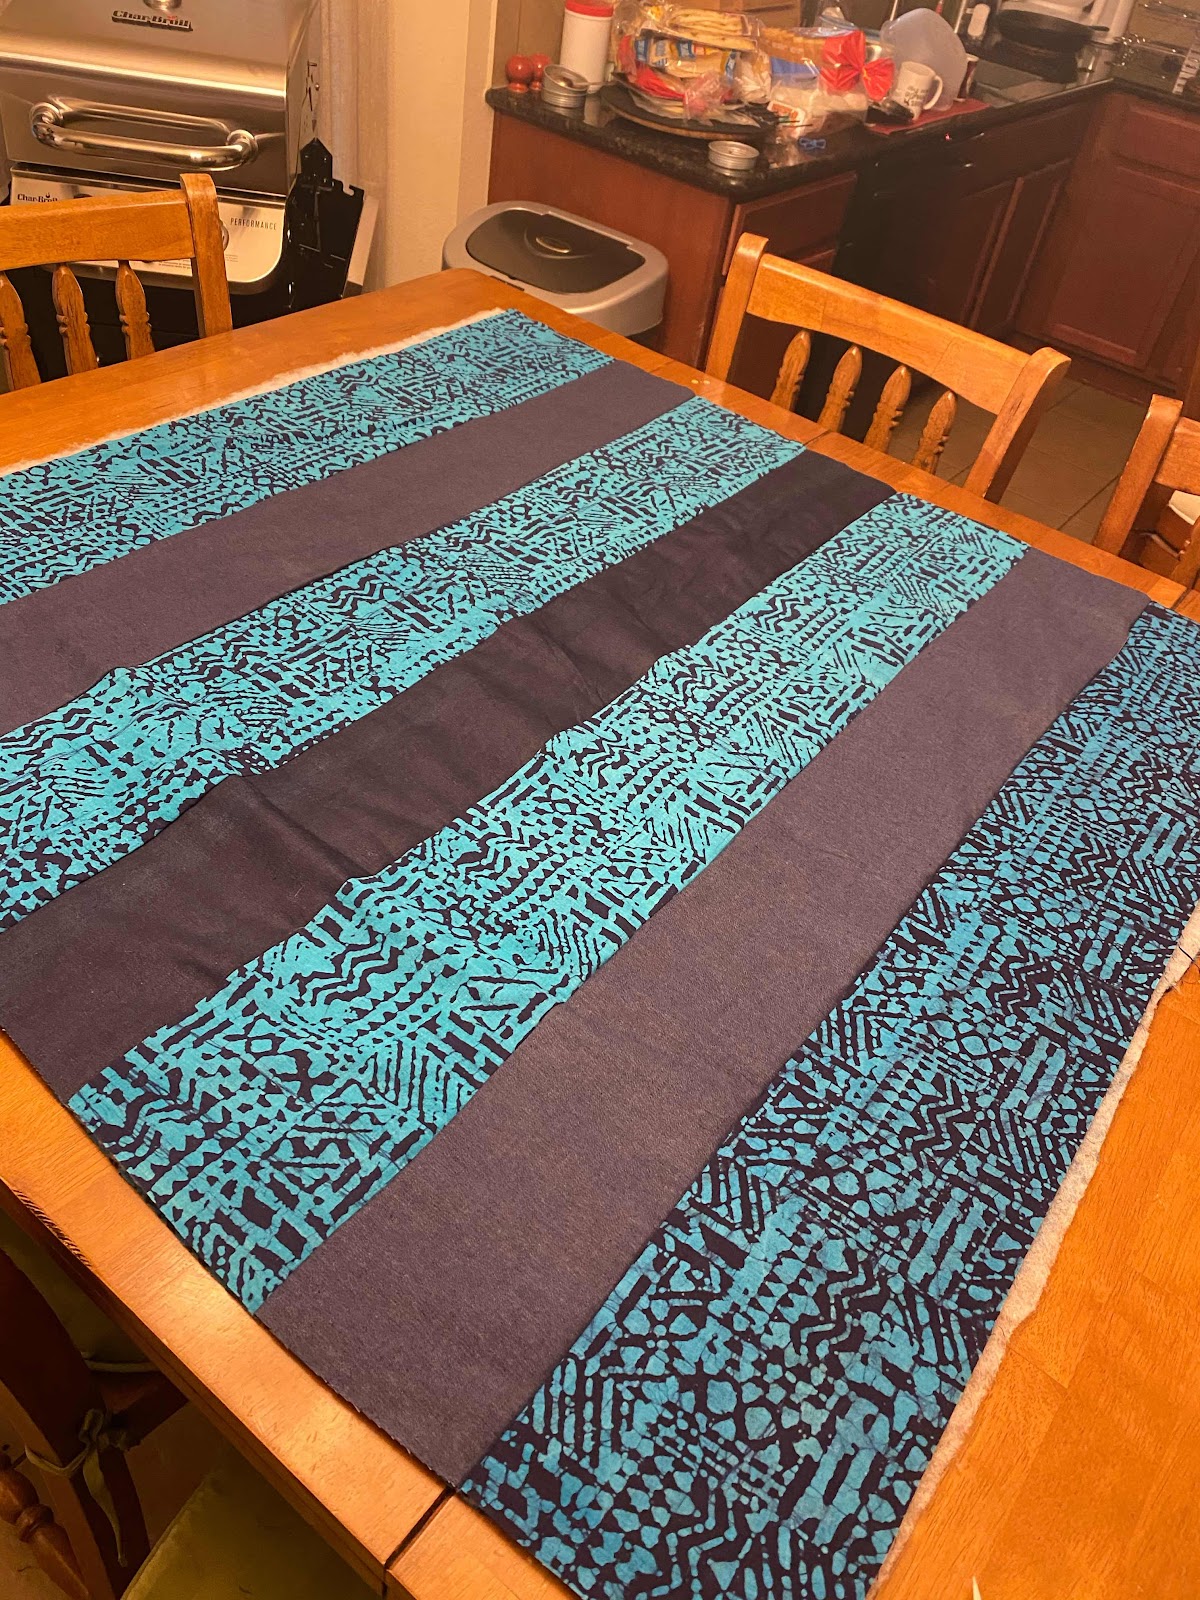
Seven strips of 7” x 46” strips for the front panel.
Start in the middle and move to the right. It was recommended to use a walking food- but I don’t have one of those yet. So for now I will just use what I have.

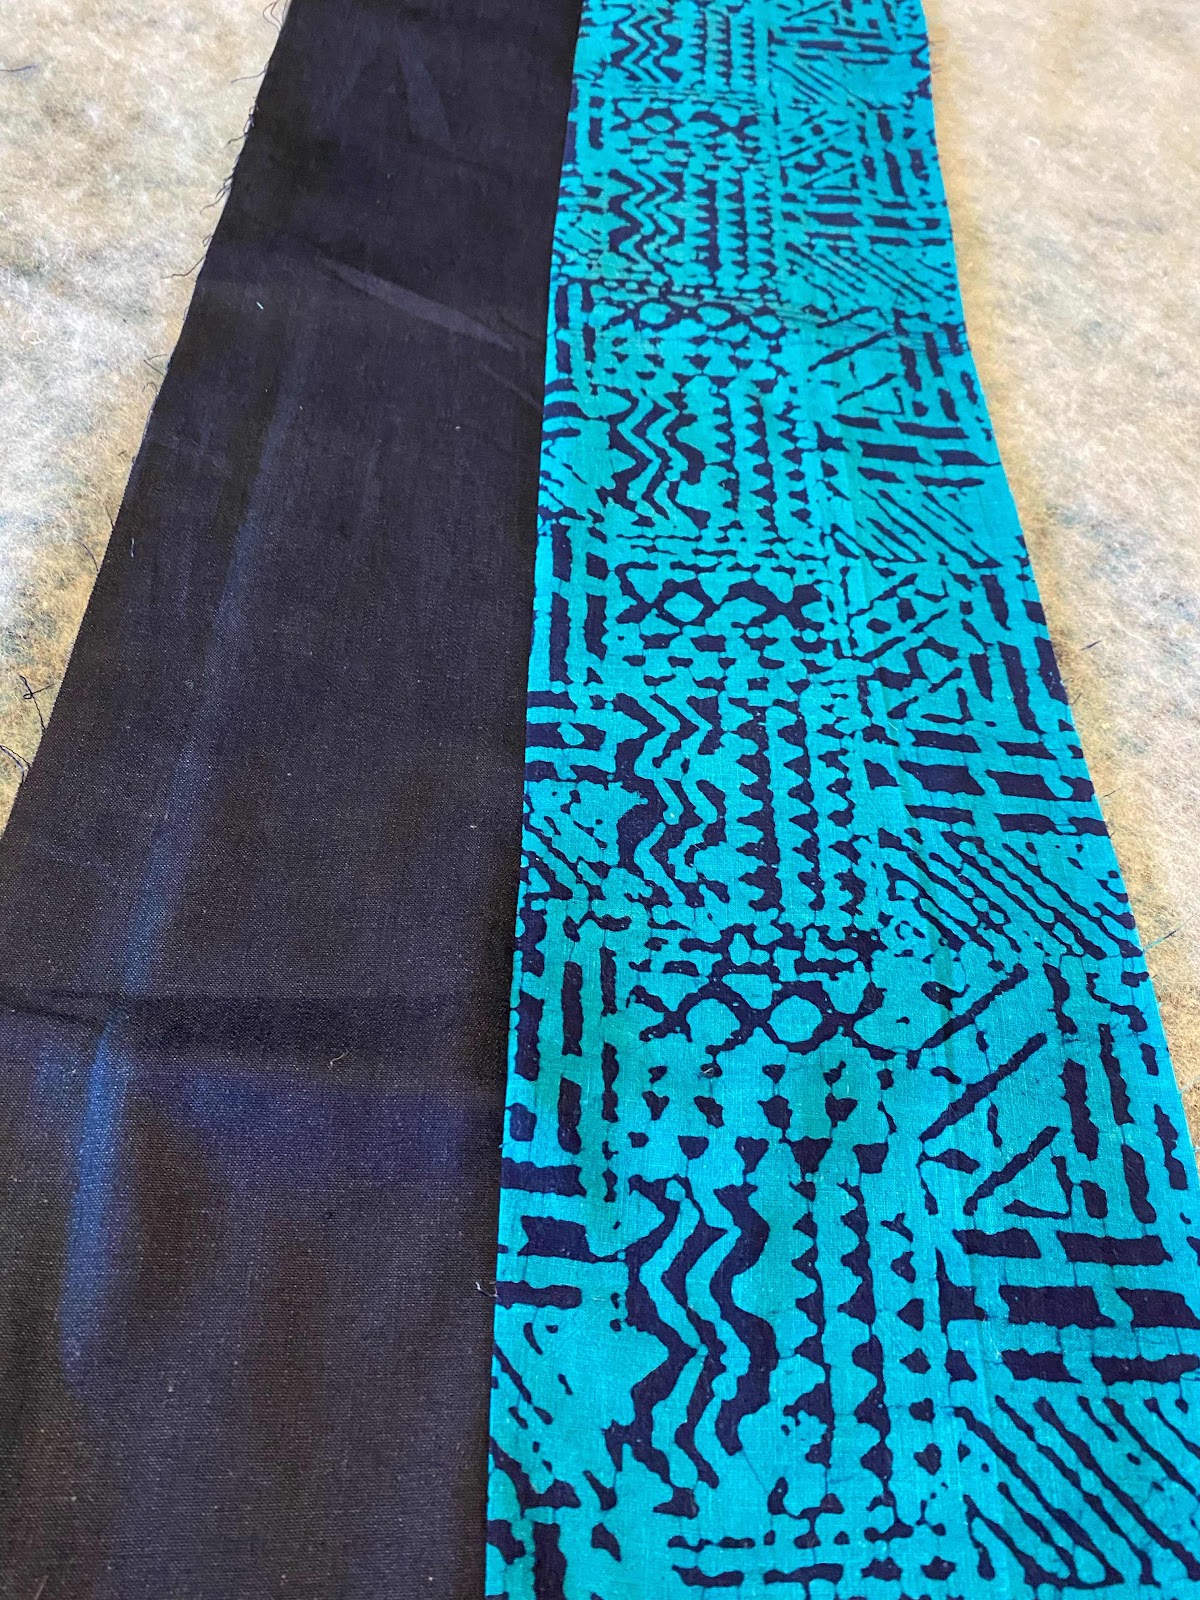
Pin and repeat on other side.

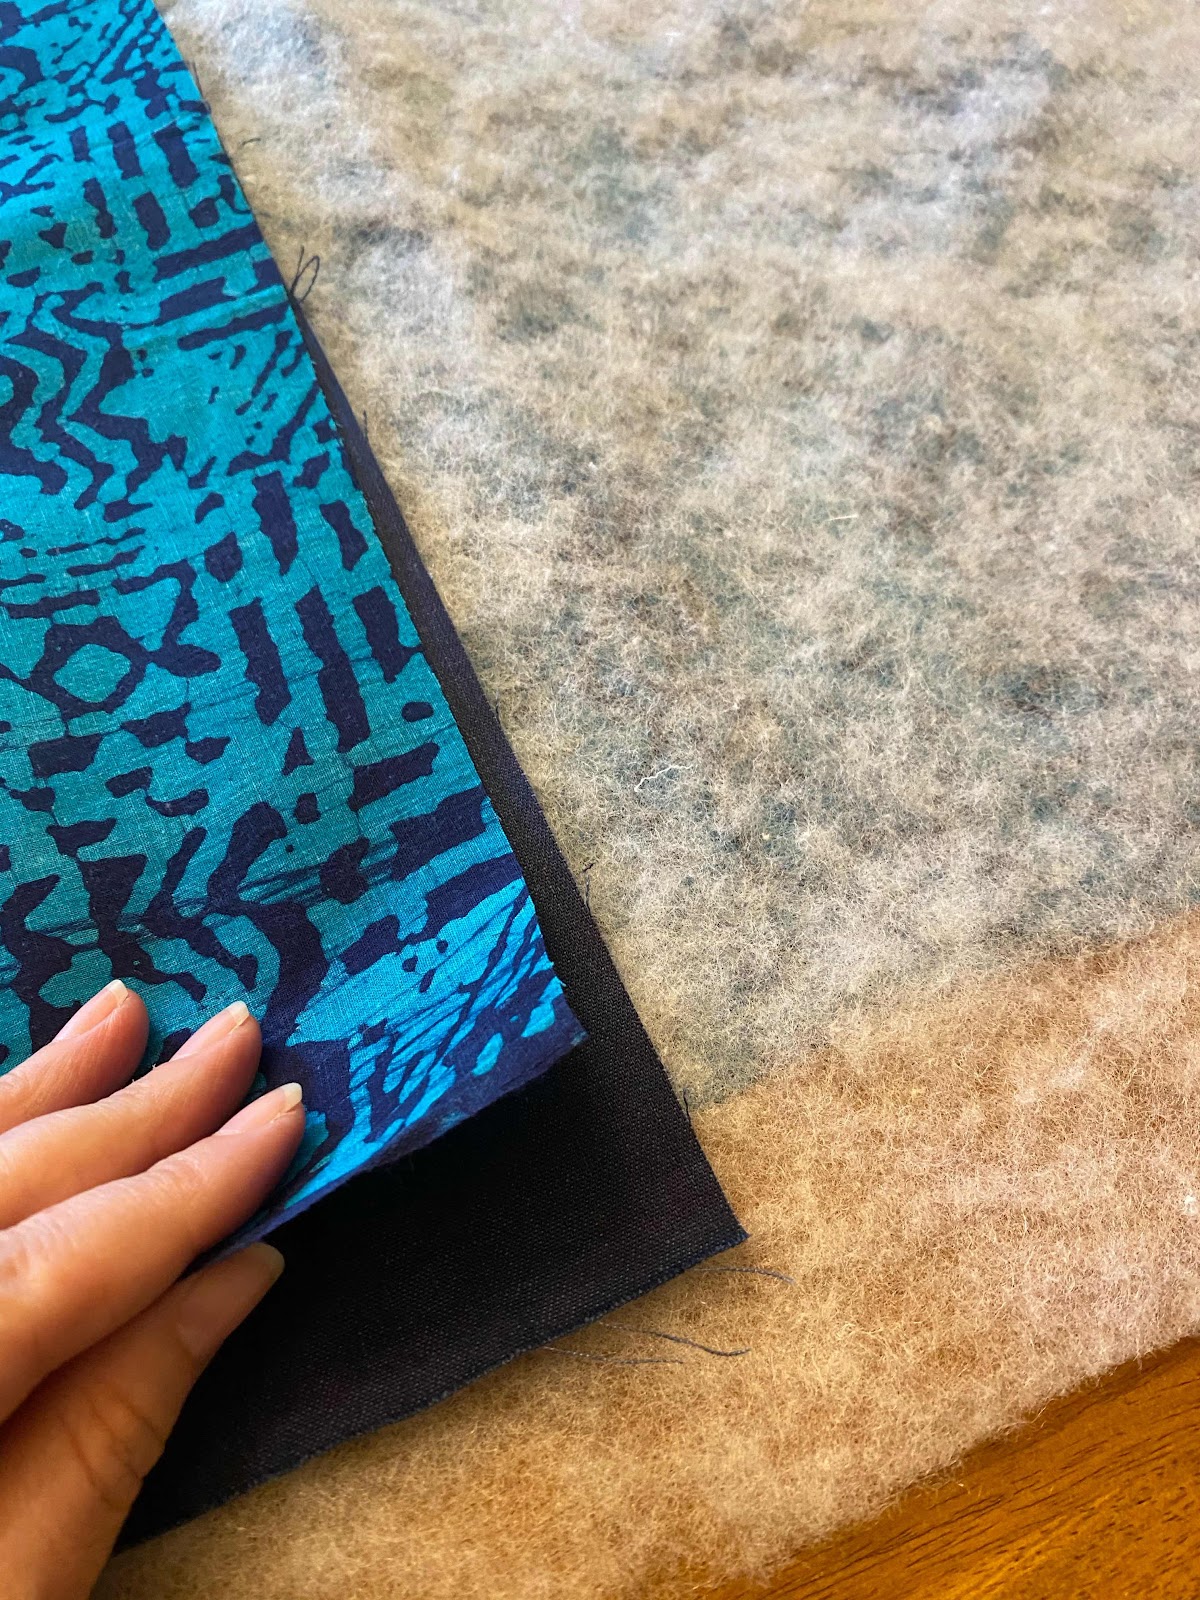
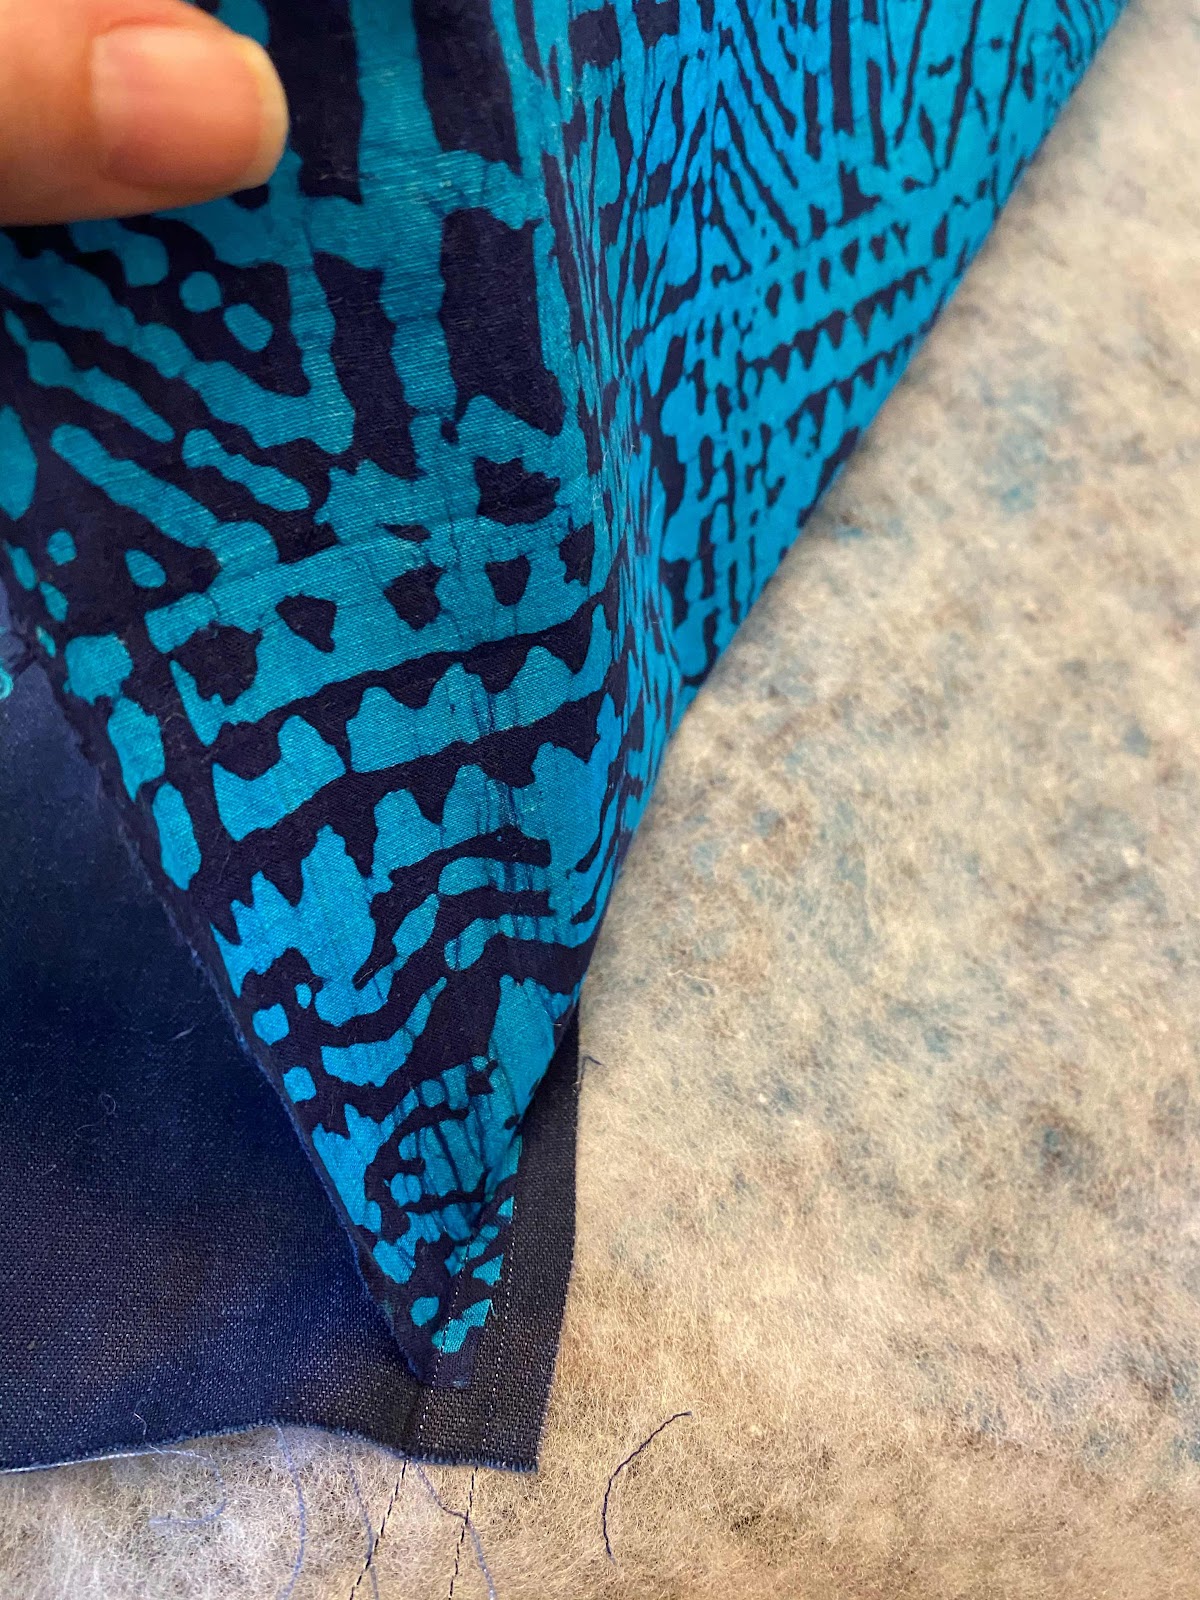
I clipped the sides to help it stay together while sewing.

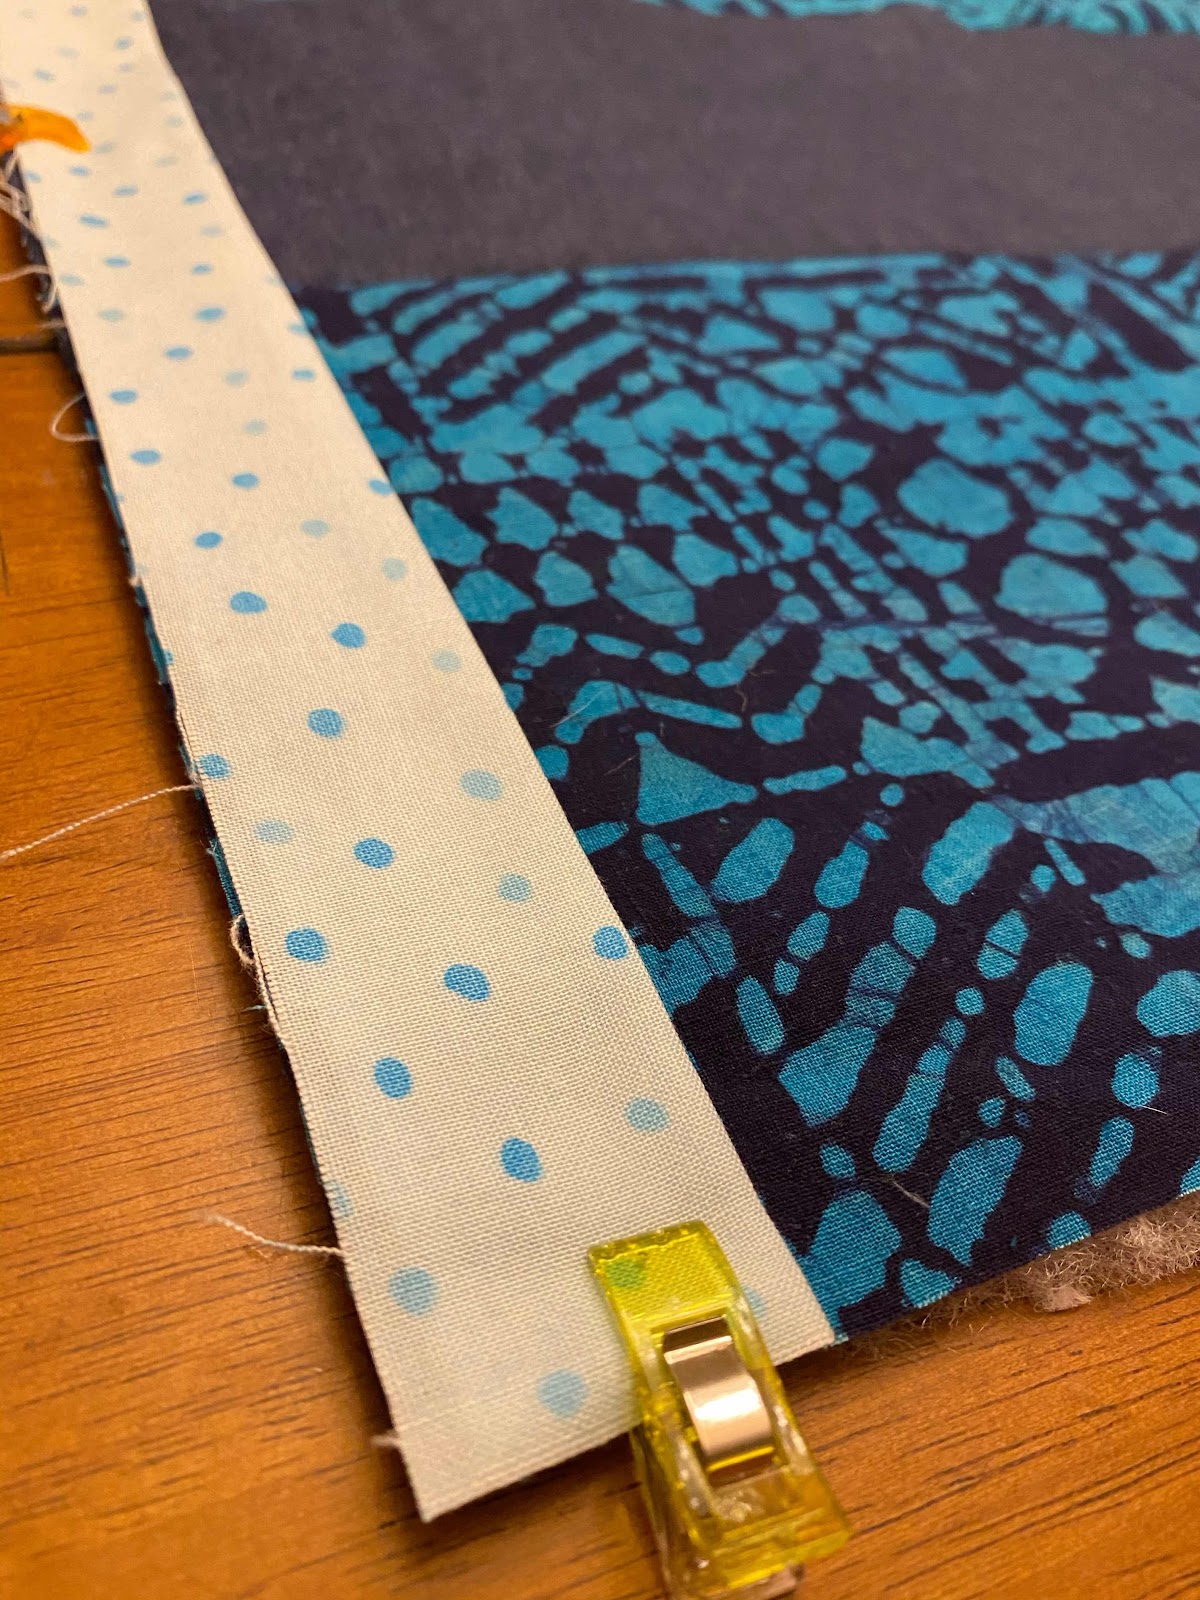
After adding all the strips, square fabric and prepare binding.
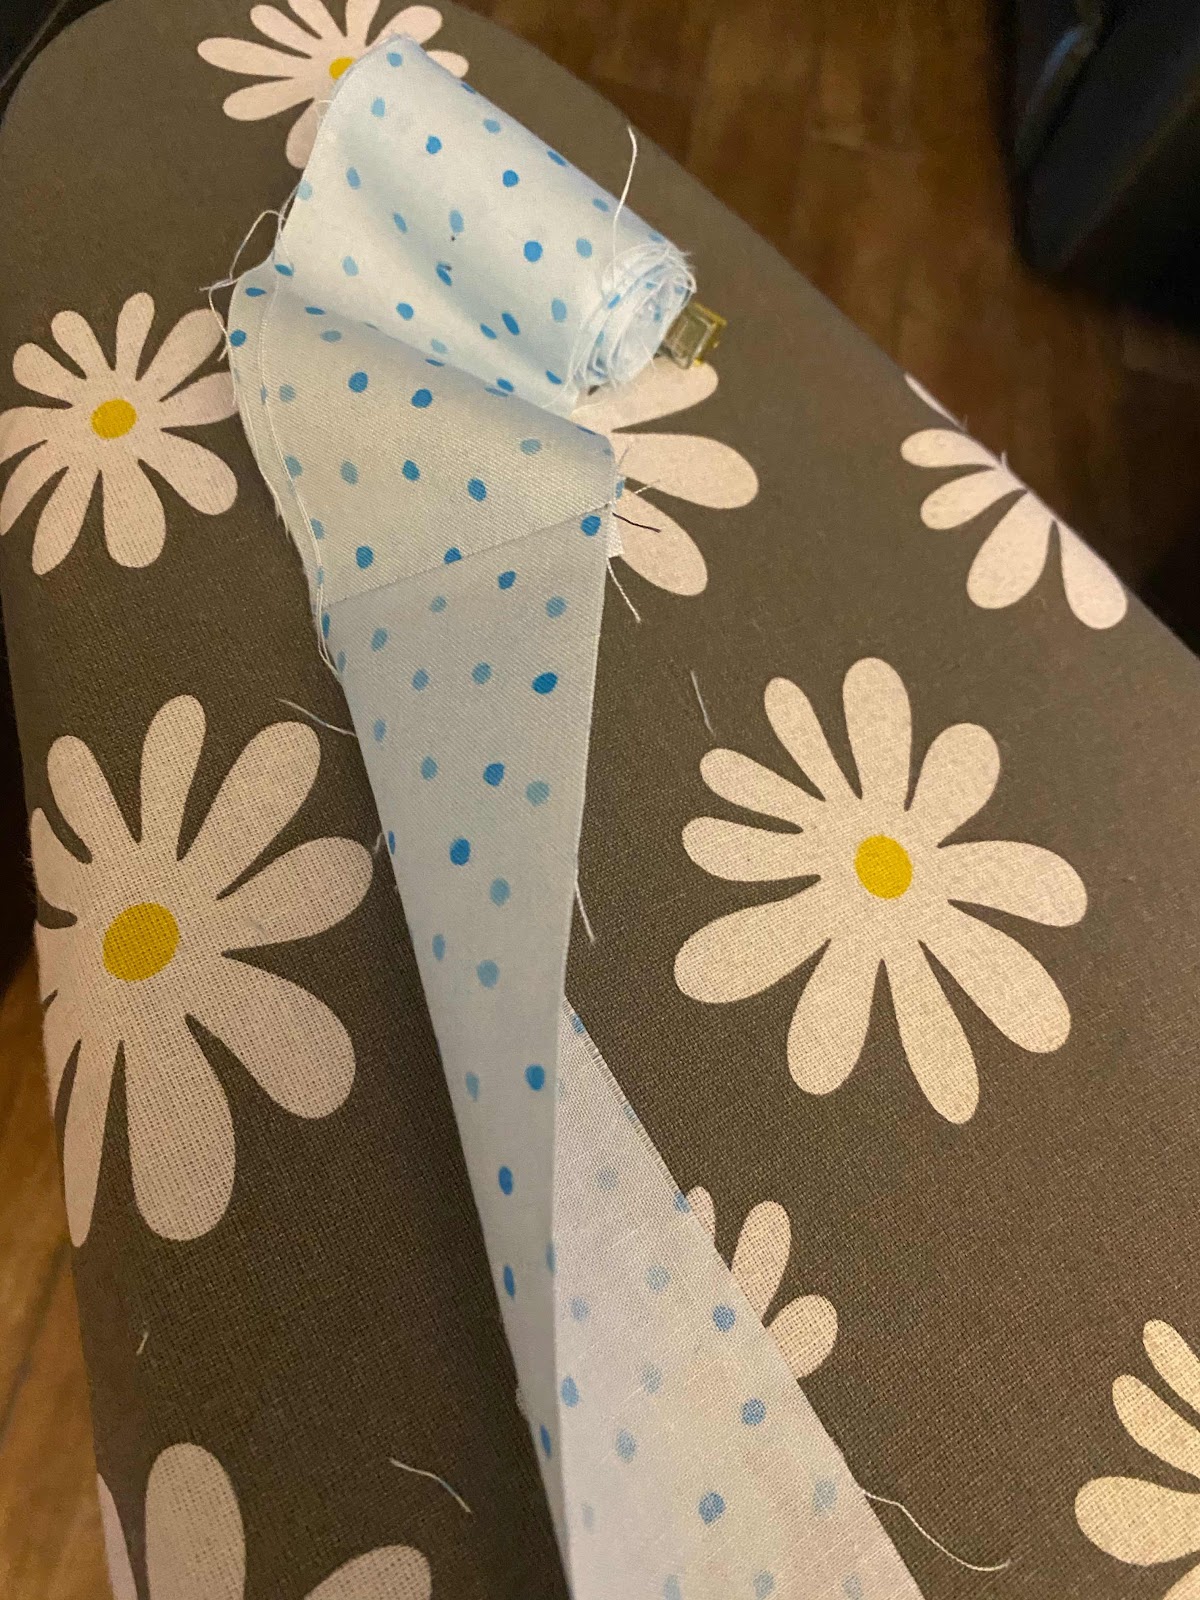
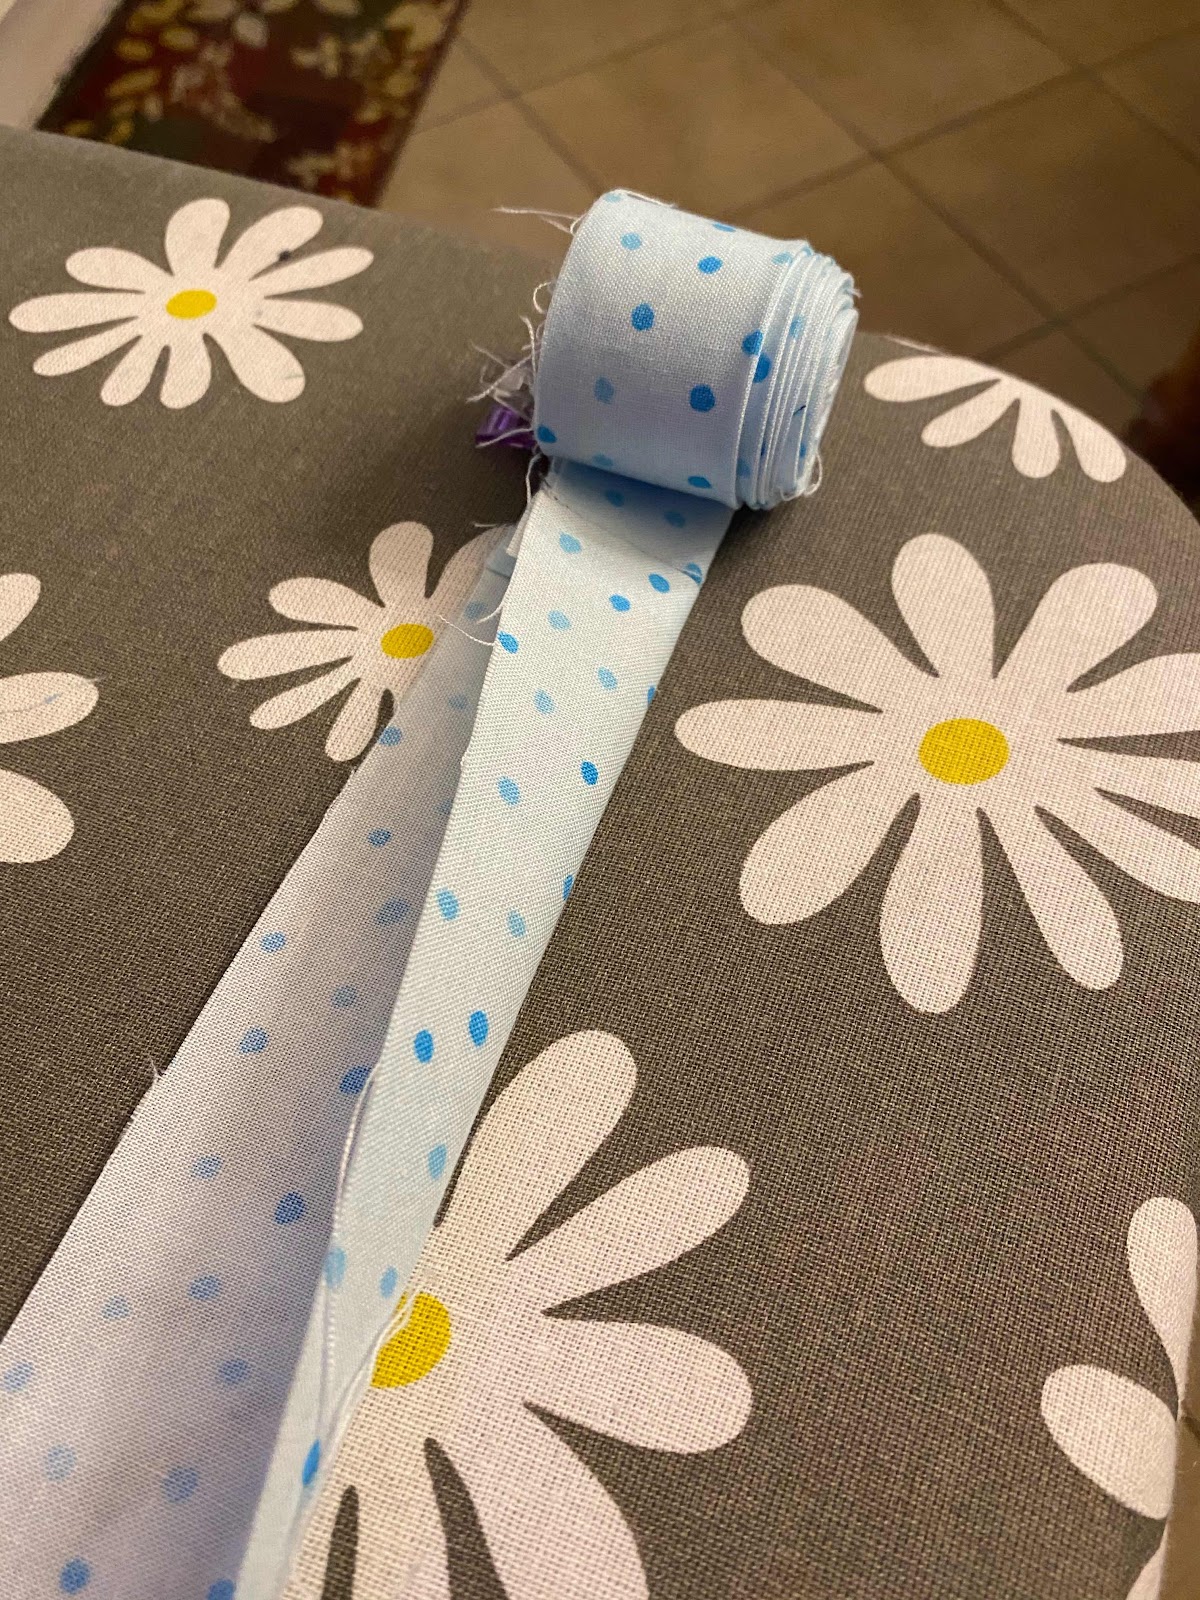
Fold in half and iron.
Measurements of fabric needed:
Back panel 46” square
46” or larger batting
Seven strips of 7” x 46” strips

Comments
Post a Comment
I love to hear back from my readers, please leave a message below: