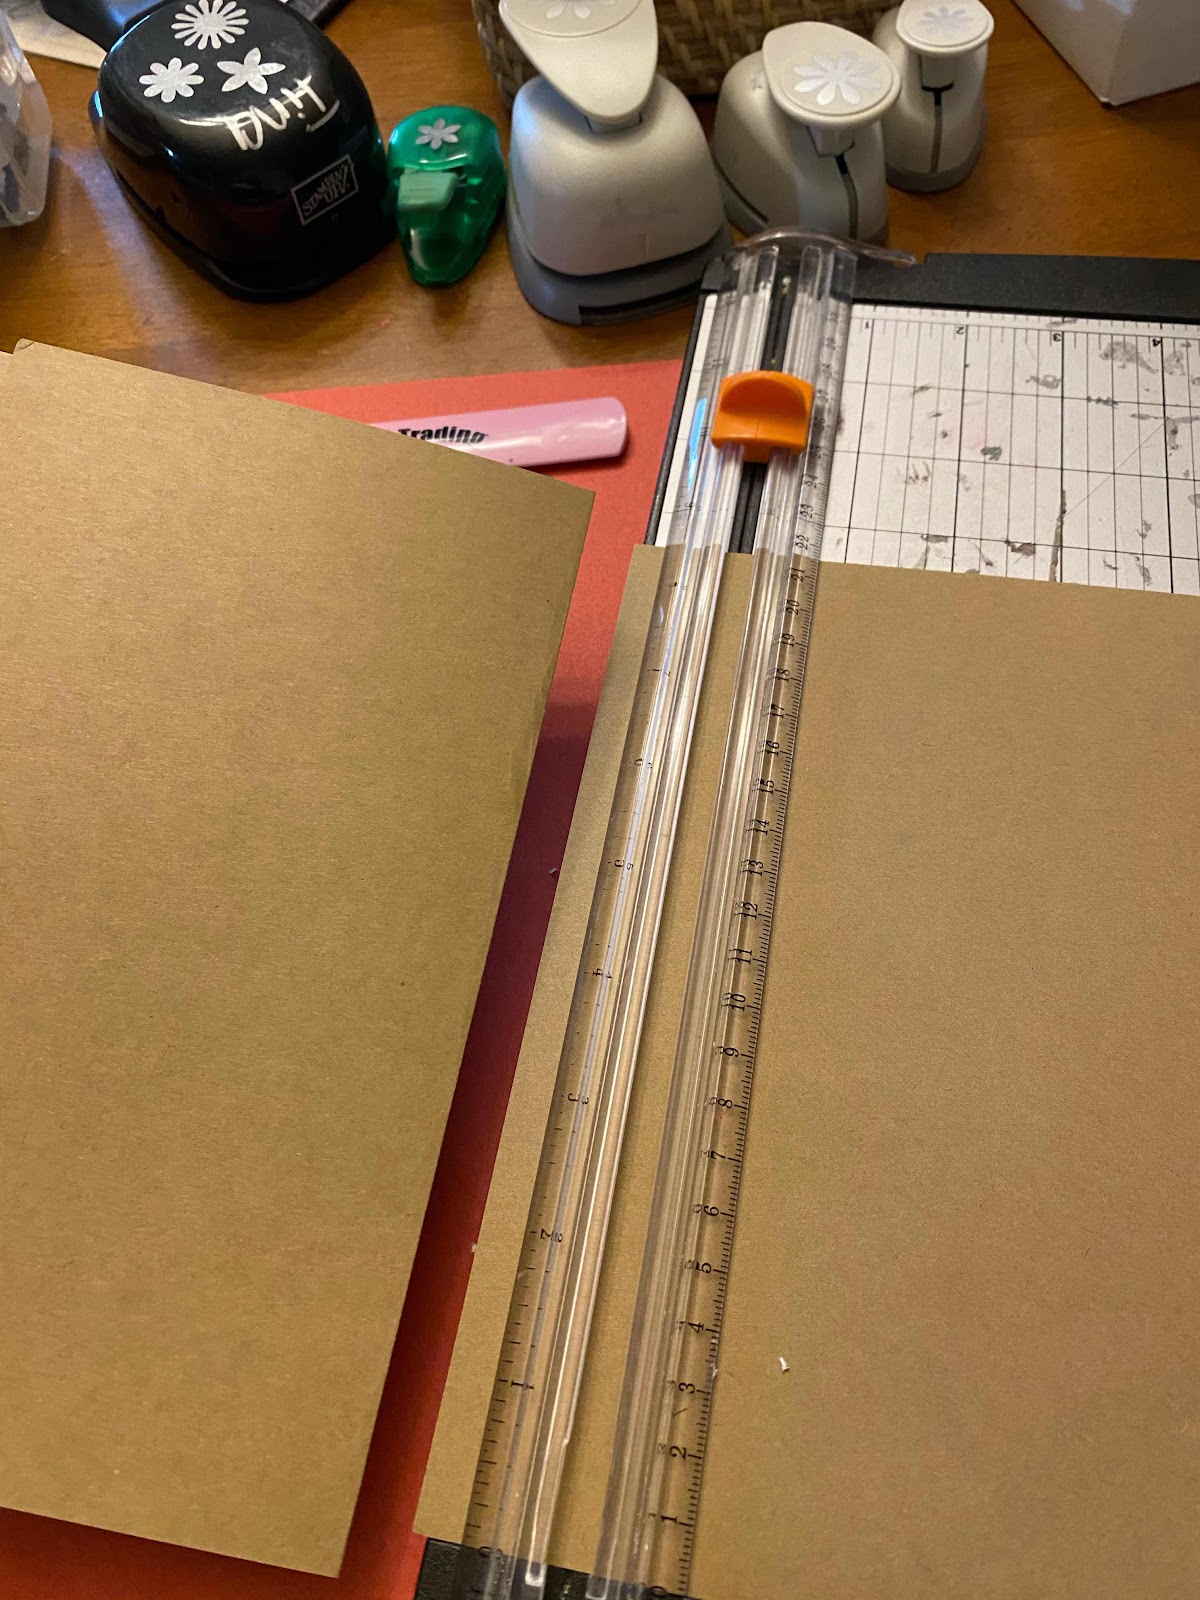
Paper cutter
Cut a white piece of sturdy paper 5”x 8.5”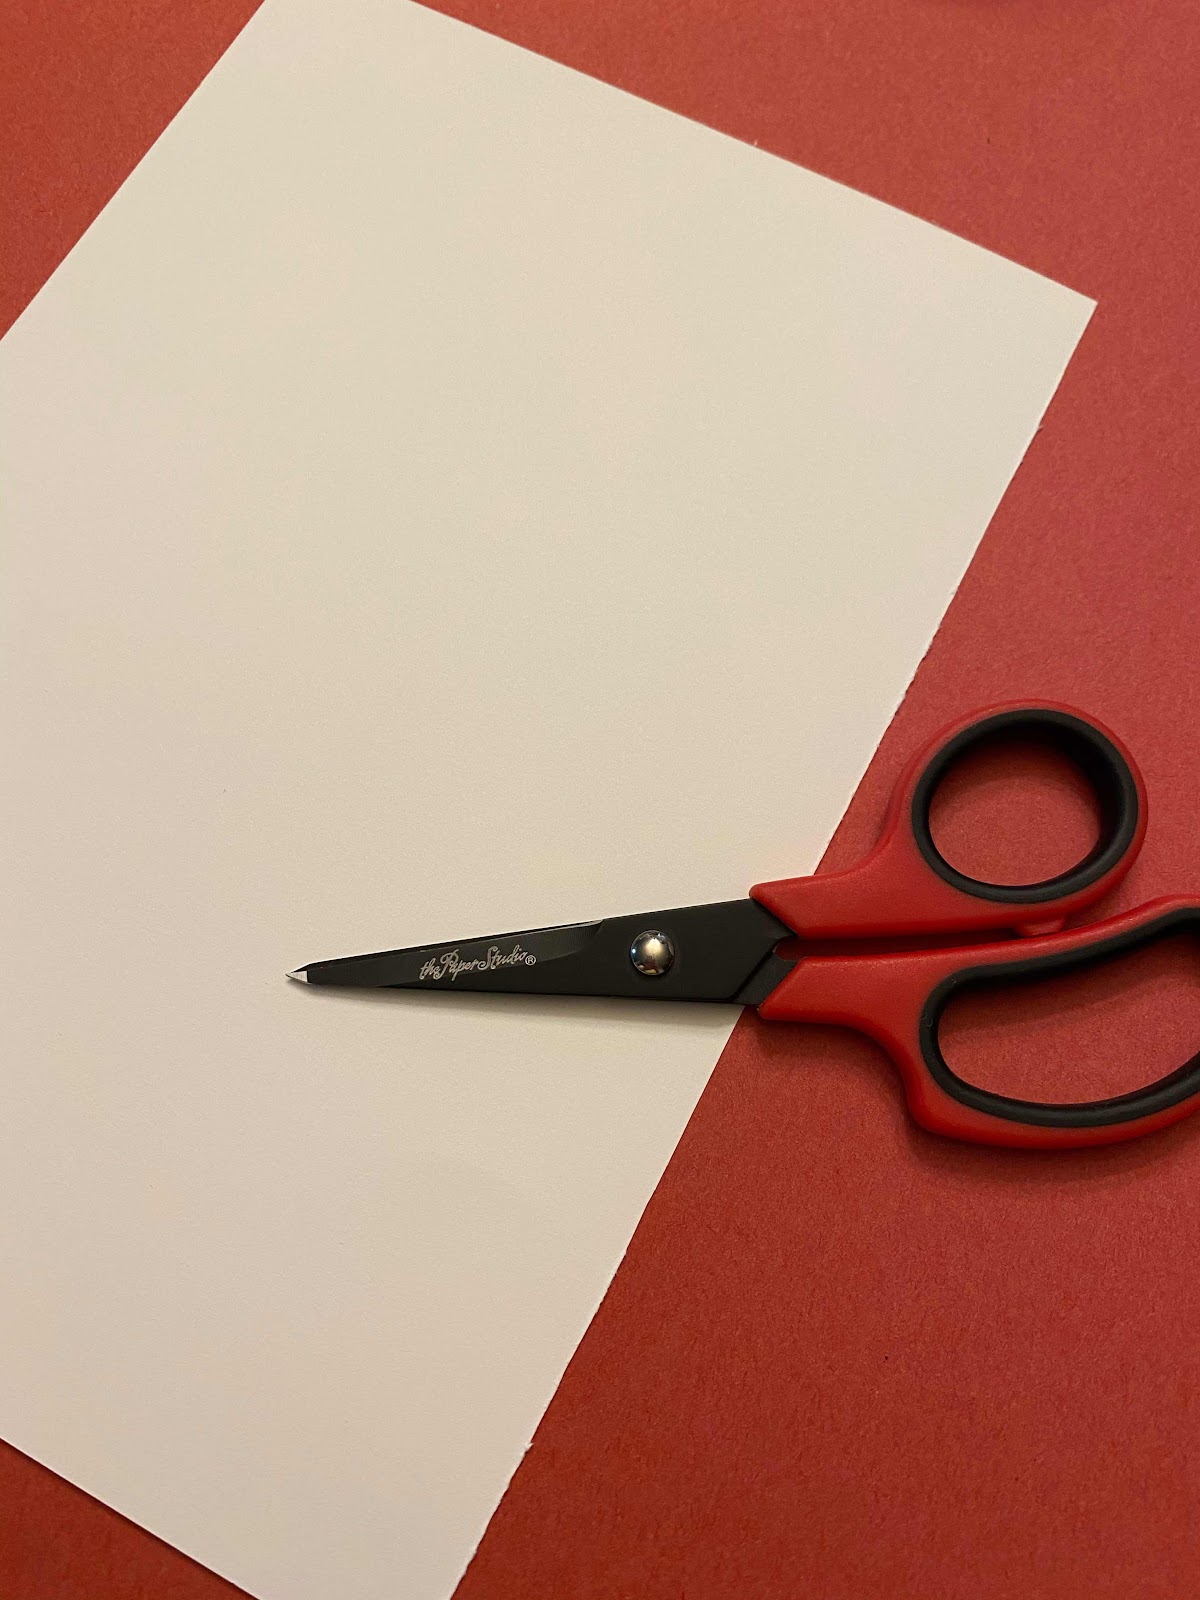
Place die cut in place of where you would like your window like opening. You can also use washi tape to hold it in place while running it through the Big Shot.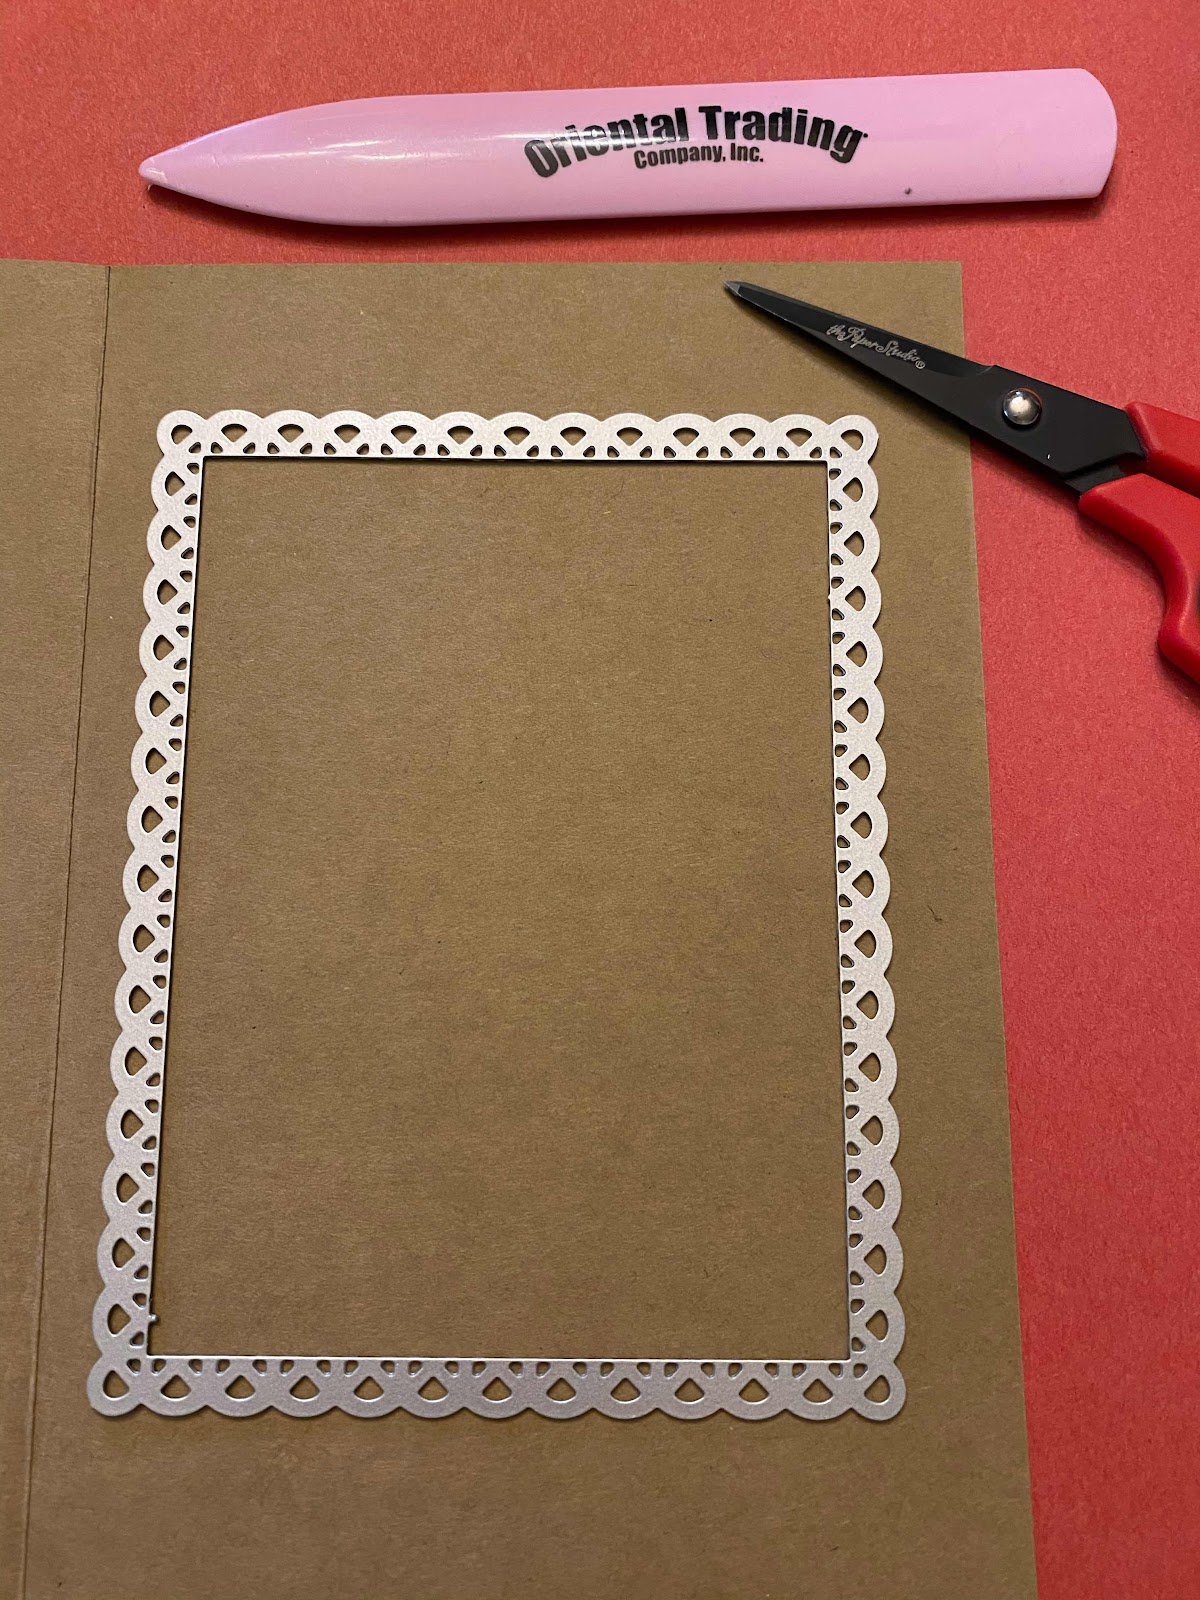

Cut clear paper to the same size as the white paper 5” x 8.5”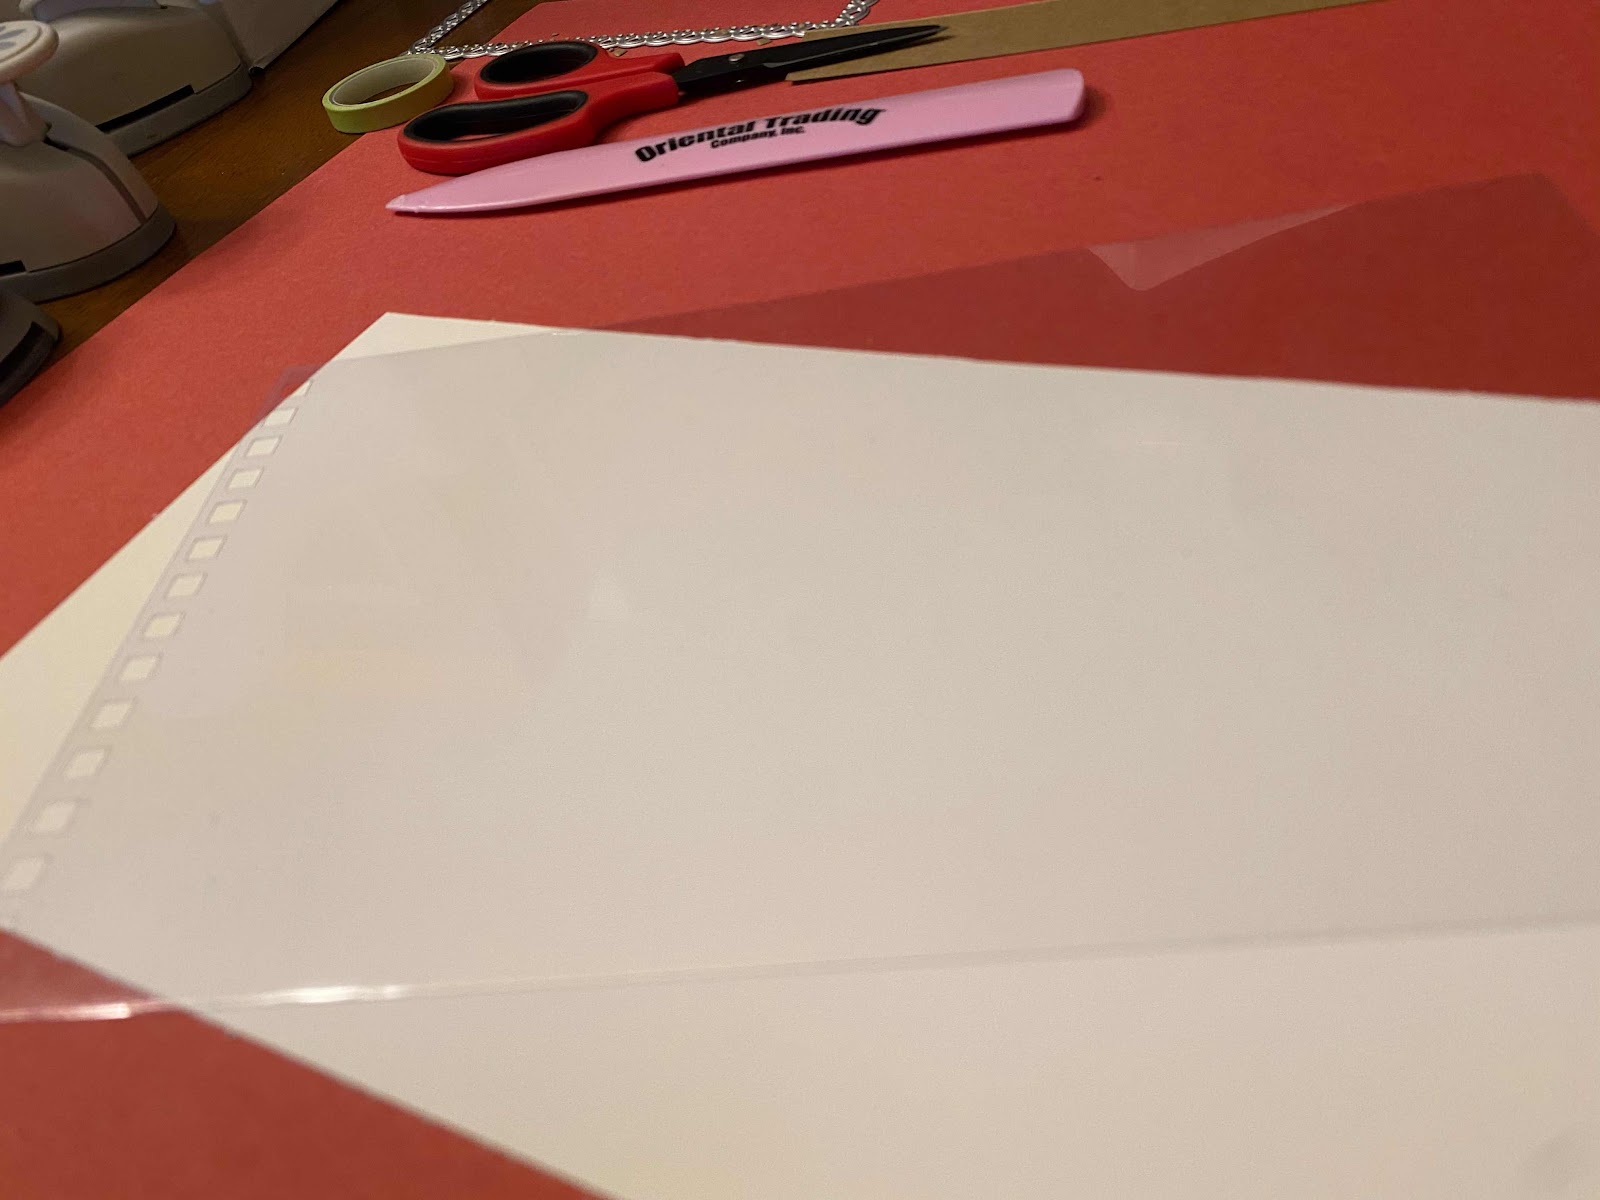
Cut another white piece of paper to place and keep inside the card. 6” x 8.5” and fold in both sides to be glued down inside card.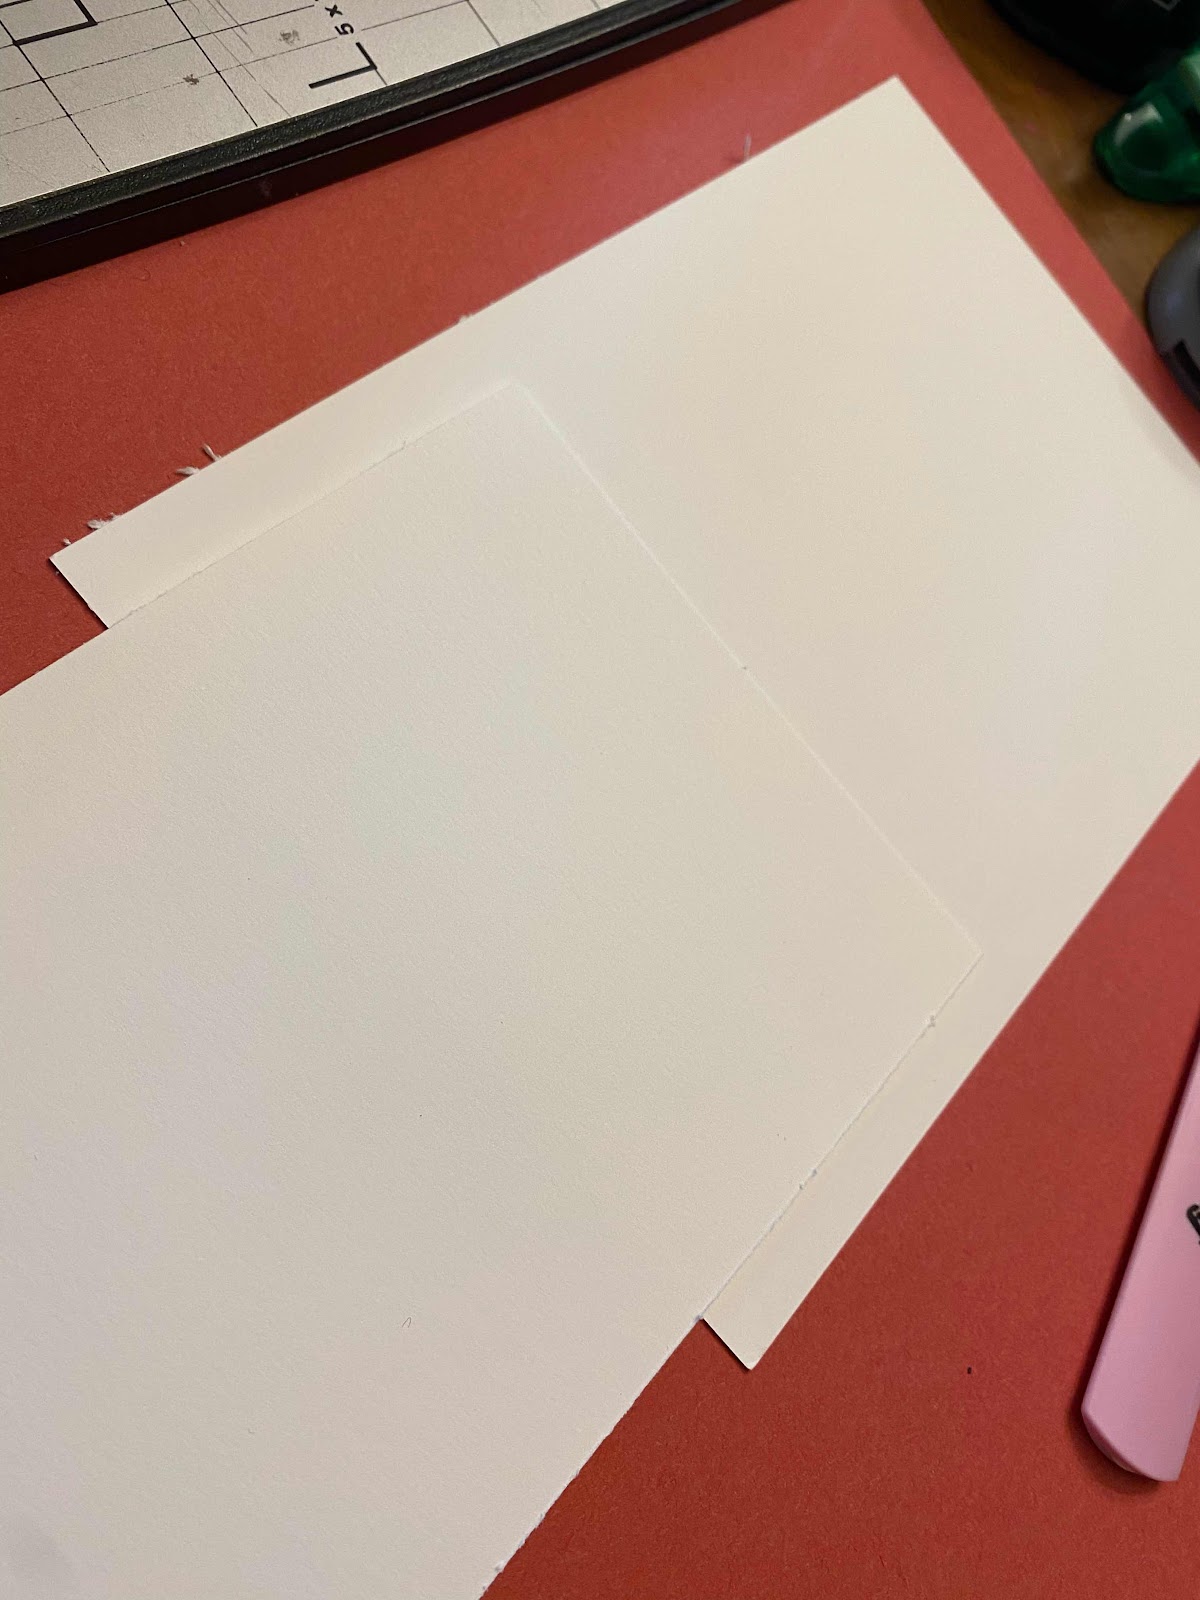

Put glue on outside of folded edges and place sheet inside the card.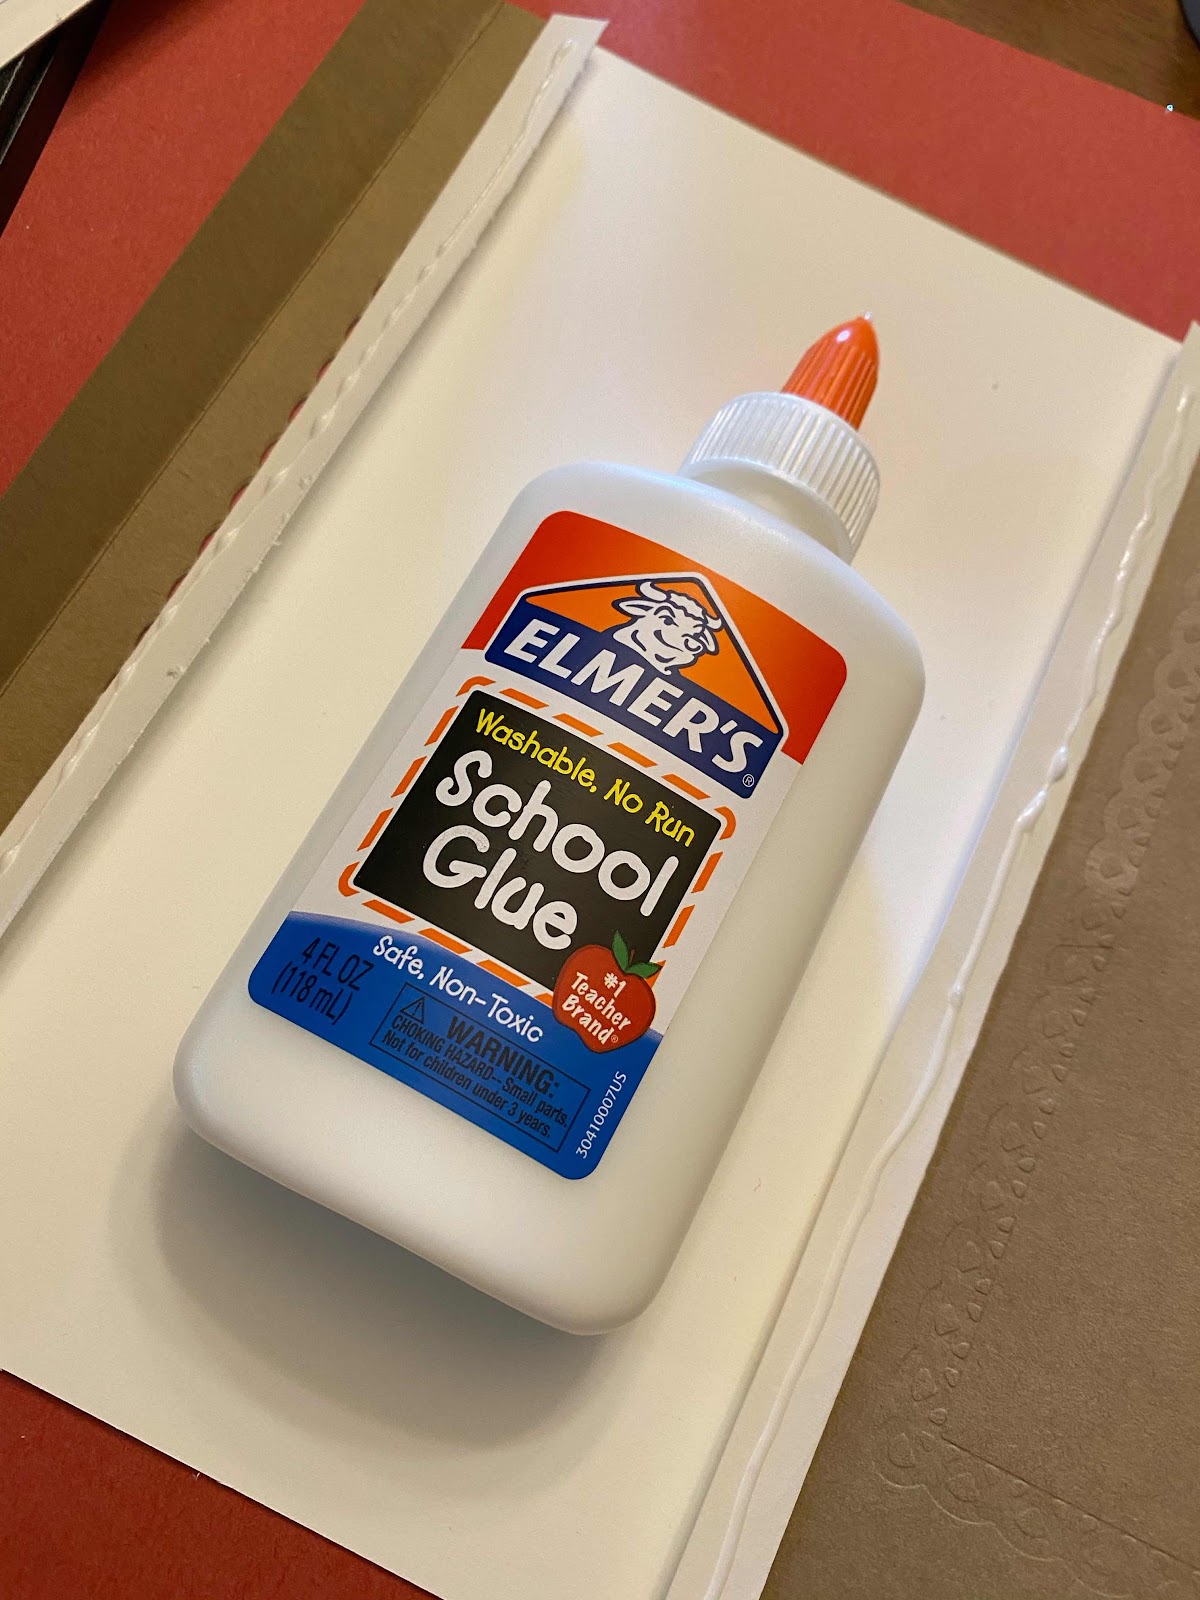
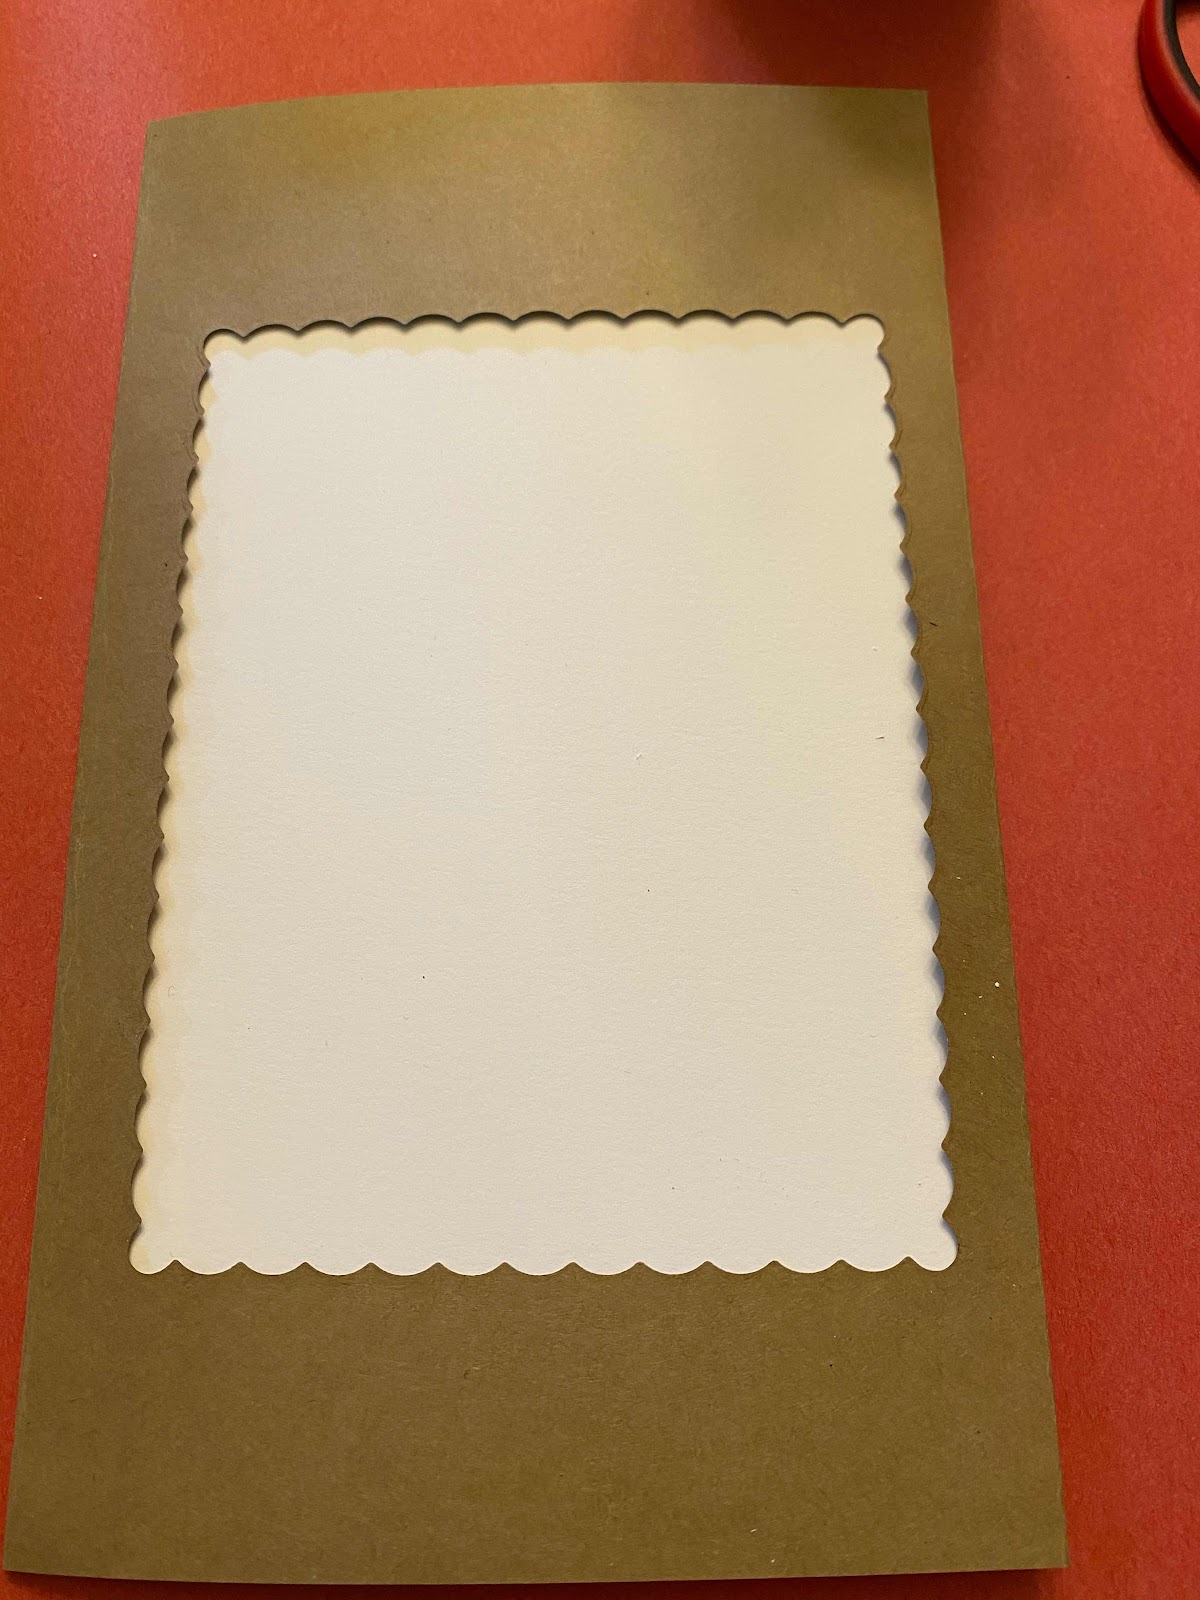
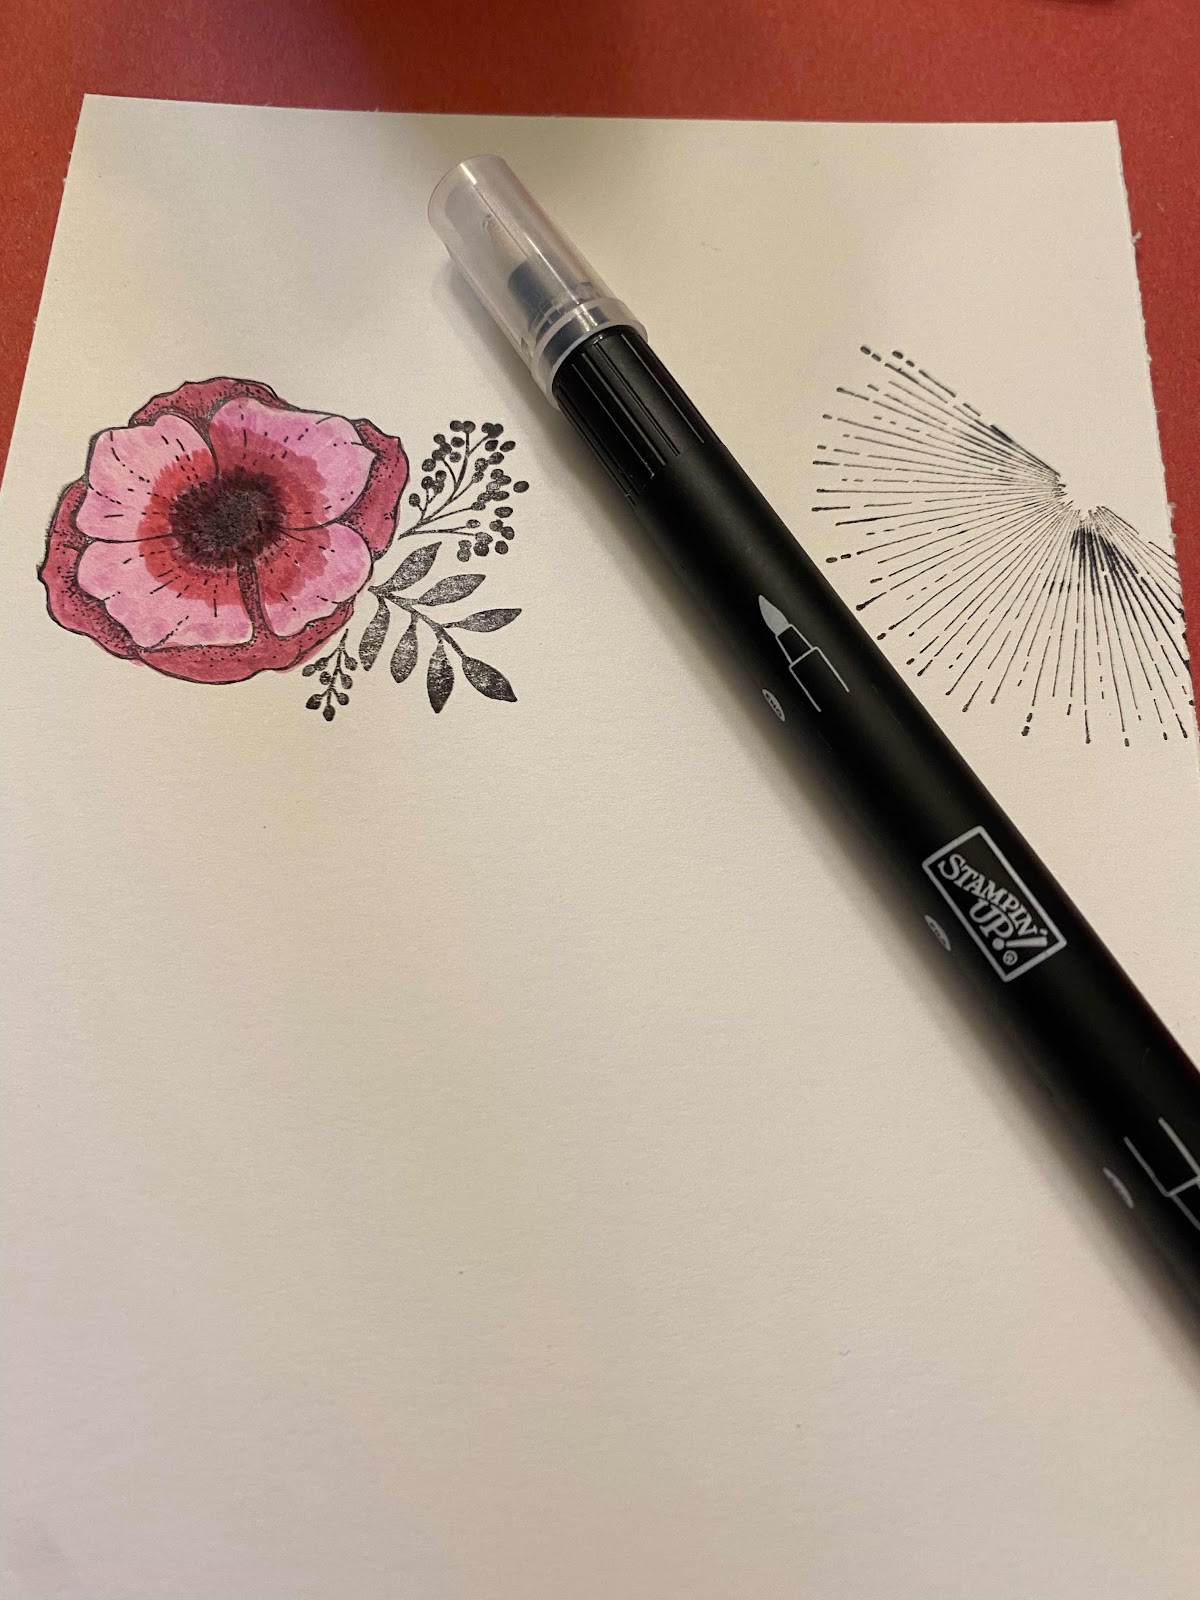
Stamp design and color
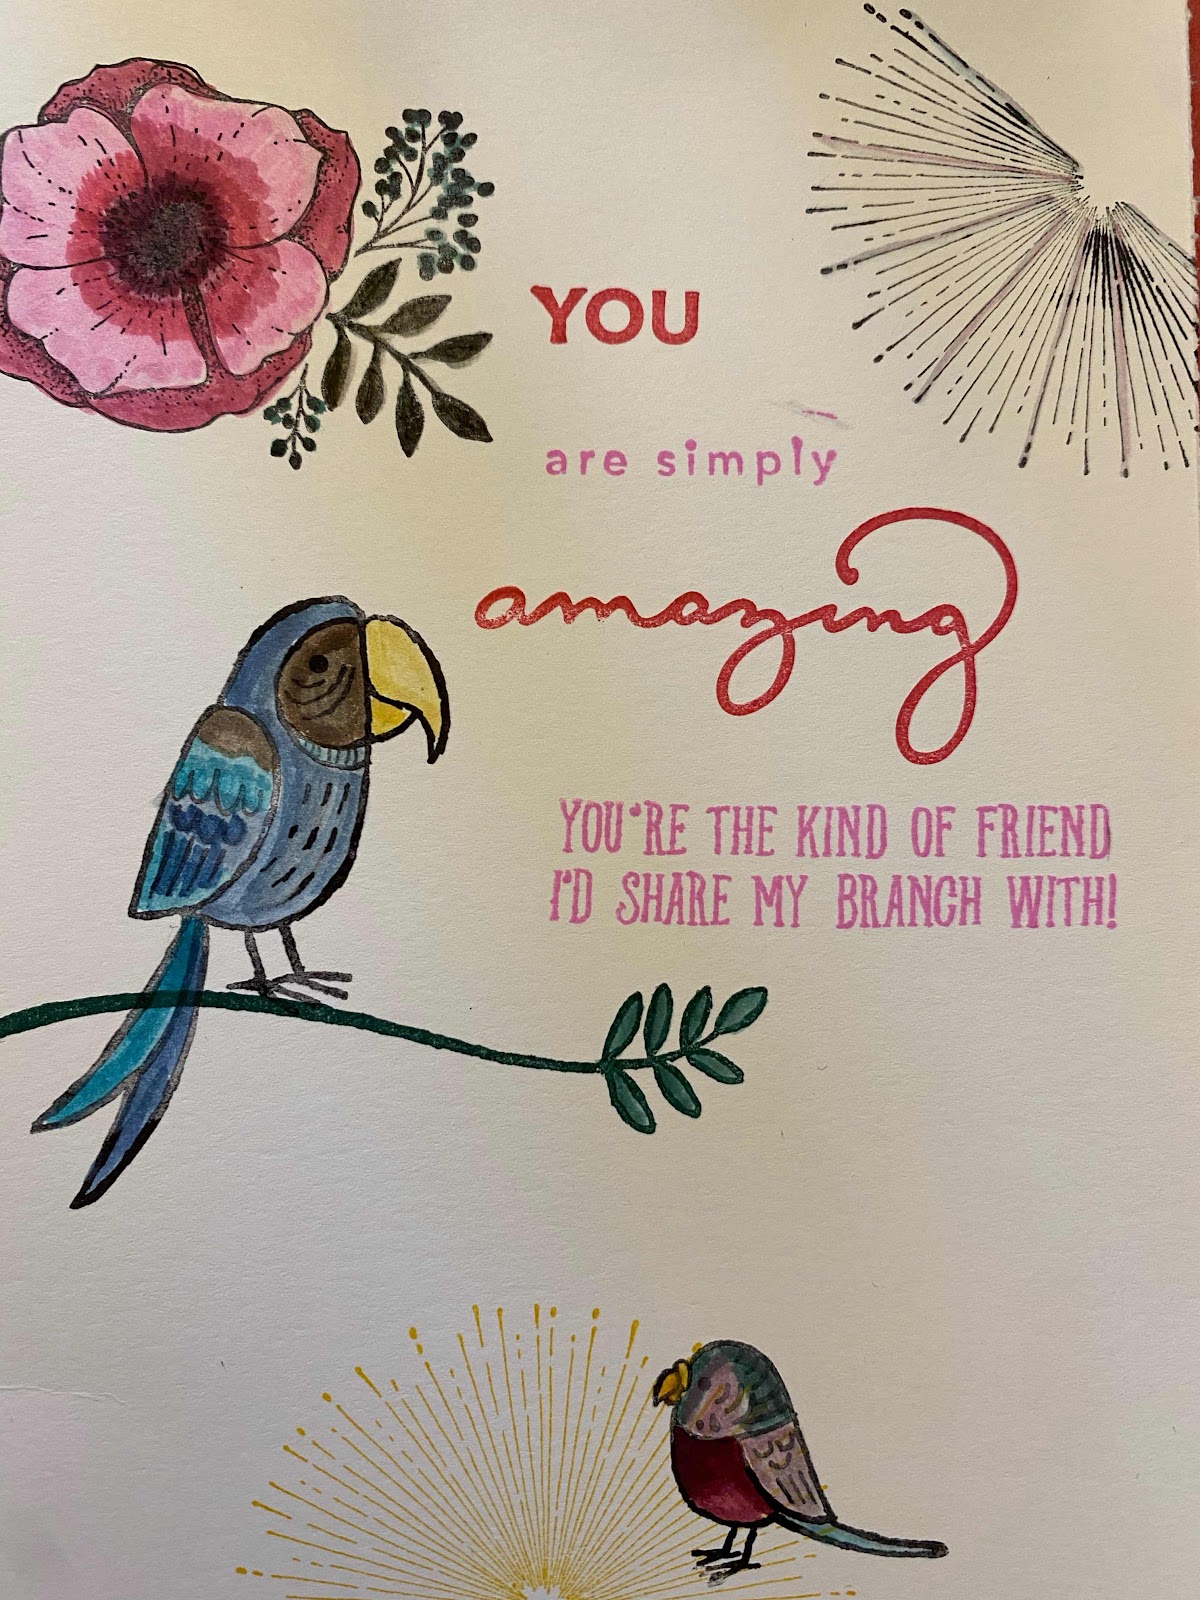
When done with coloring staple strip, clear piece and completed page together at top.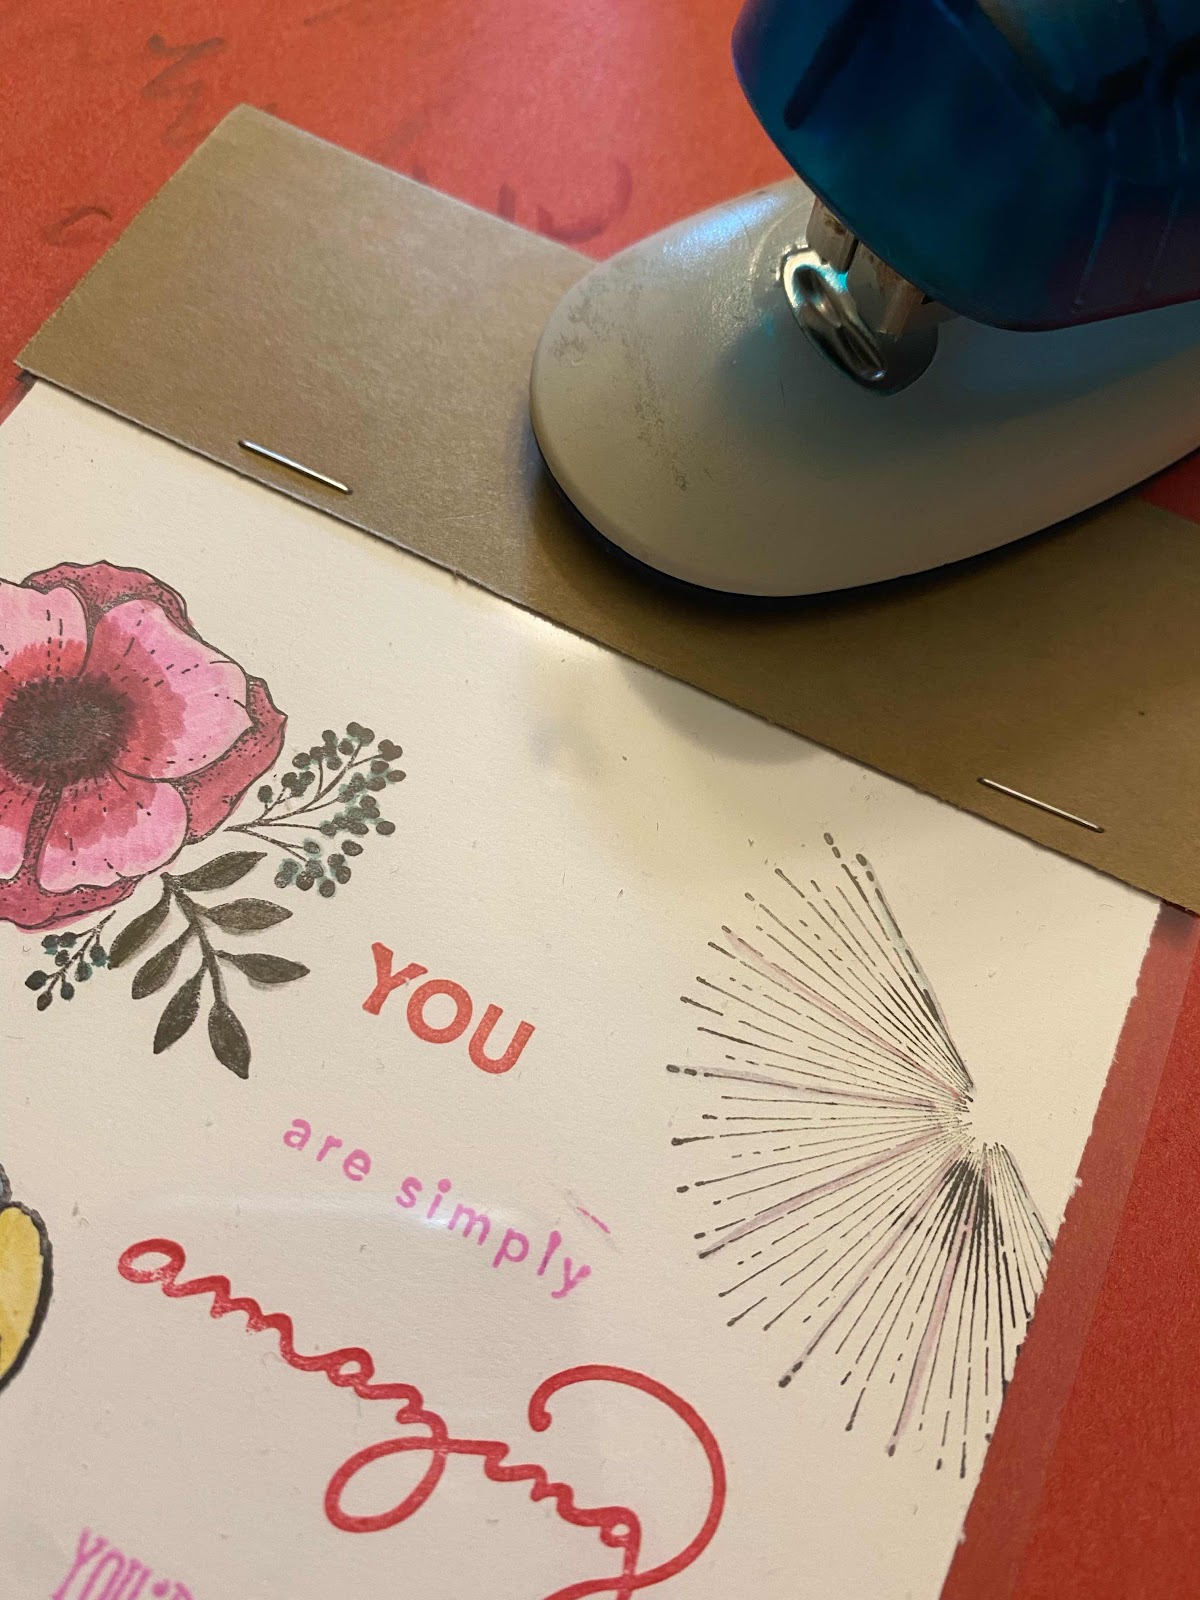
I stamped the bottom of the page with a personalized stamp saying: “Created with love by Stefanie Seaver”. I purchased the stamp from www.stampsbyimpression.com.
Use black sharpie and trace designs on to the clear paper.

Stamps floral designs on to white paper, color and fussy cut.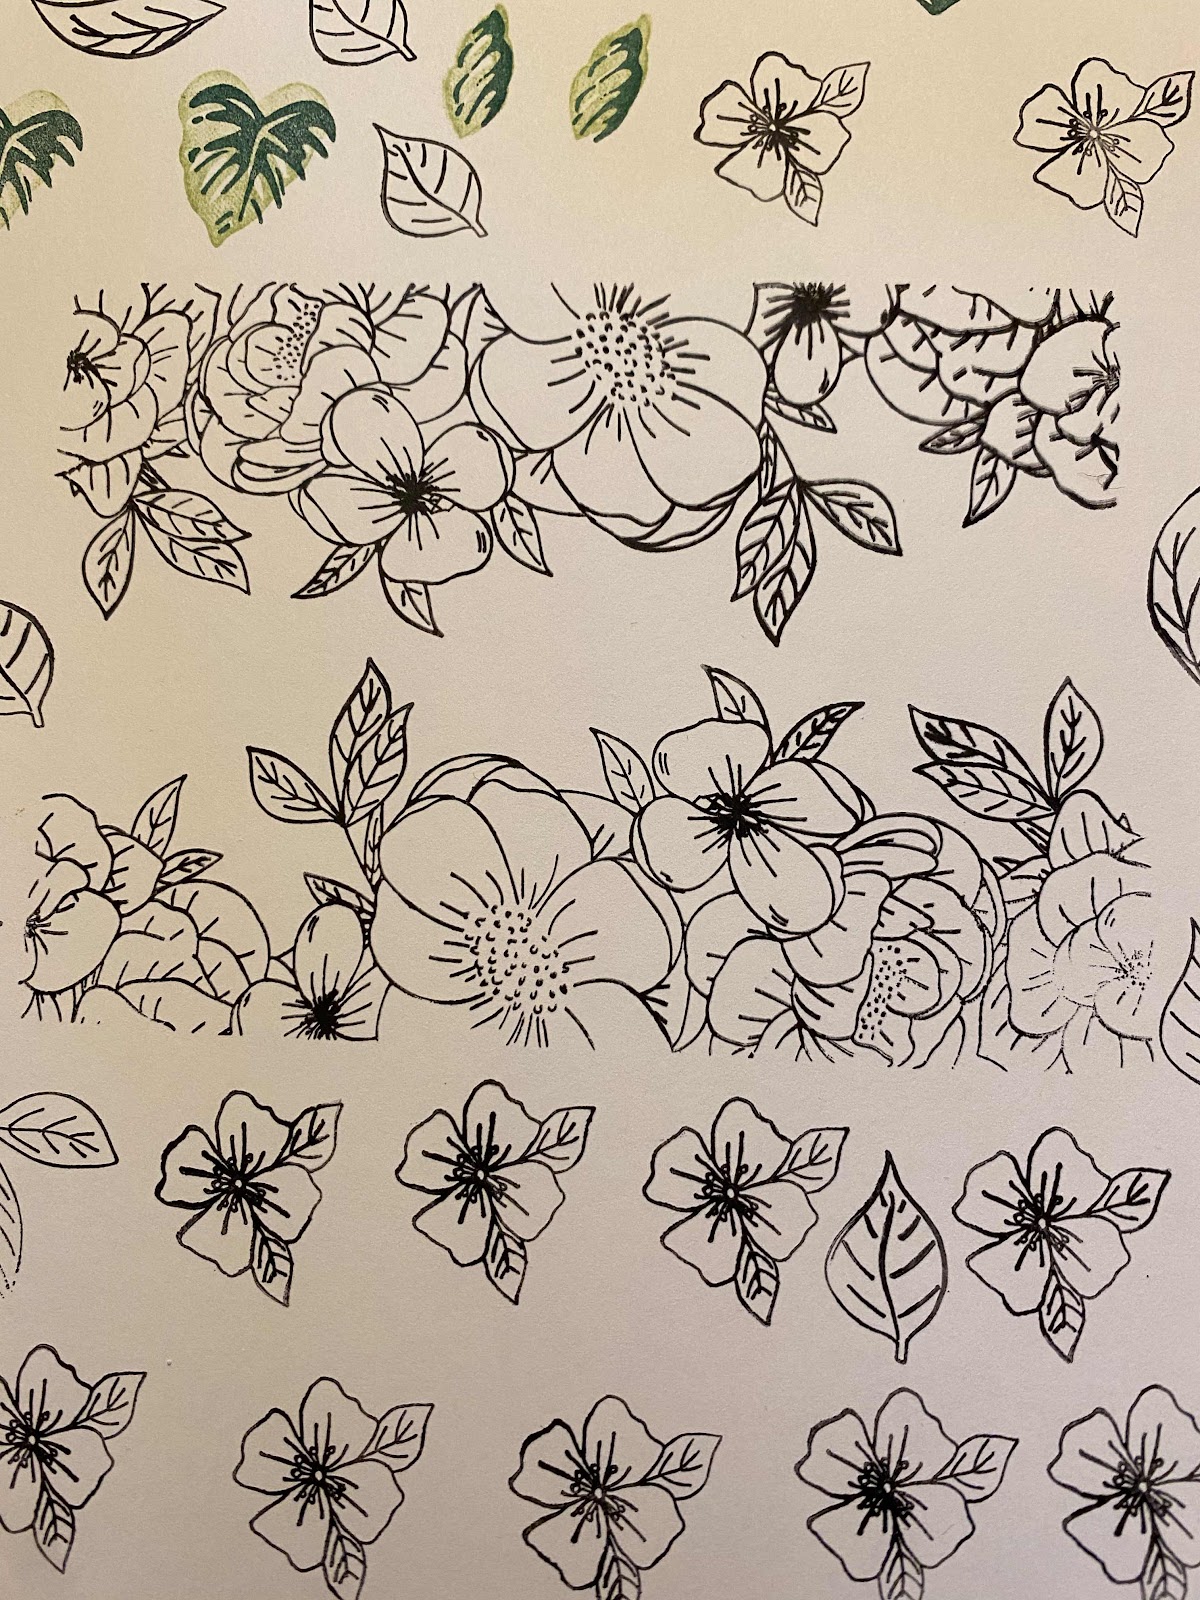
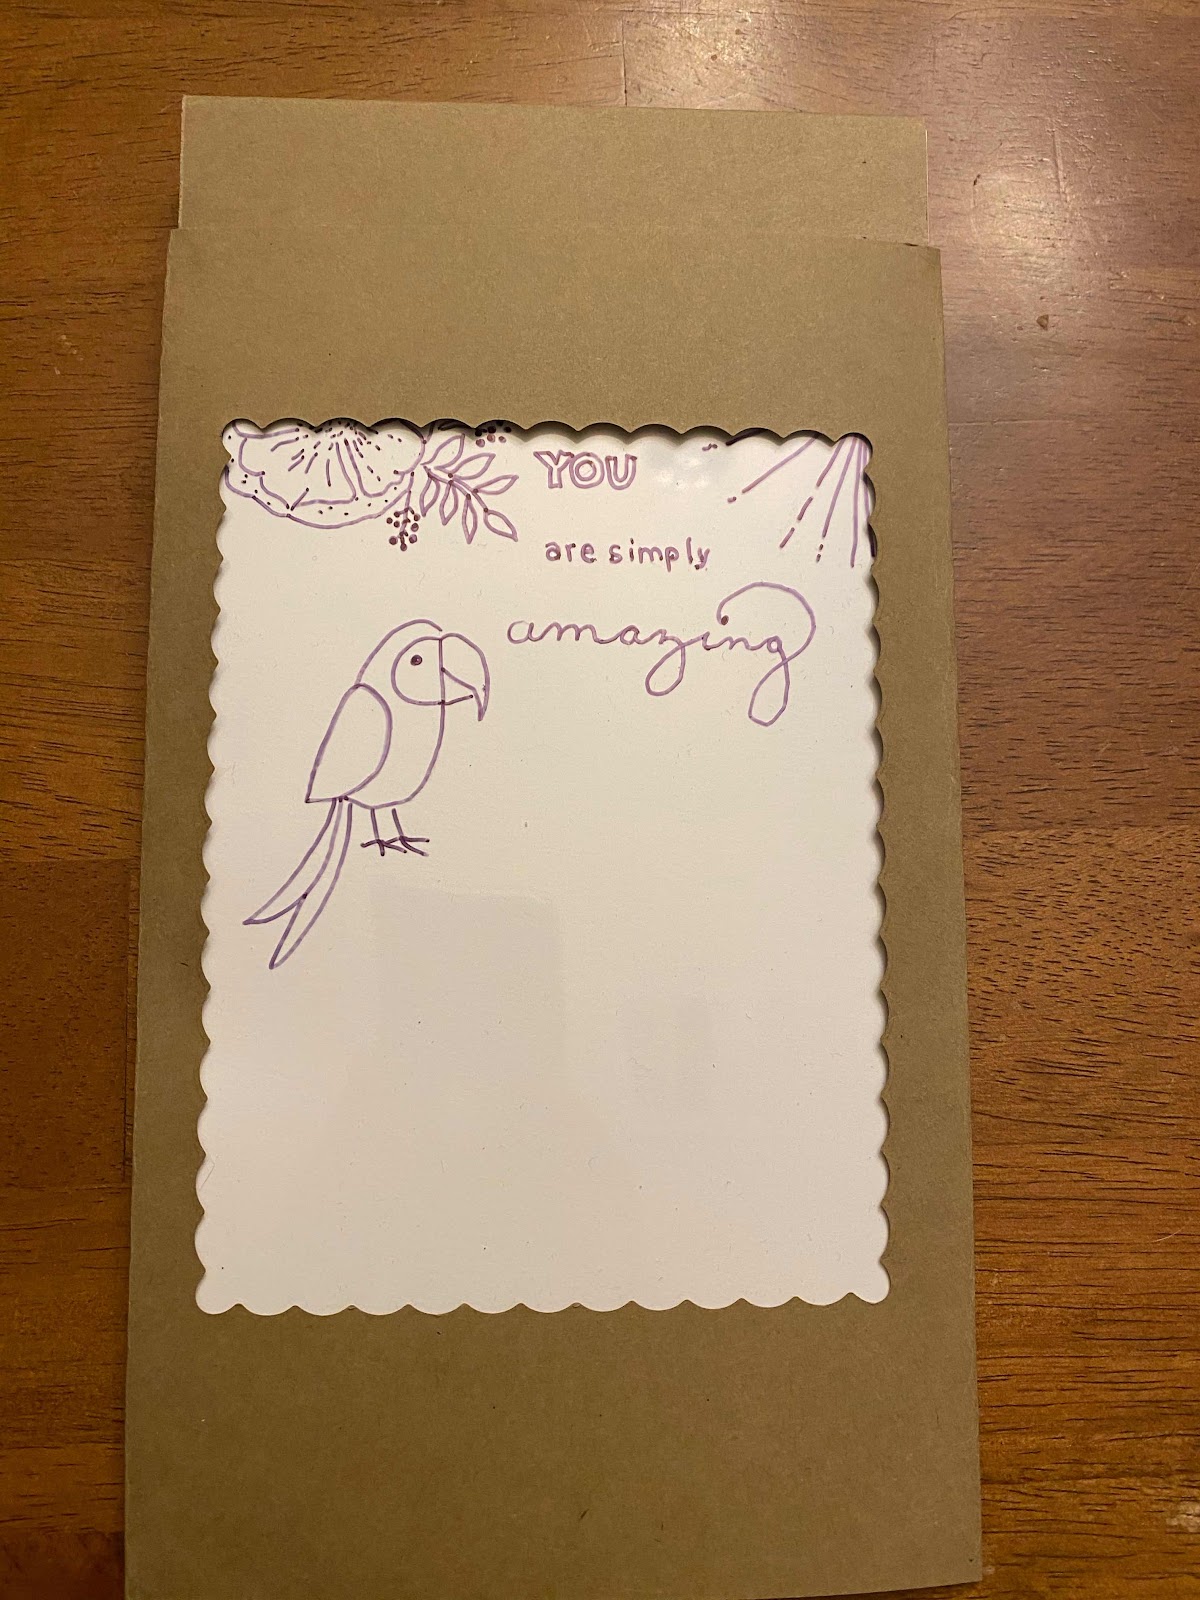
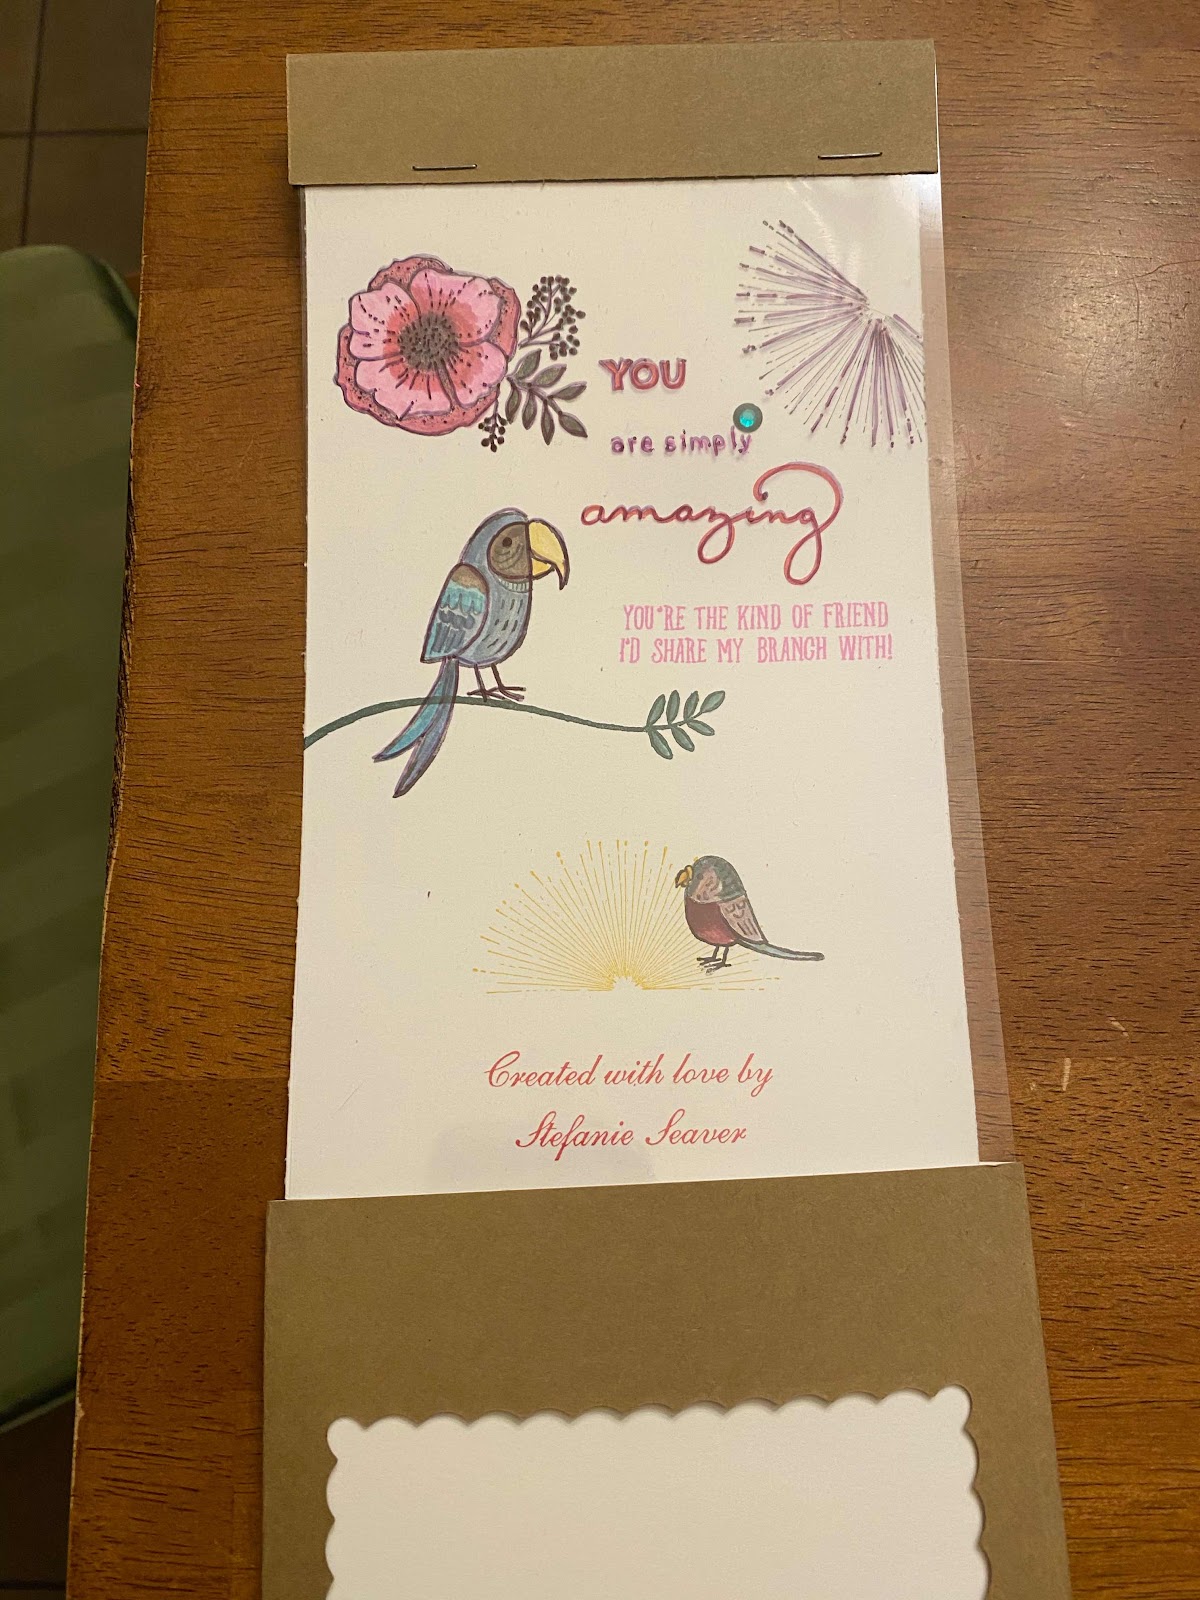
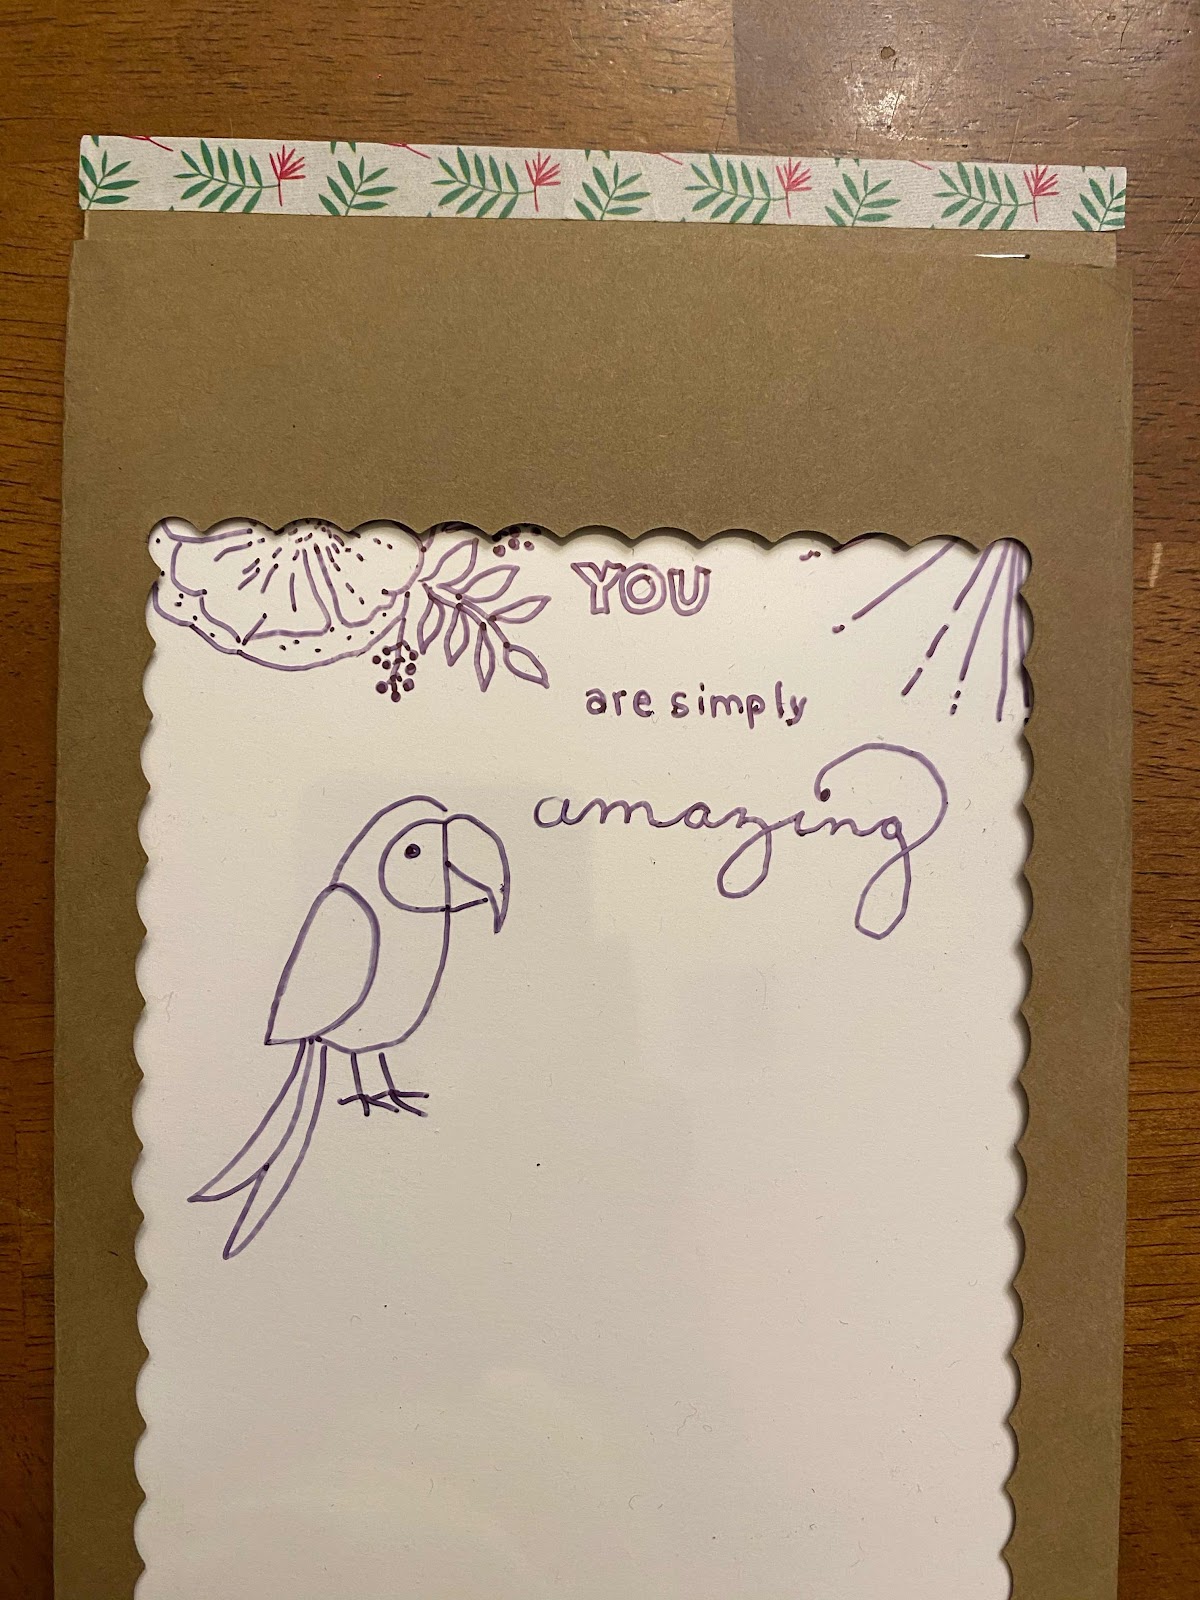
I trimmed the top a little and added washi tape to seal it.
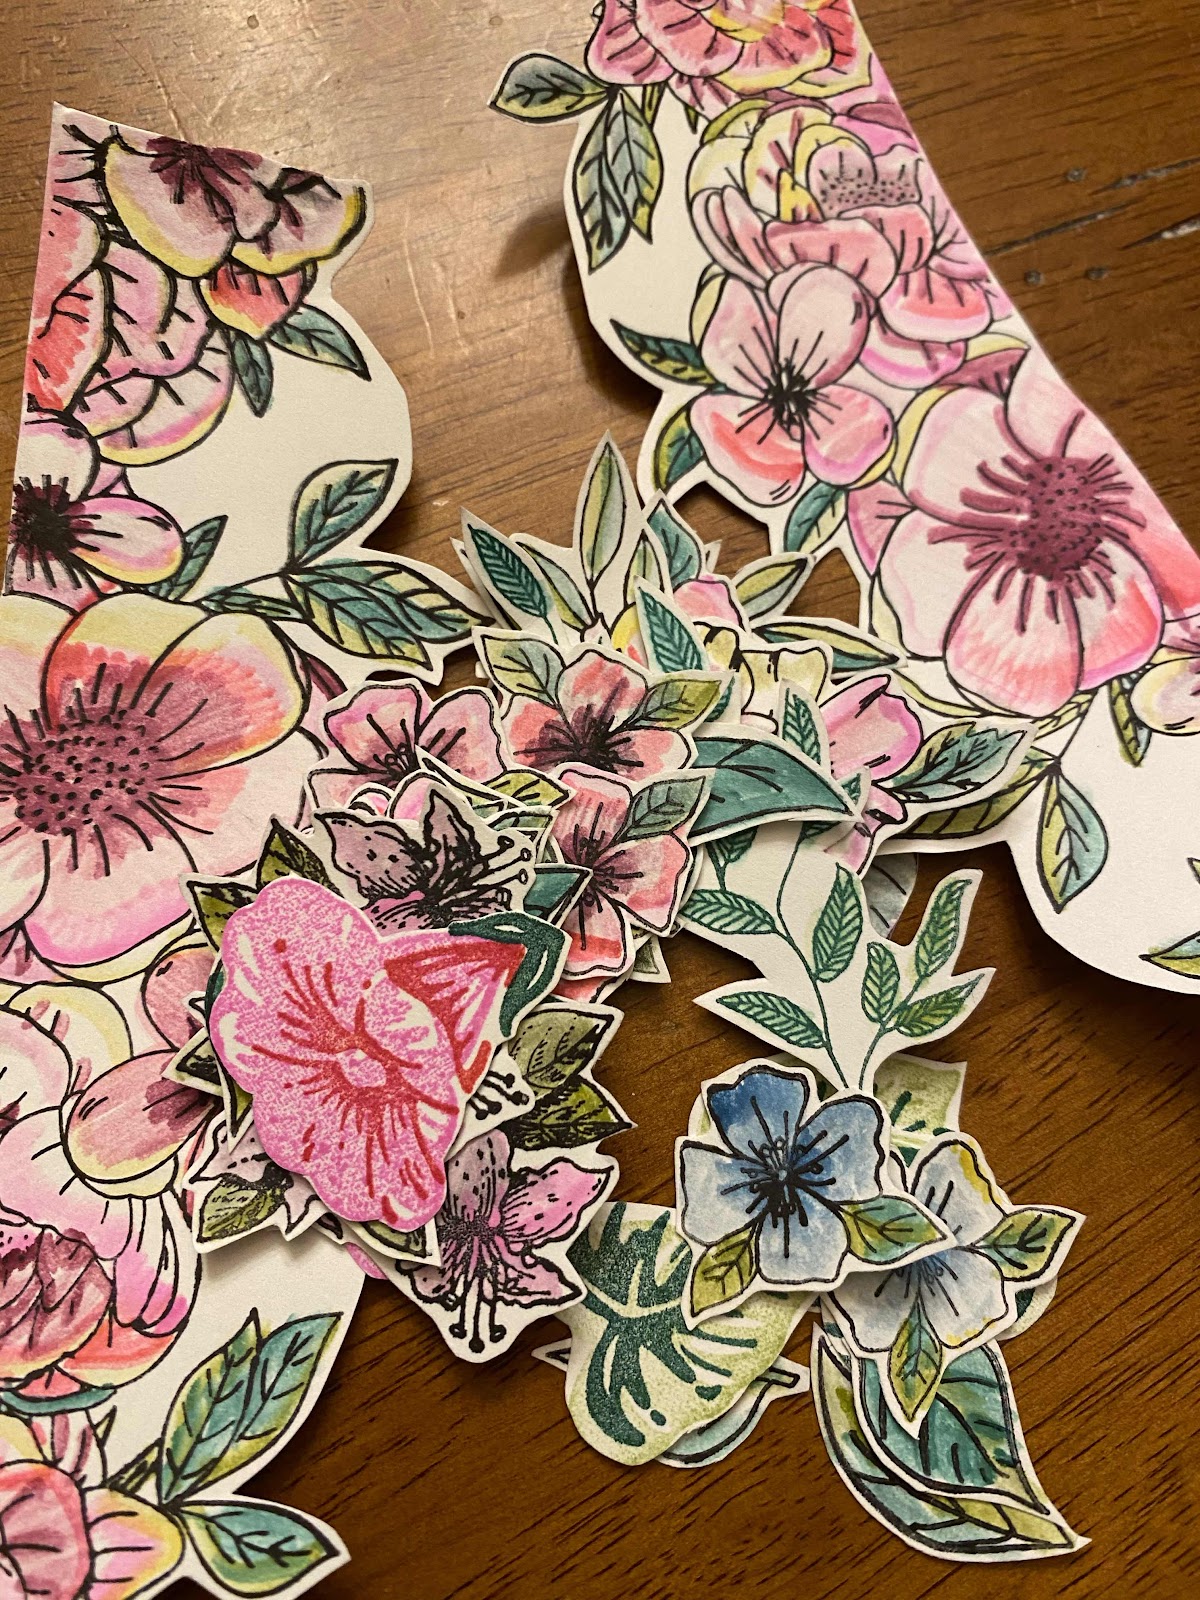
Flowers and leaves after coloring and fussy cut. Then I clued them to the front of the card.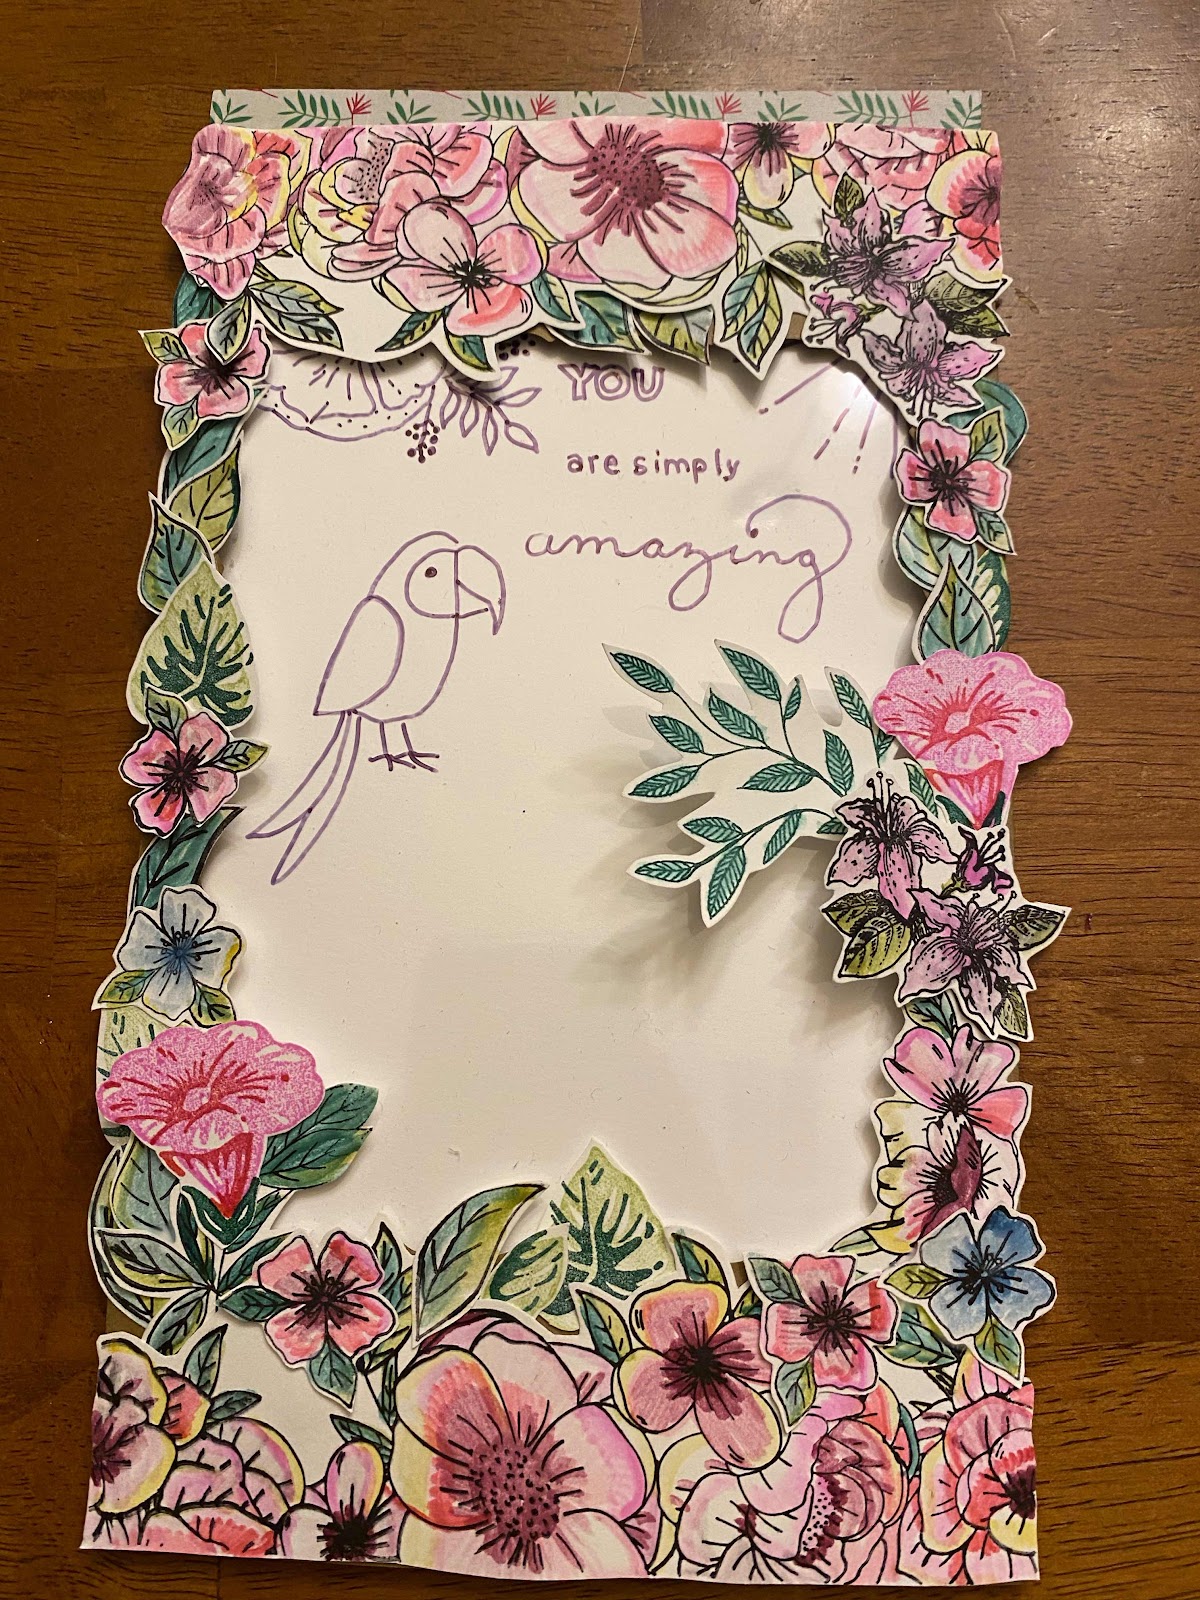
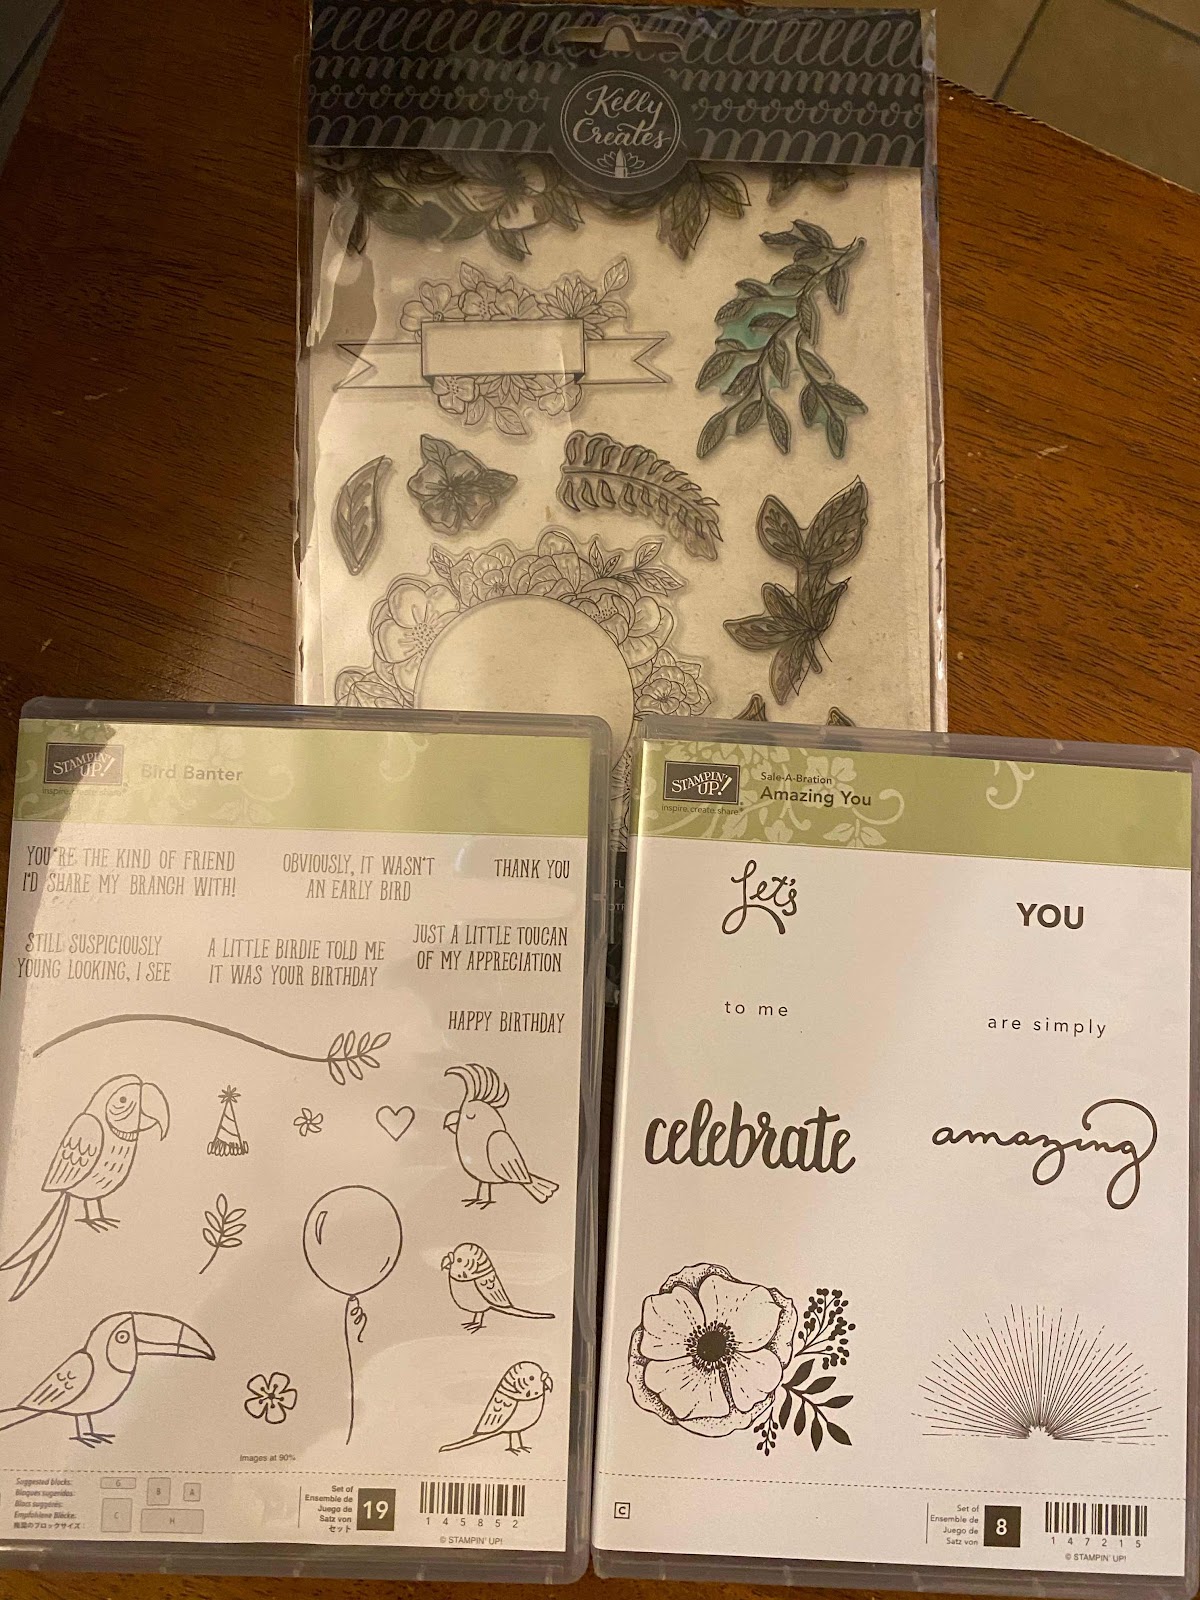
Stamps used:
8.5” x 11” sheet of paper
1” x 8.5” strip of paper
5”x 8.5” white paper & clear paper
6” x 8.5” white paper for inside card
Bone Folder
Sharp snippy scissors
Rectangular or square die cut
Washi tape
Sizzix Big Shot
Elmer’s School Glue
Stamp colors: black, crushed curry or yellow, three shades of pink (ex: Rich Razzleberry, Melon Mambo and Pixie Pink) and three shades of blue.
Blender pen
Stamp sets by Stampin’ Up:”Amazing You” & “Bird Banter”
Stamp set by Kelly Creates: Floral stamps
Thin black sharpie
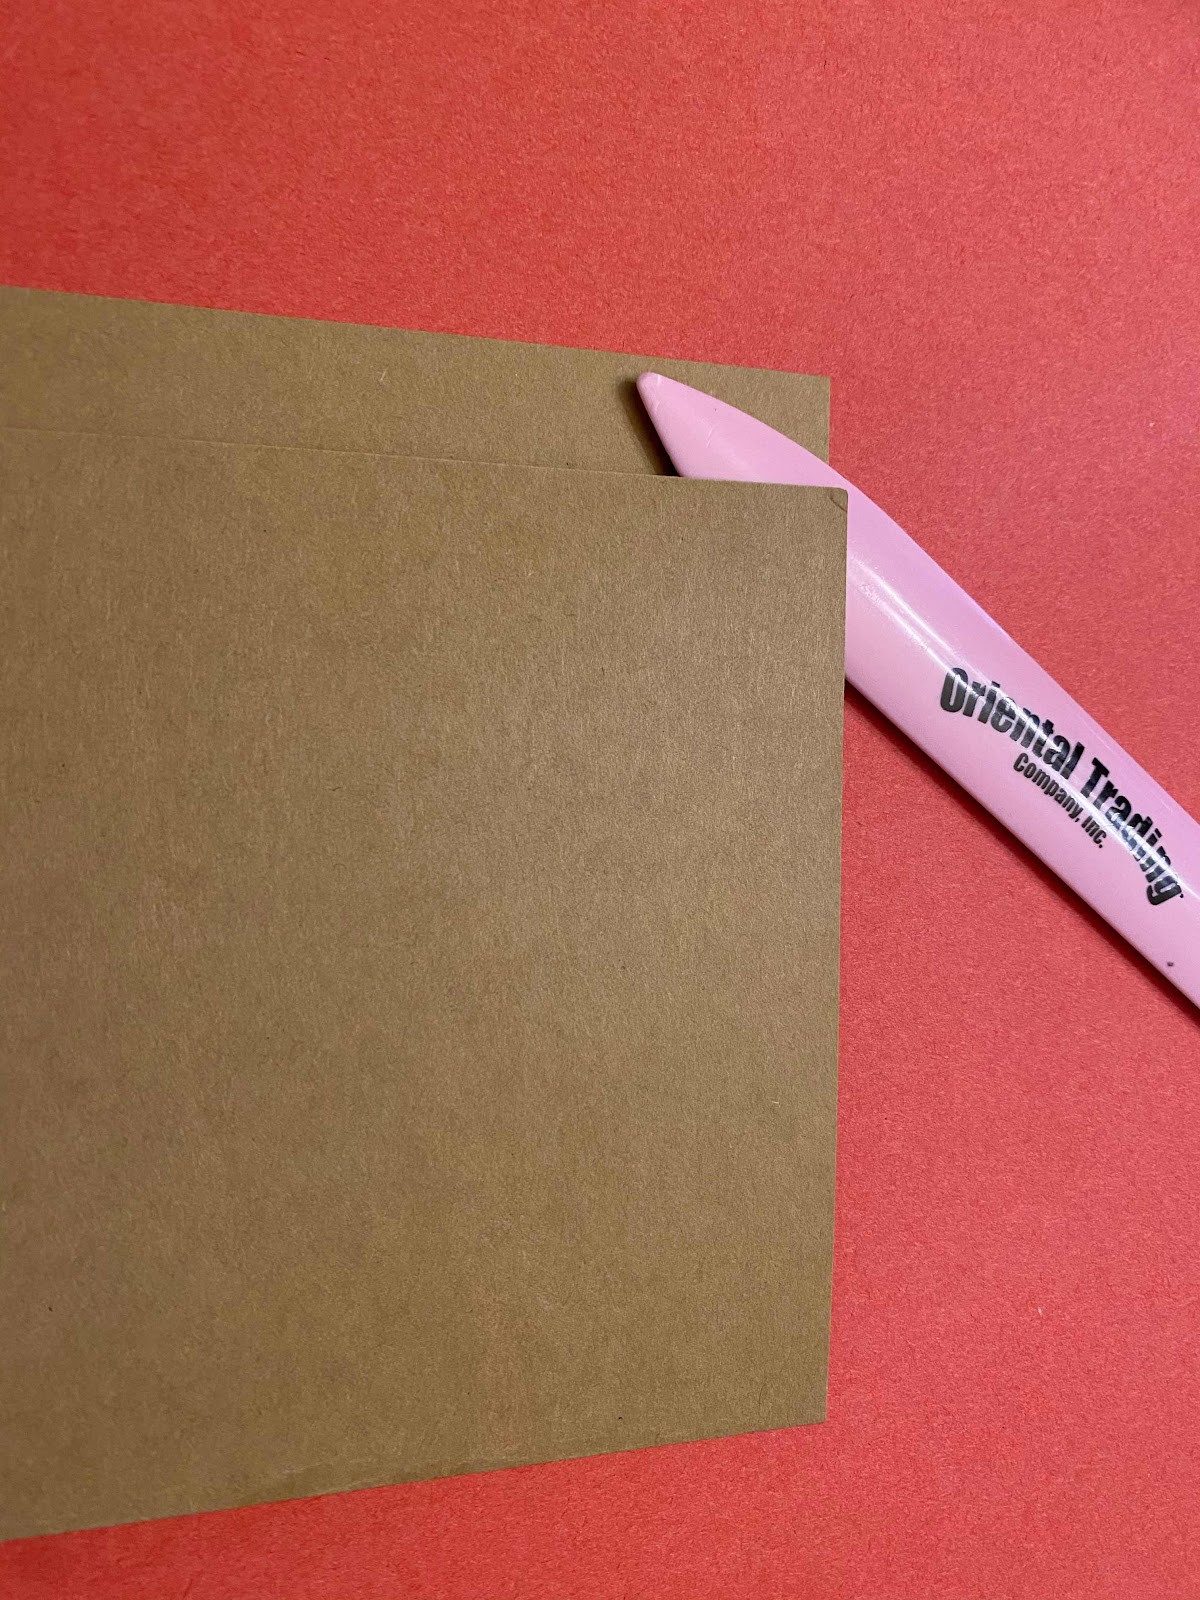
Fold the 8.5” x 11” sheet of paper- leaving about 1/2” space at the end.
Using bone folder, fold in the extra paper excess.
Cut 1” piece to match the length of the previous card
Cut a white piece of sturdy paper 5”x 8.5”
Place die cut in place of where you would like your window like opening. You can also use washi tape to hold it in place while running it through the Big Shot.
Cut clear paper to the same size as the white paper 5” x 8.5”
Cut another white piece of paper to place and keep inside the card. 6” x 8.5” and fold in both sides to be glued down inside card.
Put glue on outside of folded edges and place sheet inside the card.
Stamp flower image on to the smaller white paper and color on with blender pen.
Stamp design and color
When done with coloring staple strip, clear piece and completed page together at top.
I stamped the bottom of the page with a personalized stamp saying: “Created with love by Stefanie Seaver”. I purchased the stamp from www.stampsbyimpression.com.
Use black sharpie and trace designs on to the clear paper.
Stamps floral designs on to white paper, color and fussy cut.
I trimmed the top a little and added washi tape to seal it.
Flowers and leaves after coloring and fussy cut. Then I clued them to the front of the card.
Stamps used:

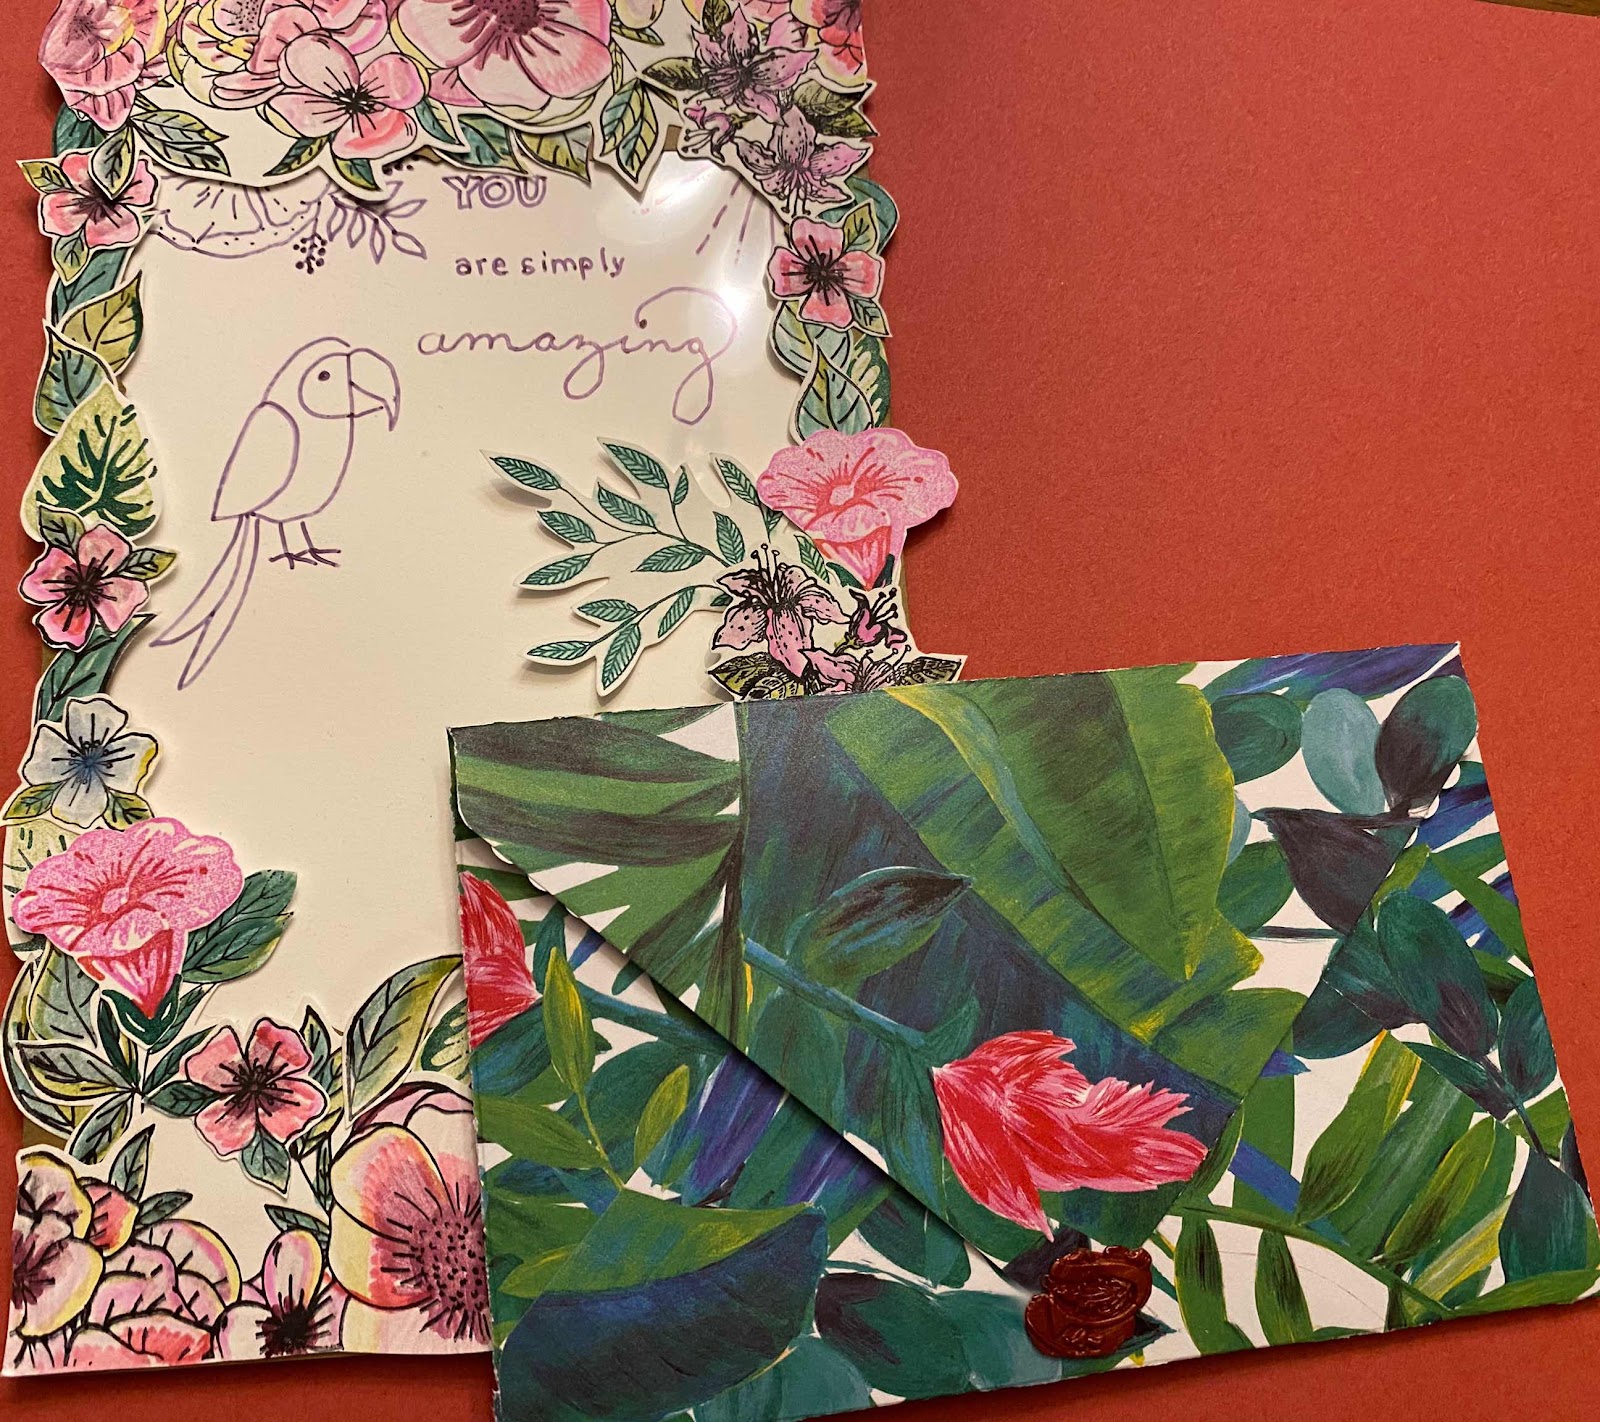
Then I made a small envelope to hold my letter using my Stampin’ Up! Envelope punch board. I love this thing!
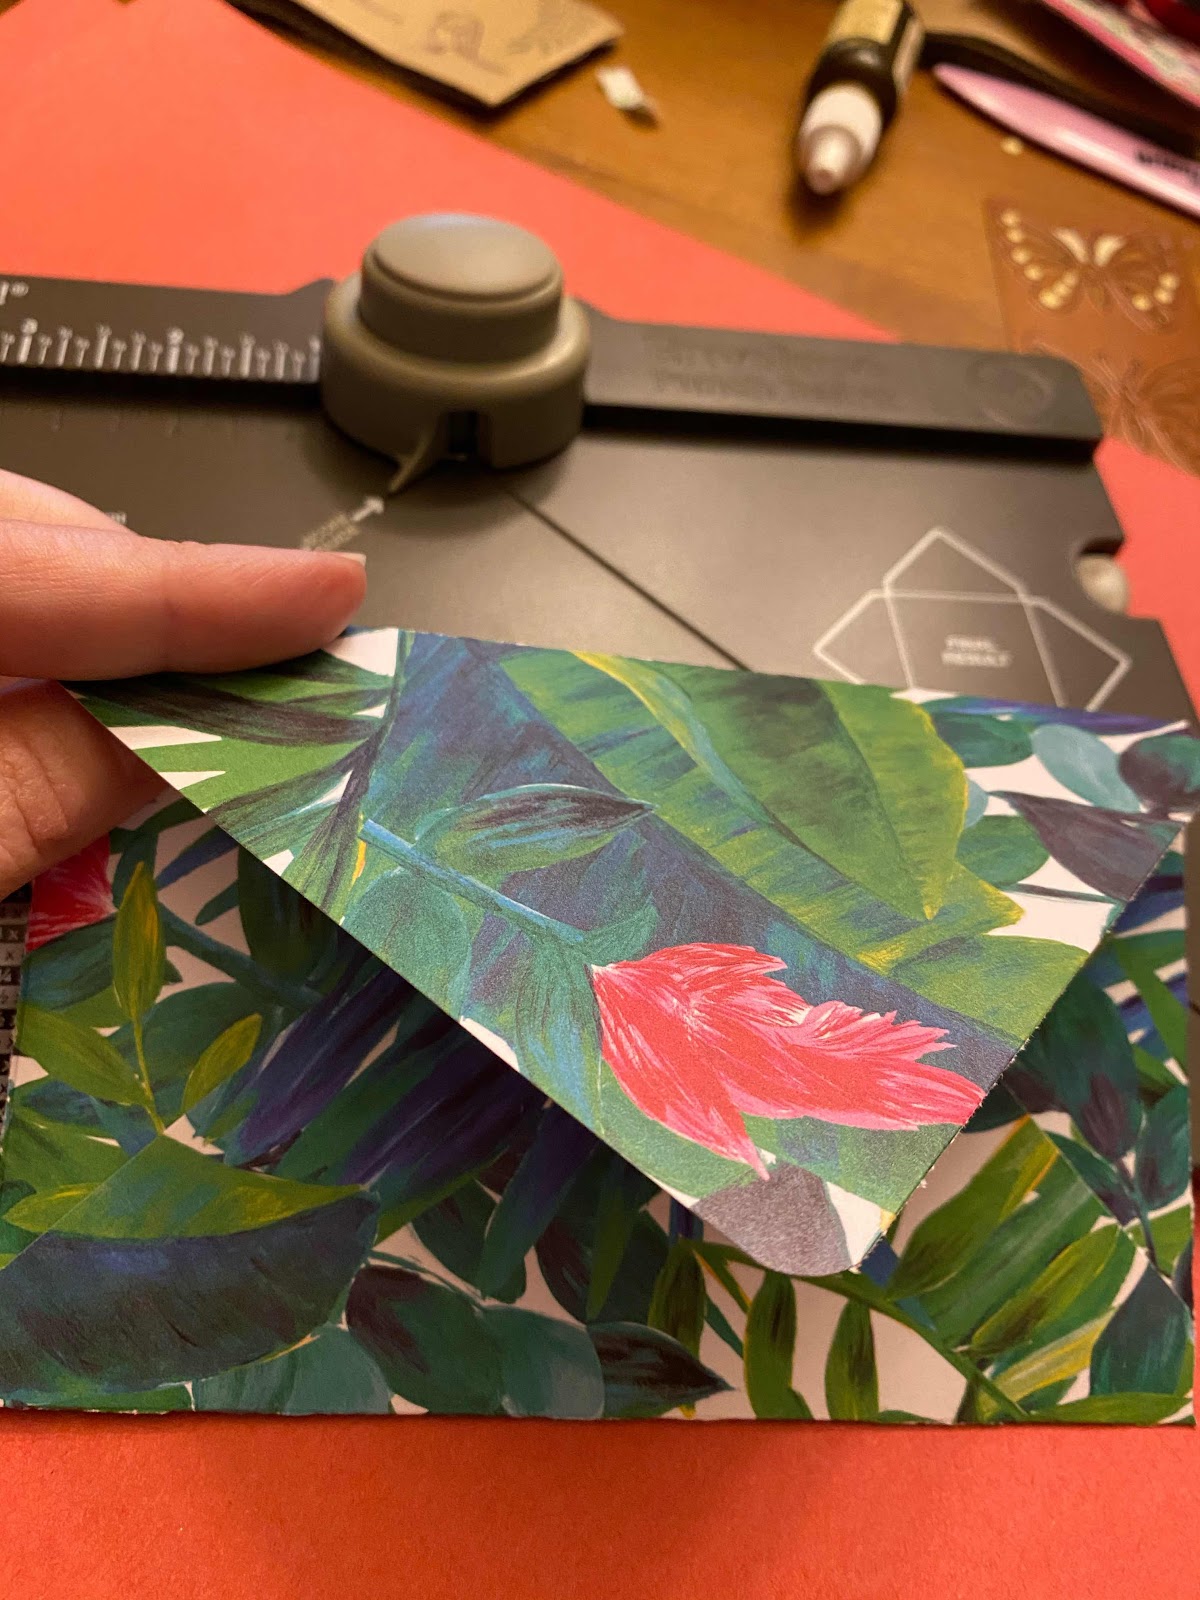
I bought the tropical paper from Hobby Lobby. It was 4 for $1.00- great deal.
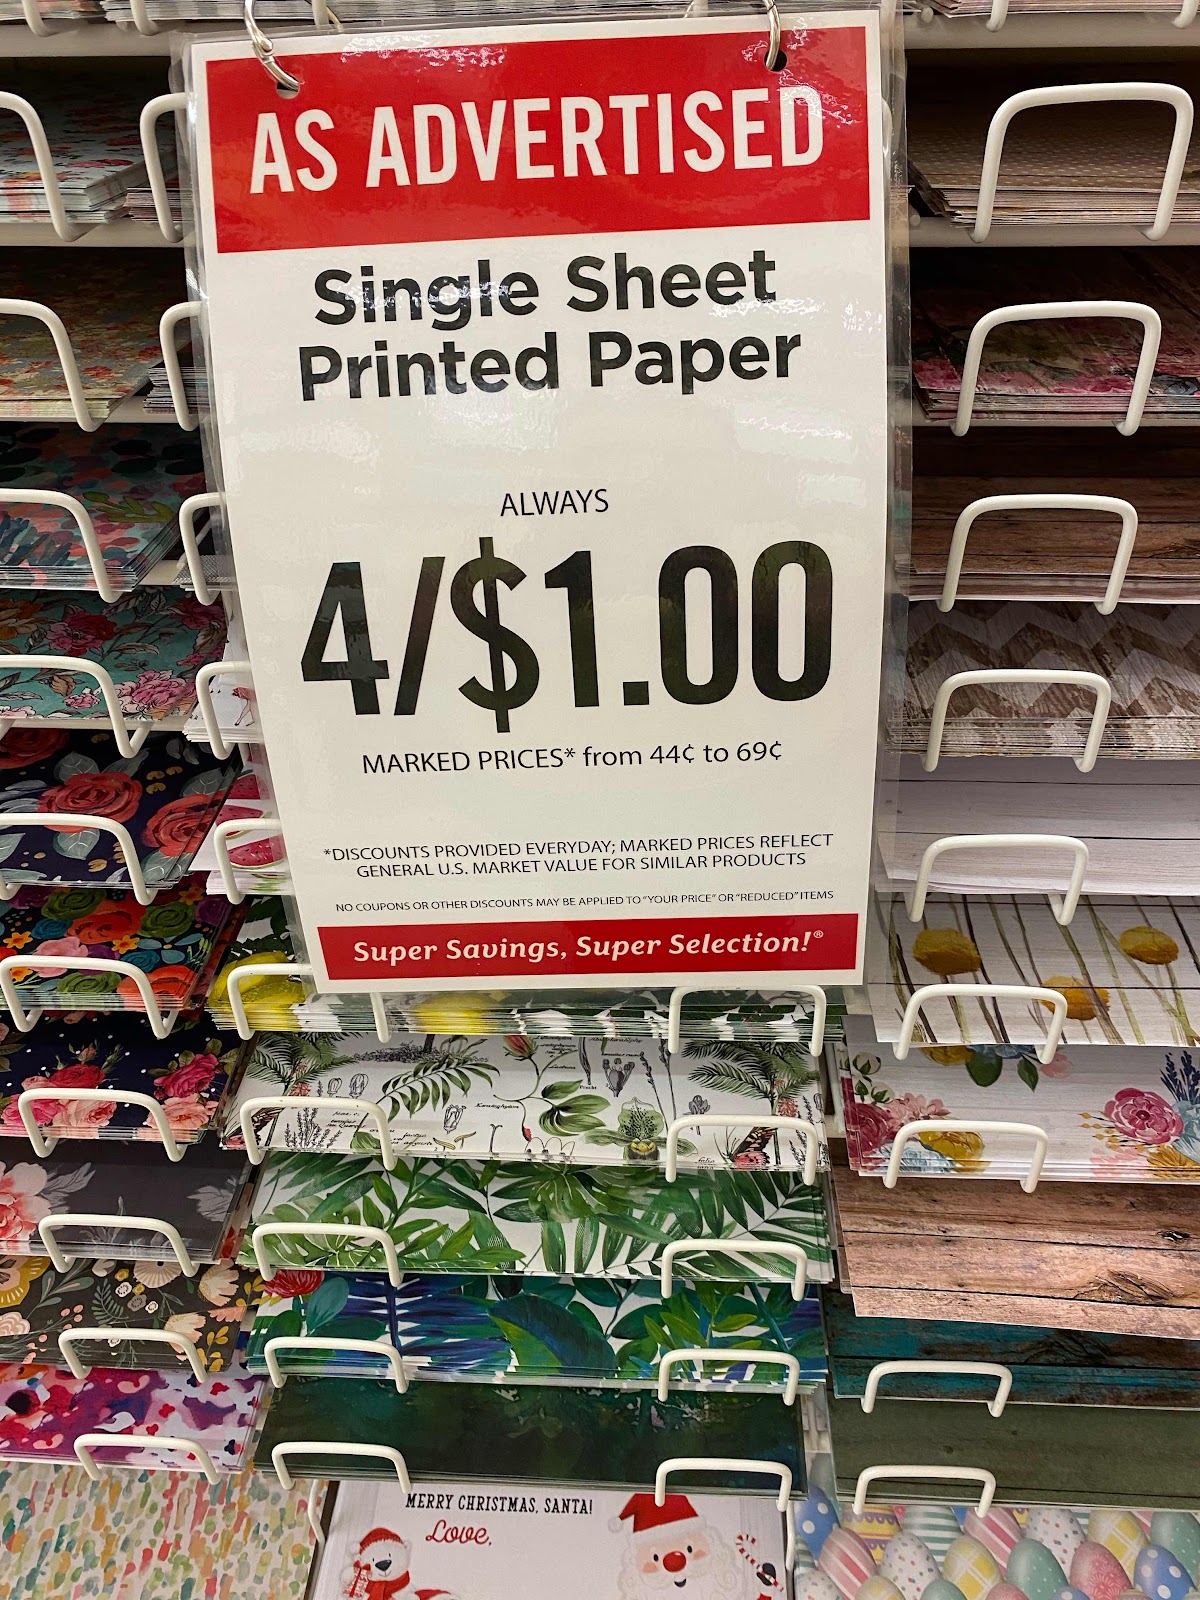
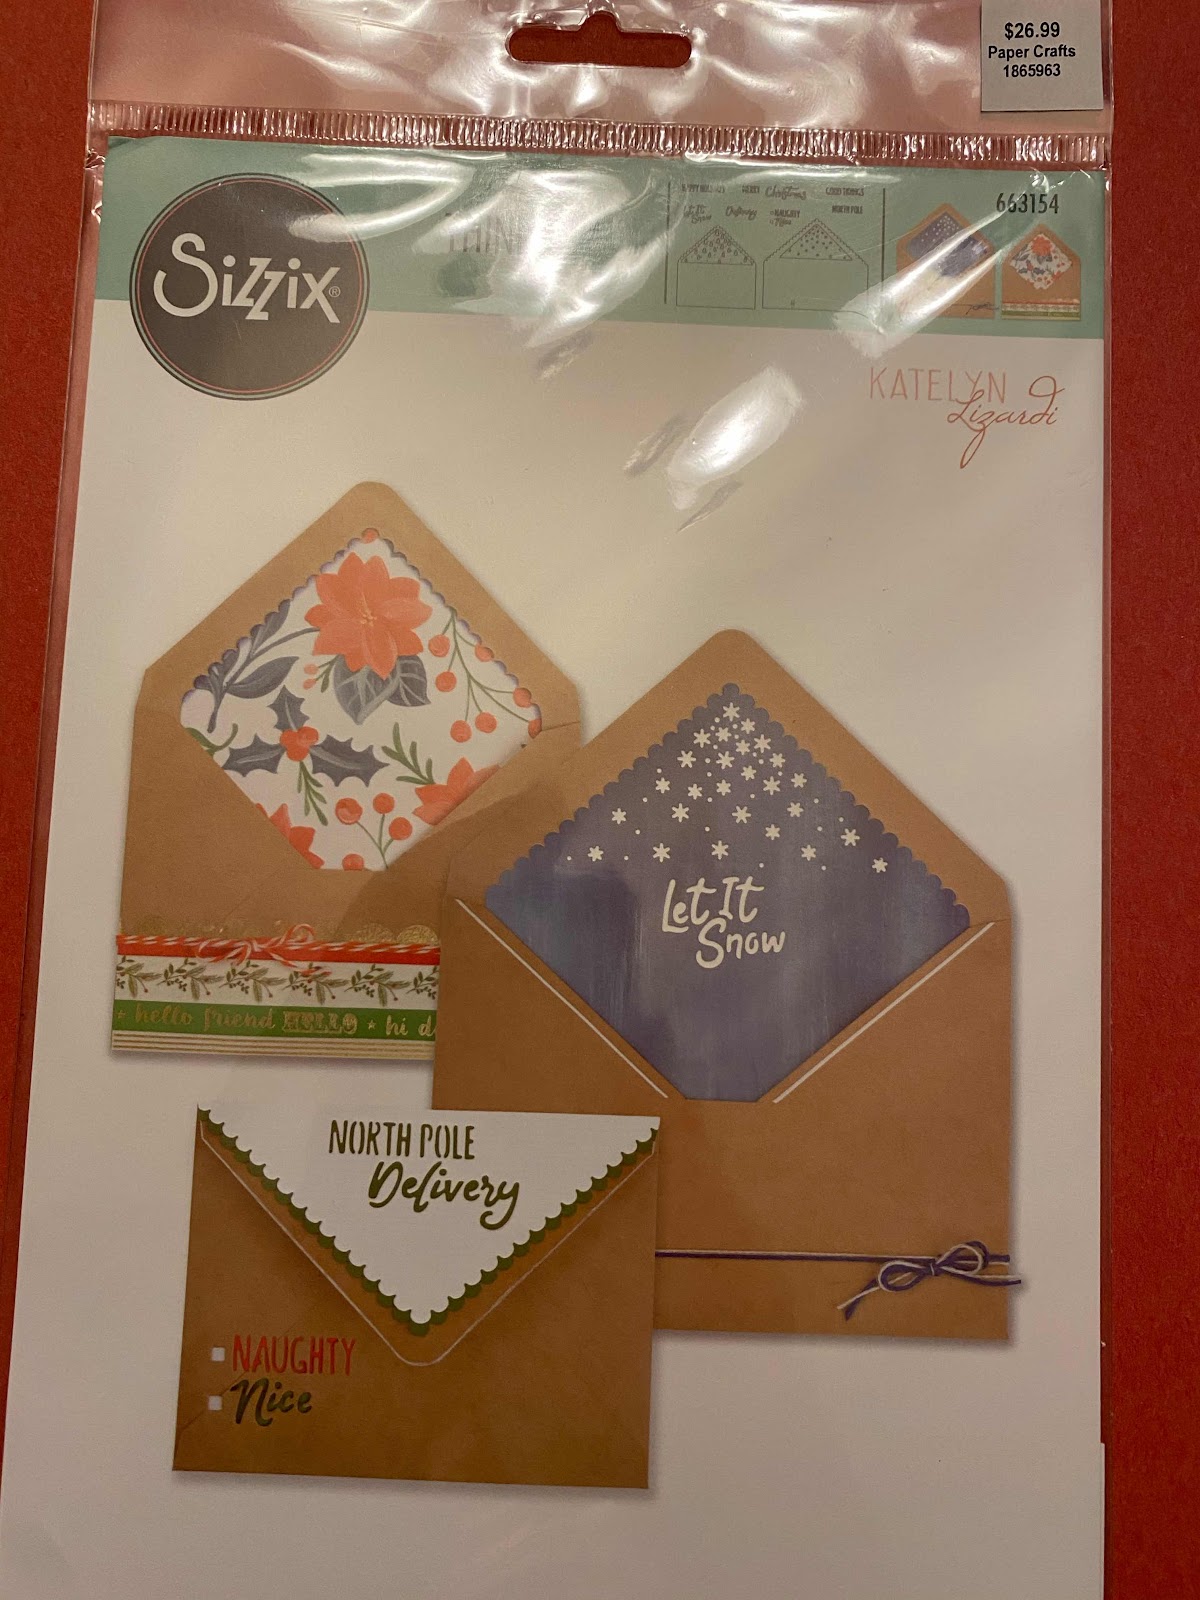
Wanted to add an envelope liner to cover up the white part of the paper.
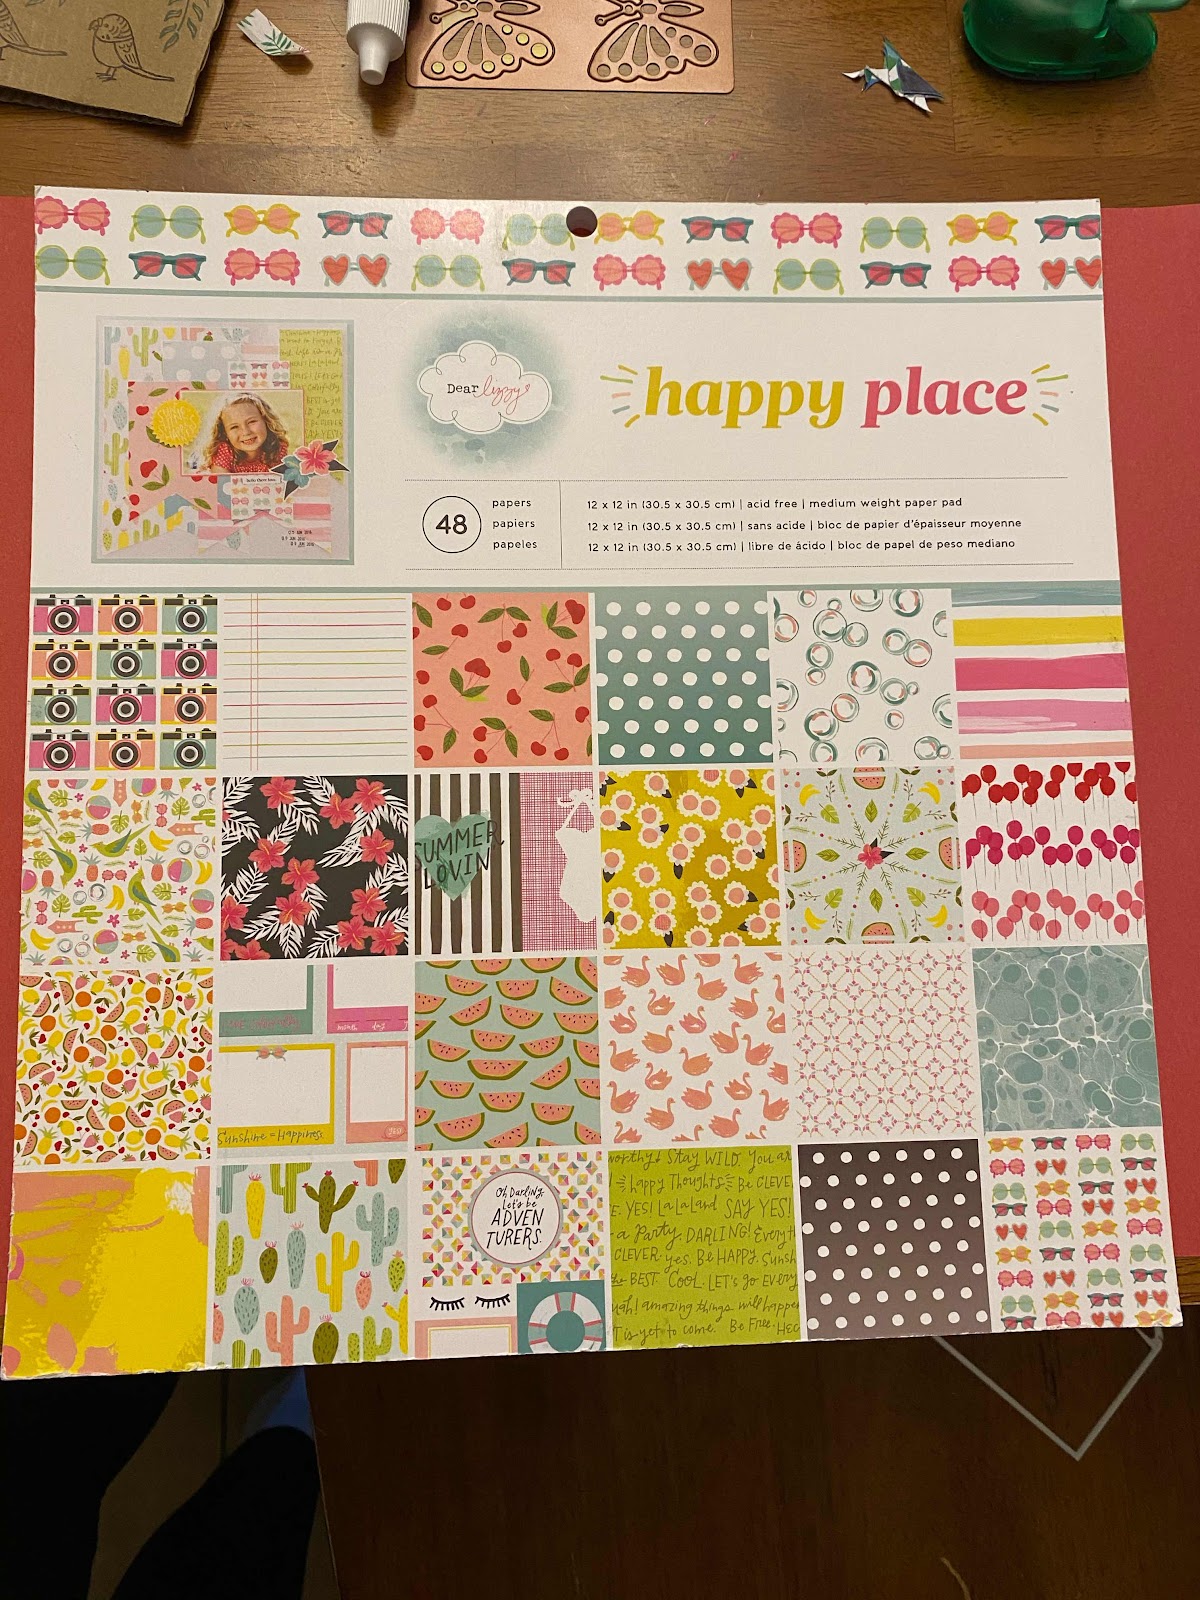
Used paper from “happy place” scrapbook paper booklet that I have had forever. I liked the pink flowers and thought it would be a good fit.
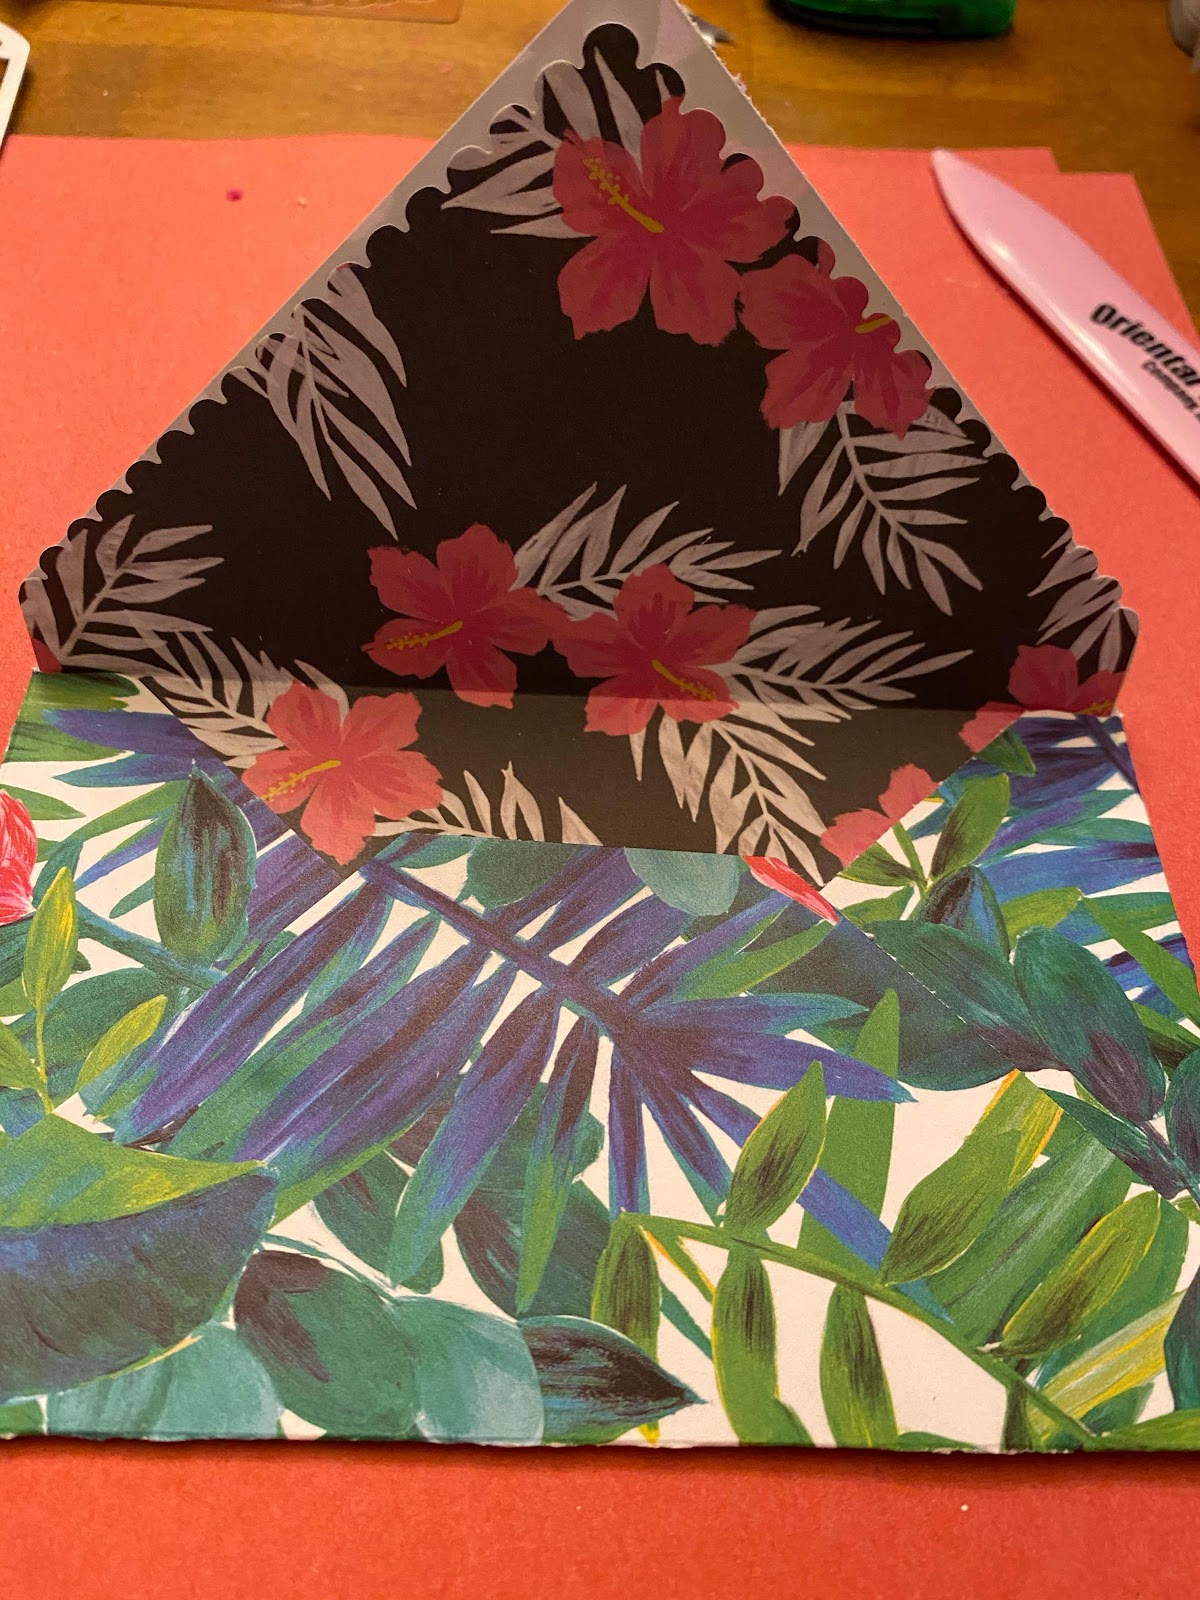
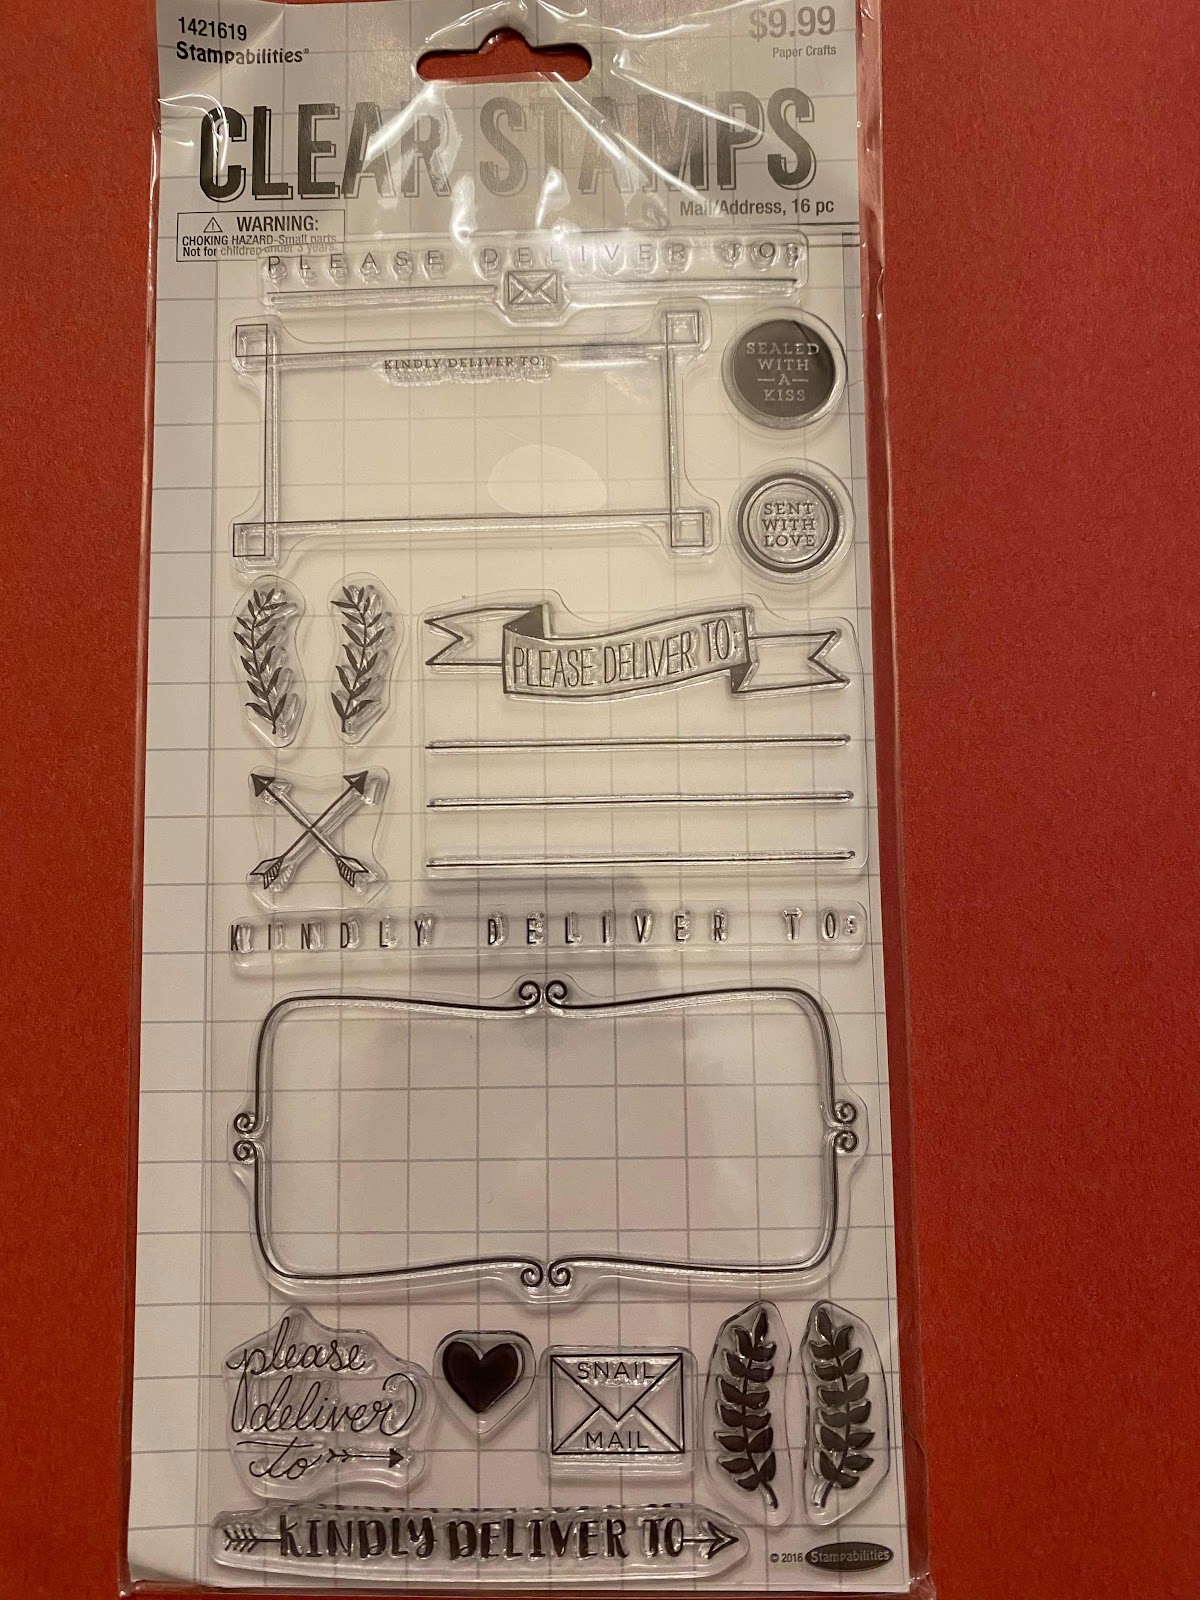
For the envelope I used a stamp set by Stampabilities that I found at Hobby Lobby.

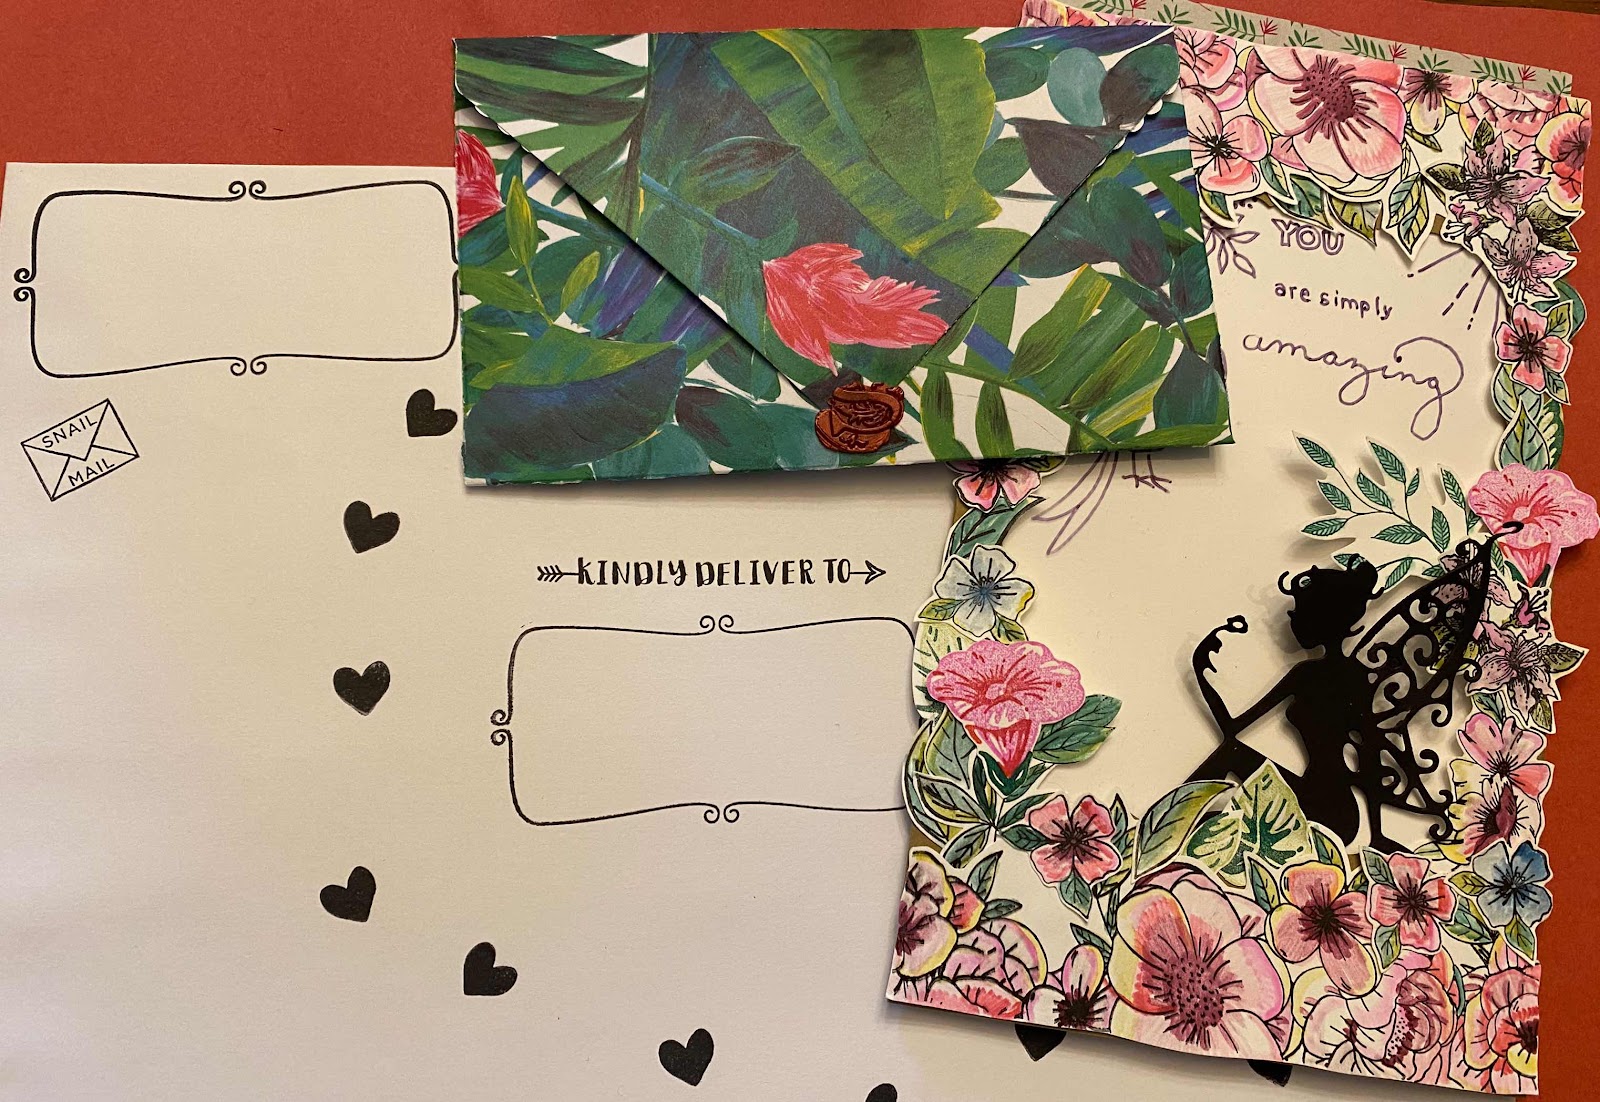
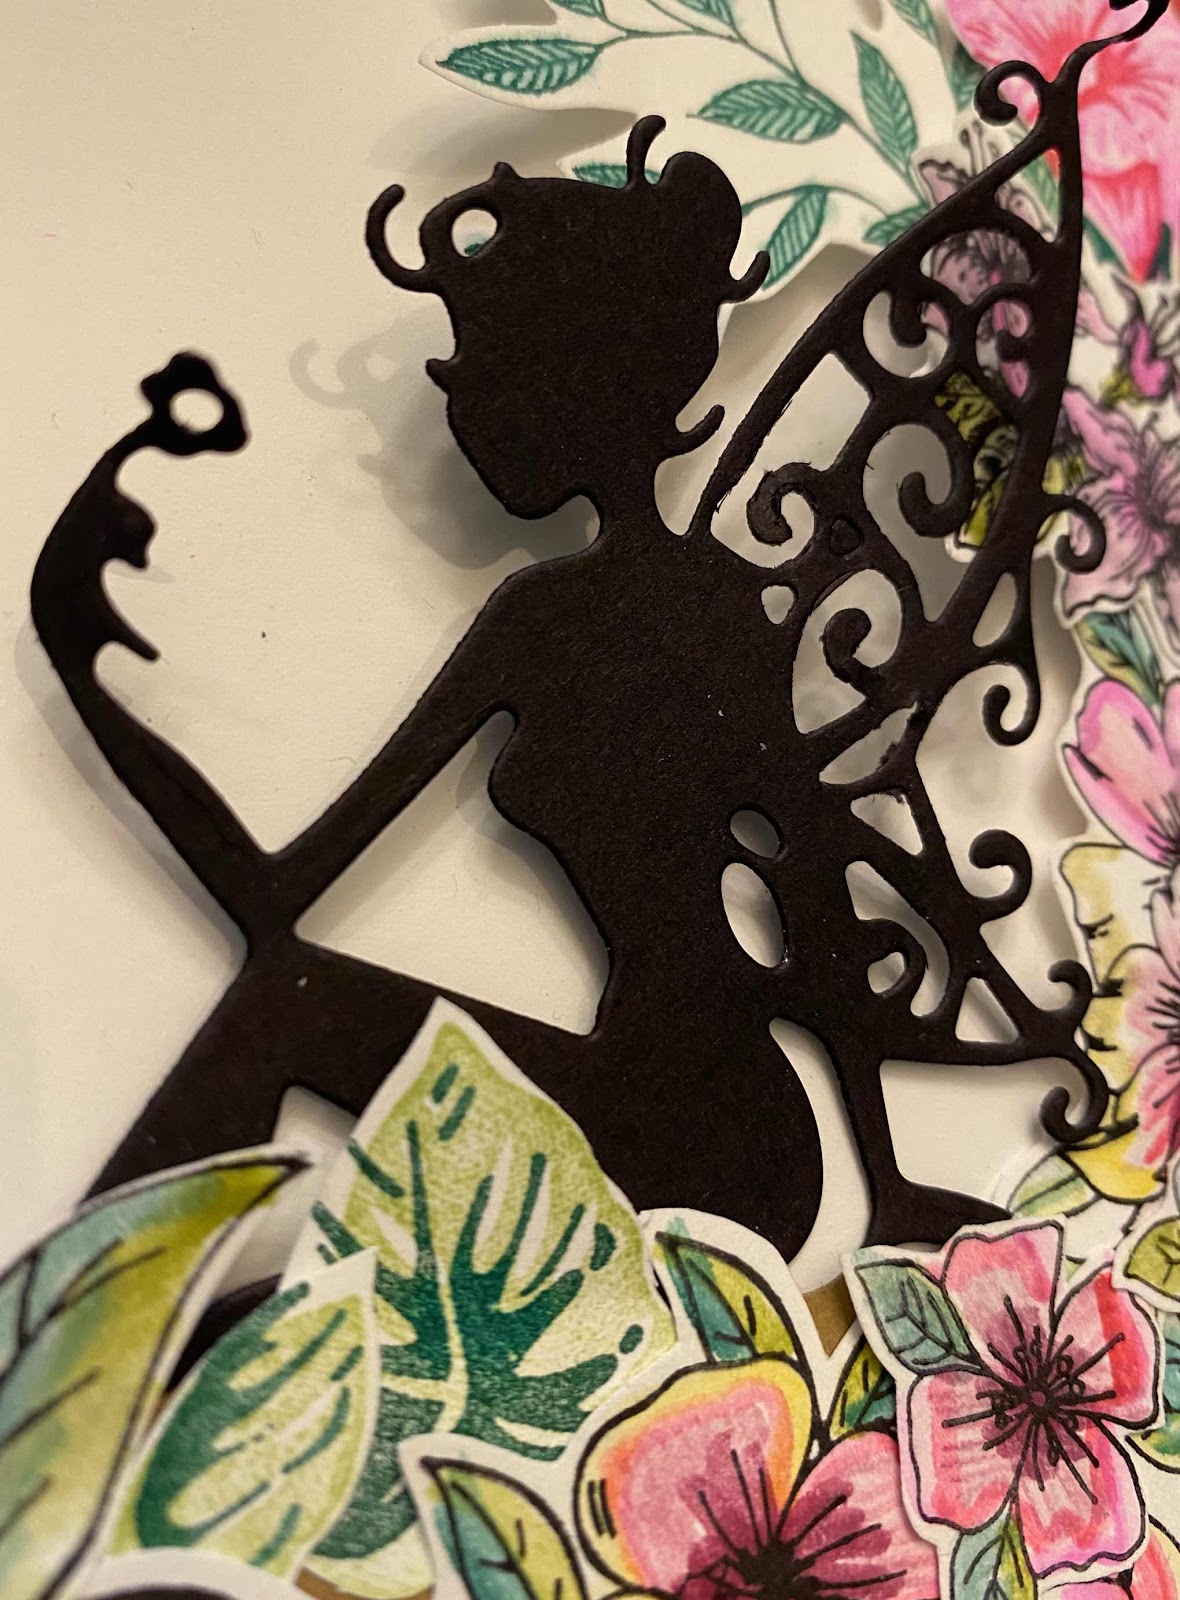
All done. I hope my friend Kyra likes her card.
Comments
Post a Comment
I love to hear back from my readers, please leave a message below: