I found this Flynn Multi‑Frame quilting system at an estate sale and couldn’t resist bringing it home. I’ve never assembled one before, so this was a fun little adventure in figuring out how everything fits together.

🔧 Unboxing & Setup
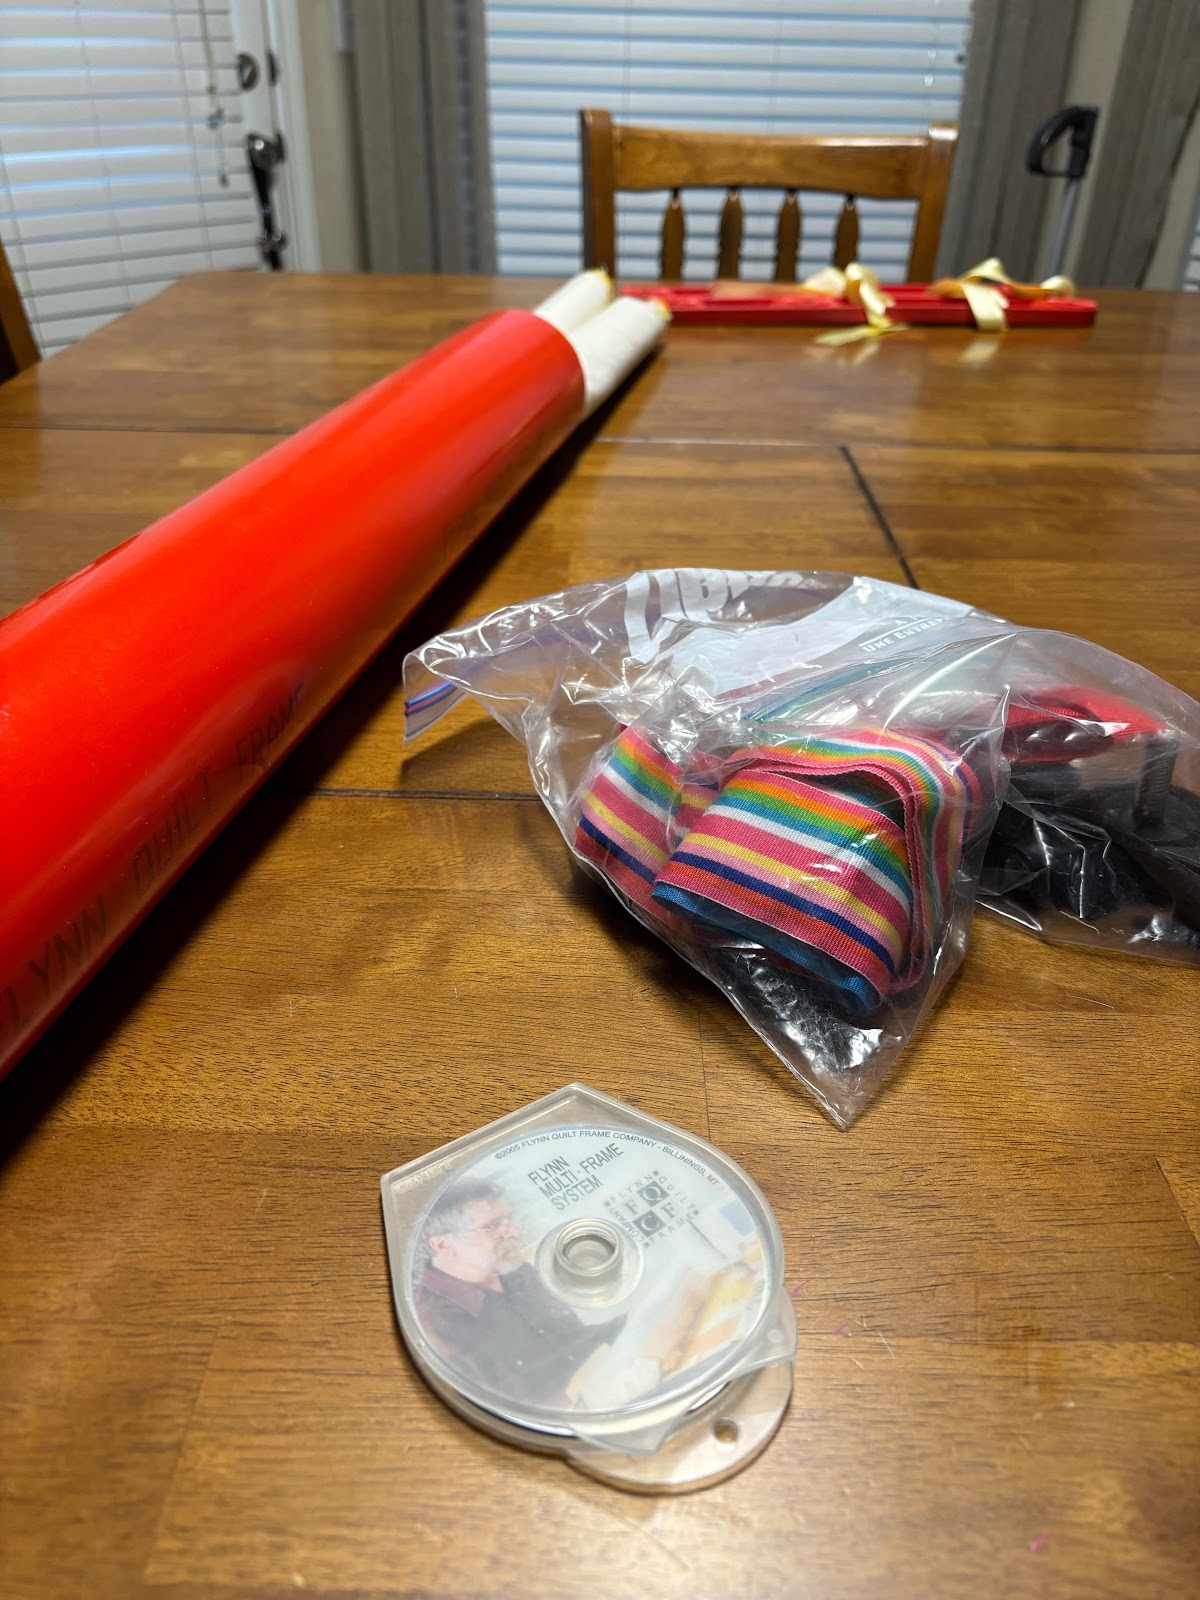
Here’s what came in the bundle and how I started putting it together:
Rod A & Rod C — These hold the backing and batting.
Rod B — This is where the quilt top attaches.
Side rails & hardware — These keep everything aligned and rolling smoothly.
(Insert your three assembly photos here in a clean 3‑across layout.)

🪡 Attaching the Layers
Once I identified the rods, I attached each layer:
Backing + batting → Rod A and Rod C
Quilt top → Rod B
This part was surprisingly straightforward once I matched the rods to the instructions.
(Insert the “Attach fabric batting to rod A and C” photo here.)

Attach fabric batting to rod A and C
Front piece is attached to rod B

⚠️ A quick note about machine size
I tried using this setup with my small domestic sewing machine, and… it was tight. The throat space was very limited, which made maneuvering tricky. If you have a machine with a larger throat area, you’ll have a much easier time.
Comments
Post a Comment
I love to hear back from my readers, please leave a message below: