Gelli Printing


🎨 Gelli Printing: A Fun, Messy, Magical Art Play Day

If you’ve never tried Gelli printing, you’re in for a treat. It’s one of those creative processes where you can’t really mess up—every pull is a surprise, every layer adds magic, and the whole experience feels like joyful, colorful play.

Whether you’re printing on paper, fabric, or scraps for future collage work, Gelli printing is a perfect low‑pressure way to explore color, texture, and pattern.


🌟 What You Need to Get Started

Here are the basics I used during this session:

  • A Gelli plate (homemade or store‑bought)

  • Acrylic paint

  • A brayer

  • Stencils, leaves, bubble wrap, lace—anything with texture!

  • Paper or fabric to print on

If you want to dive deeper, I linked some helpful resources below.


🧪 Make Your Own Gelli Plate (Yes, really!)

You can absolutely buy a ready‑made plate, but making your own is surprisingly easy and budget‑friendly.

Homemade Gelli Plate Recipe:

  • 7 packets gelatin mix

  • 1.5 cups glycerin

  • 1.5 cups boiling water

Mix the gelatin and glycerin well, add the boiling water, skim off bubbles, and let it set. That’s it! Once it firms up, it’s ready for paint.

(Full recipe link is below if you want step‑by‑step instructions.)

🎨 Let the Printing Begin!

Here’s what my process looked like:

  1. Roll paint onto the plate with a brayer.

  2. Add texture using stencils, leaves, or anything with an interesting pattern.

  3. Lay your paper or fabric on top, press gently, and peel back the magic.

  4. Repeat, layer, experiment—there’s no wrong way to do this.

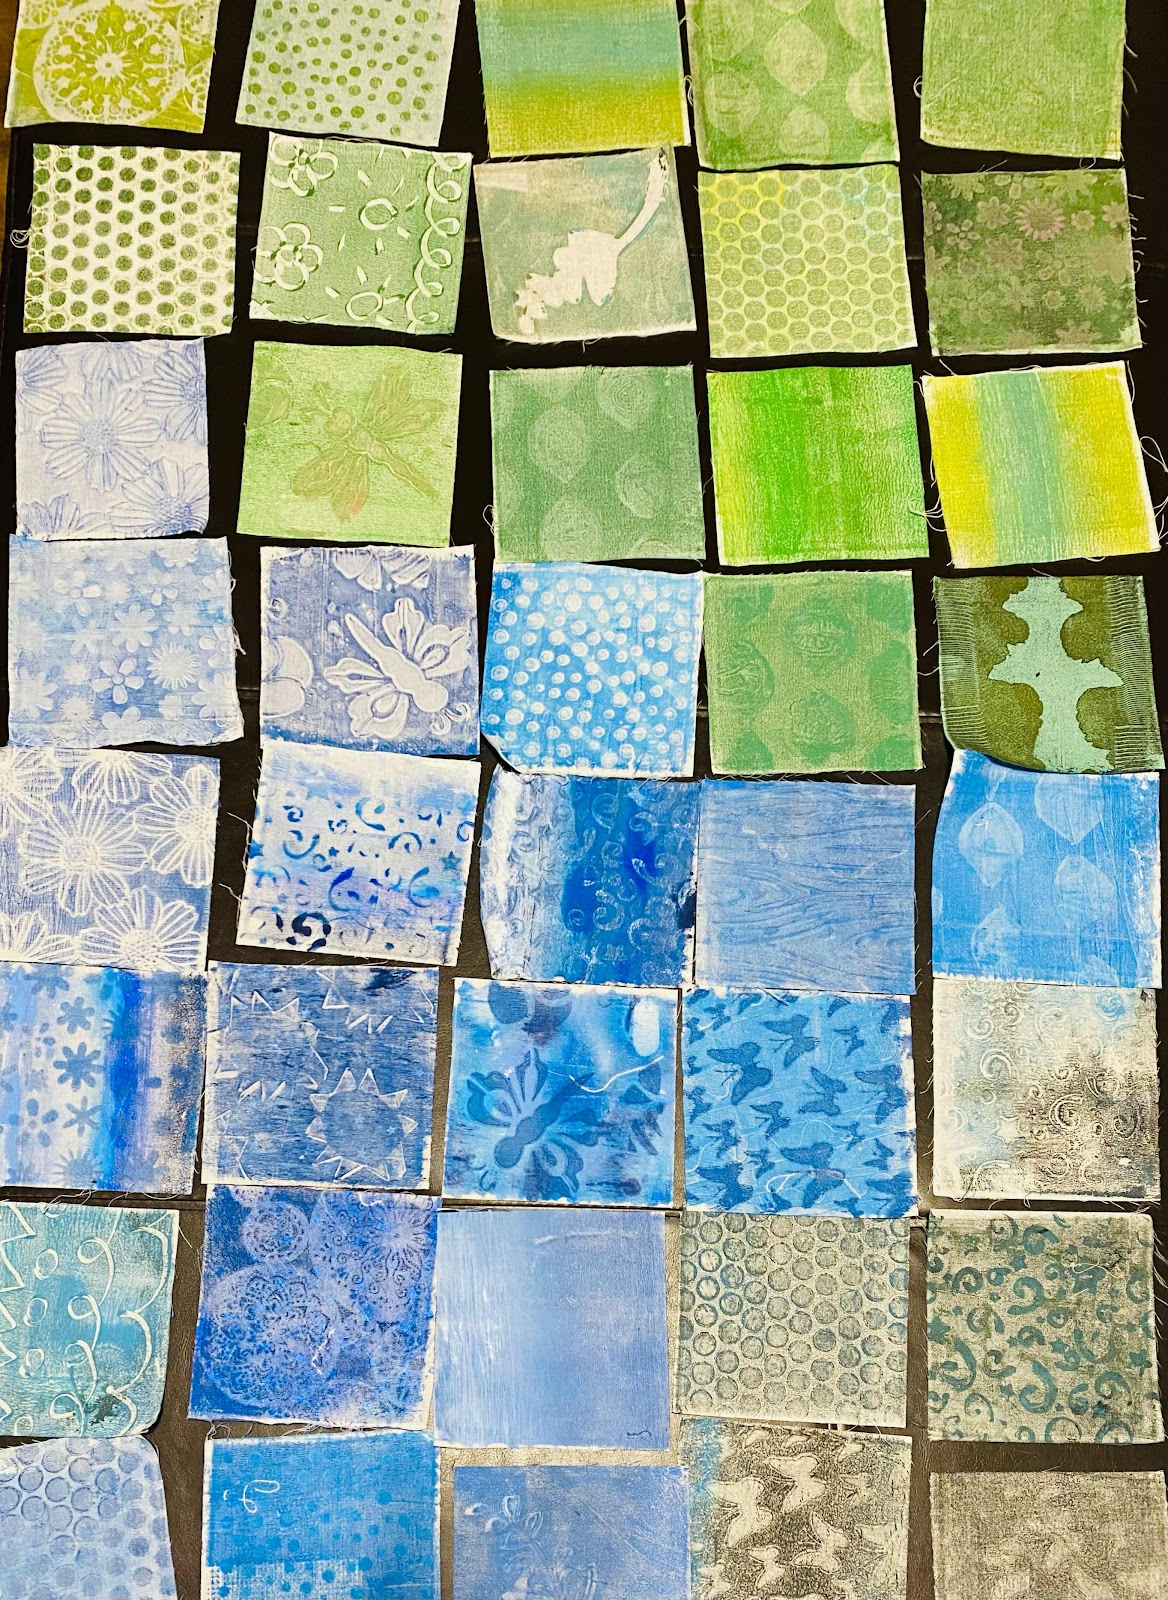
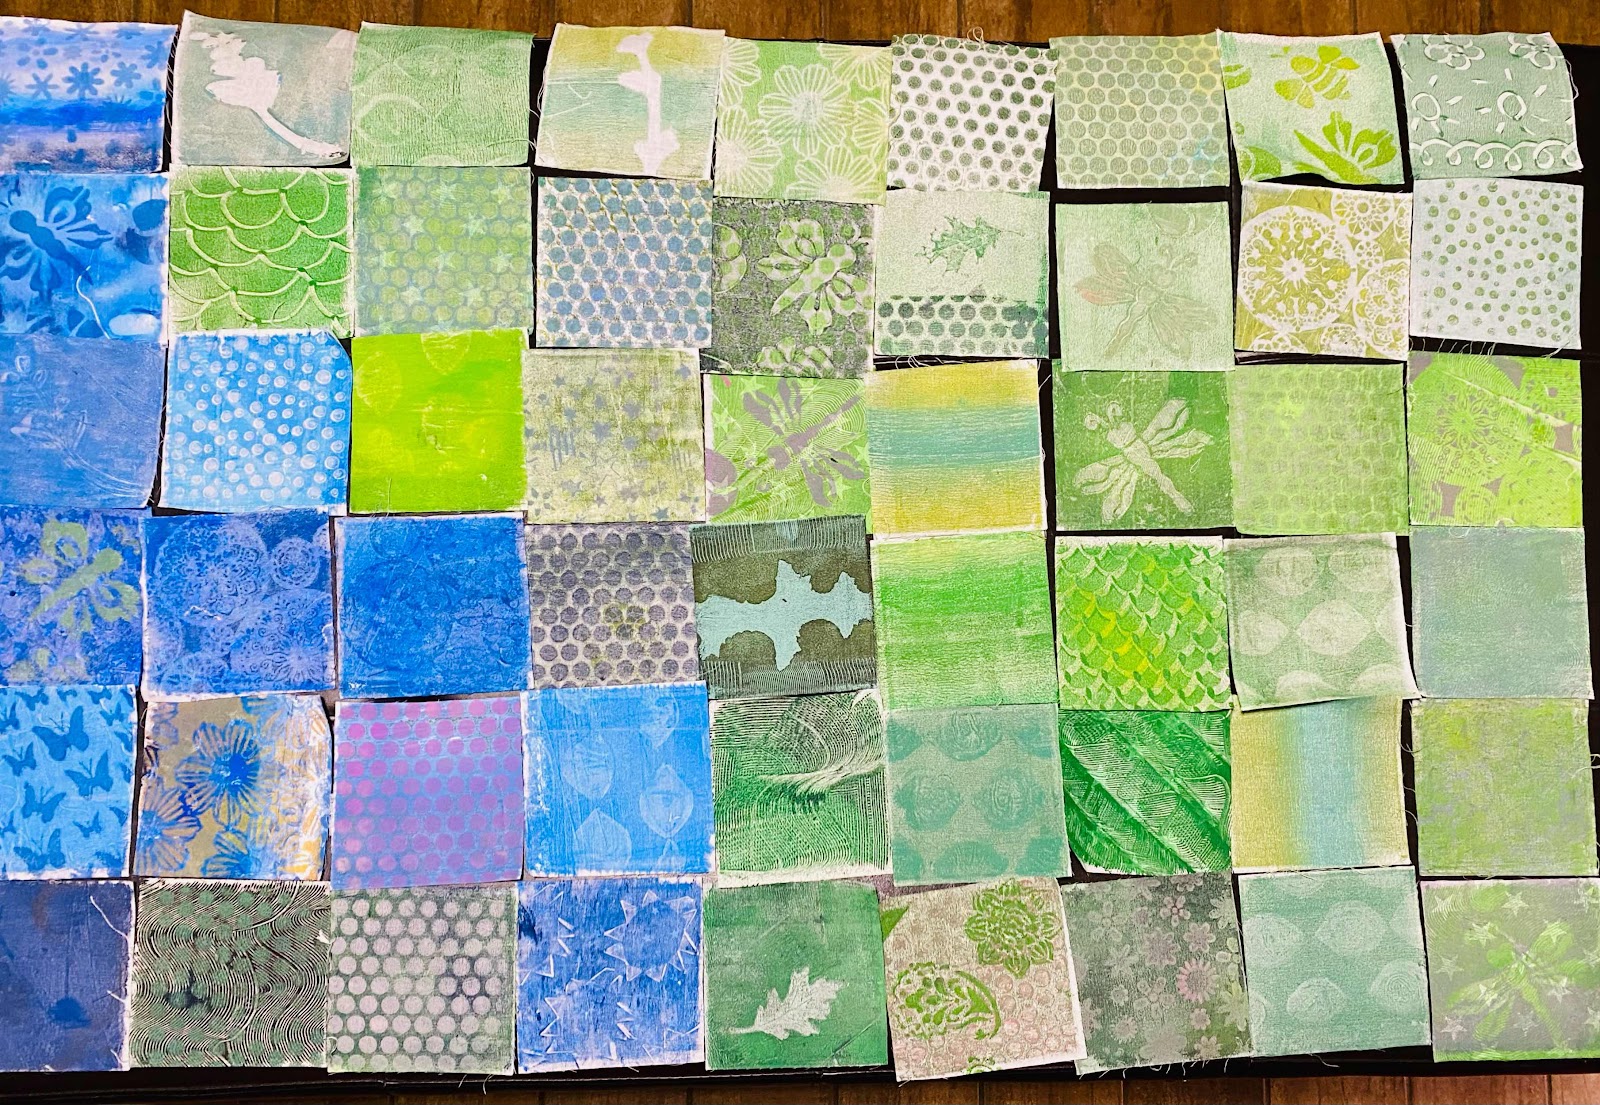
I shared several photos in the post so you can see the textures and colors that came through. Every print felt like opening a tiny art present.

📹 Want to See It in Action?

I even made a quick TikTok showing the process—super satisfying to watch!

💬 Let’s Chat!

Have you tried Gelli printing before? Do you have a favorite texture tool or color combo? I’d love to hear what you create—drop a comment below!

🔗 Helpful Links

  • How to Gelli Print on Fabric (great tutorial!)

  • Homemade Gelli Plate Recipe

  • Ready‑Made Gelli Plate if you prefer to buy one

Find more information „here“. You can find some useful material under my Amazon Finds link „here“.  #FoundItOnAmazon


Recipe for plate „here“ or buy a ready made one „here“. 

7 packets gelatin mix & 1.5 cups glycerin


Mix well and boil 1.5 cups water


Add boiling water and move bubbles to the side. 


All ready for paint ! 


Comments

Popular posts from this blog

Fidget Blanket (Fummeldecke) Ideas

This will be my first time ever making a fidget blanket- I was so happy to have the opportunity today to gift my Oma a fidget blanket. I love her with all my heart, it just makes me so sad that not much can be done for her while struggling through dementia. She told me it was beautiful and she appeared to like it. I showed her each square and what she can do with it. The first thing she noticed was the wording; „Mit Liebe Gemacht“ which translates to „Made with love“.  Oma Hildegard is German and I wanted to make sure she would recognize things and always remember that we love her.  What is a Fidget Blanket? Fidget blankets are therapeutic small lap quilts to which different kinds of things are sewn or added on. These items offer sensory stimulation that can have a calming effect on patient who struggle with memory loss. The Fidget blankets help them stay busy avoiding boredom. It provides a means of performing repetitive behaviors that are often reassuring and calming. ...

Healthy Recipes

Cauliflower Chili Zucchini Sliders Zucchini Sliders Links: Chicken Wrap Chicken Parmesan More Recipes More Healthy Food (Free Recipes) Facebook Health Group for Women Tried & True Recipes

Diamonds Are Forever Quilt Block

Saw this pattern on Facebook and Pinterest, so I eyed the pattern and came up with my own measurements. Supposedly... this is a old pattern. It caught my attention because it uses remnants of fabric and I hate seeing things go to waste. This project uses a dryer sheet. So... save your dryer sheets!  Cut a piece of paper and dryer sheet to 6.5” square.  Find the 2” width and mark with line.  Draw a line on the left and right to the bottom center.  Cut out pattern piece.  Cut a rectangular piece of fabric for the center piece. 3” x 9.5” Place pattern piece on top of the fabric and cut to size. I used symmetrical patterns / colors on each side of the diamond. The width of fabric was 1/2” - 2”, s and used scrap triangle pieces for the ends.  Watch short video clip „ here “ Finished block size should be 6.5“ Very similar to endless chain: