🌟 Starting with the Wins
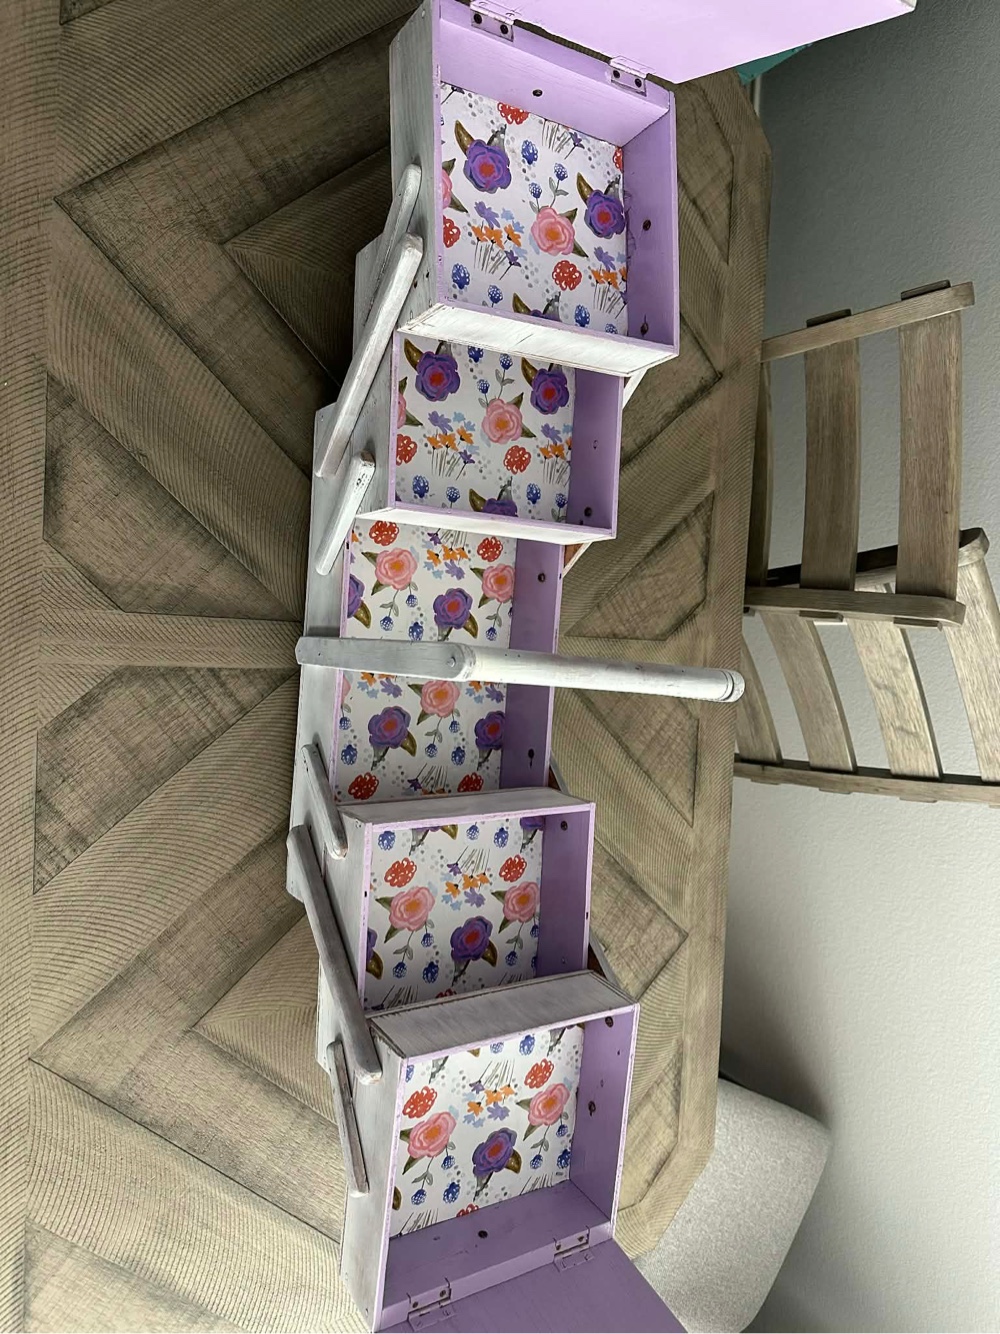
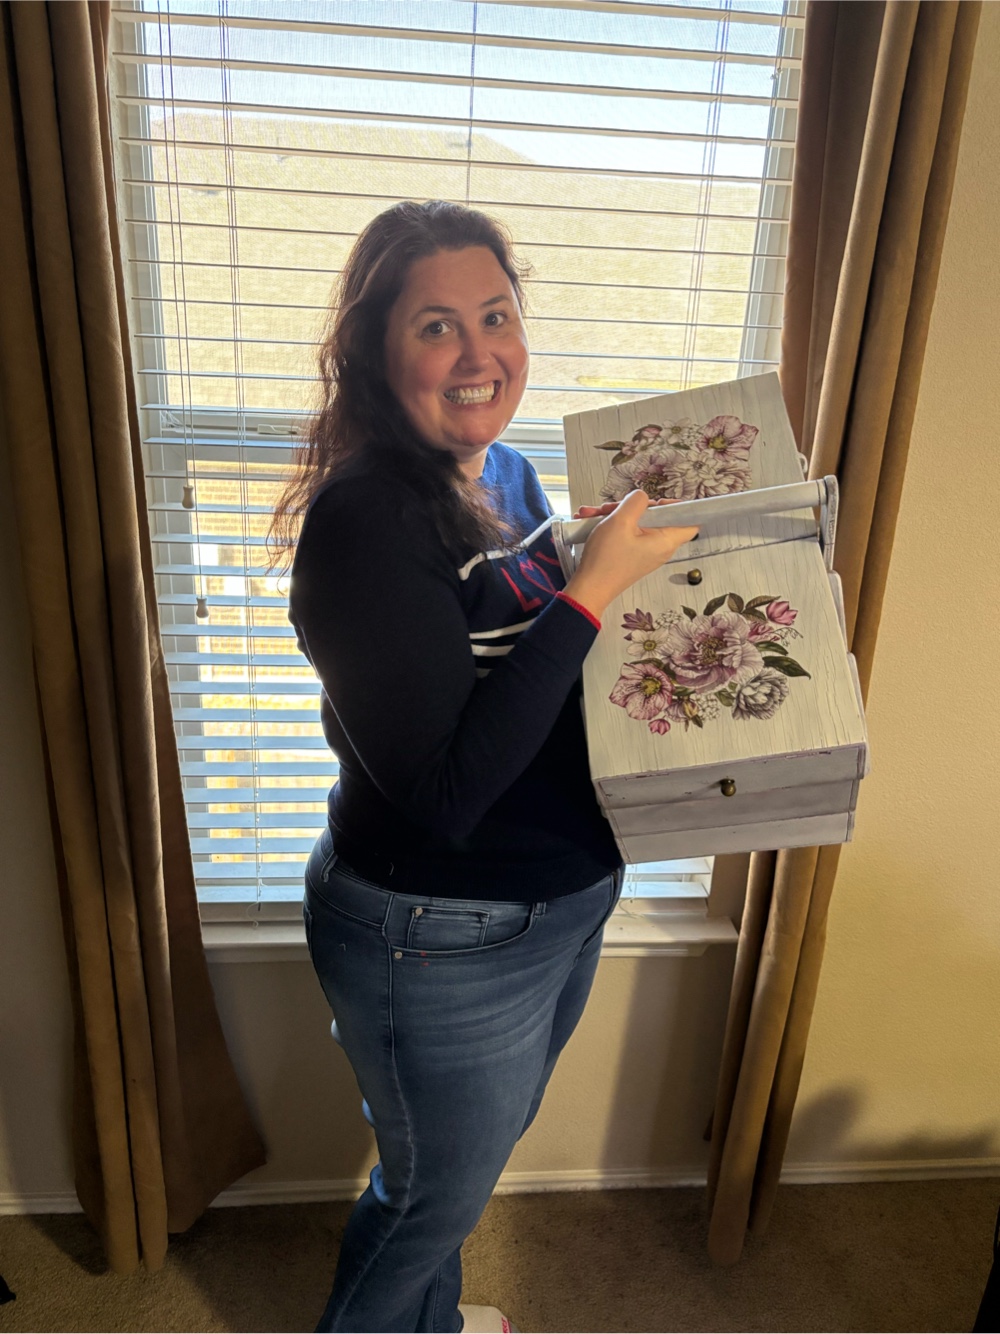
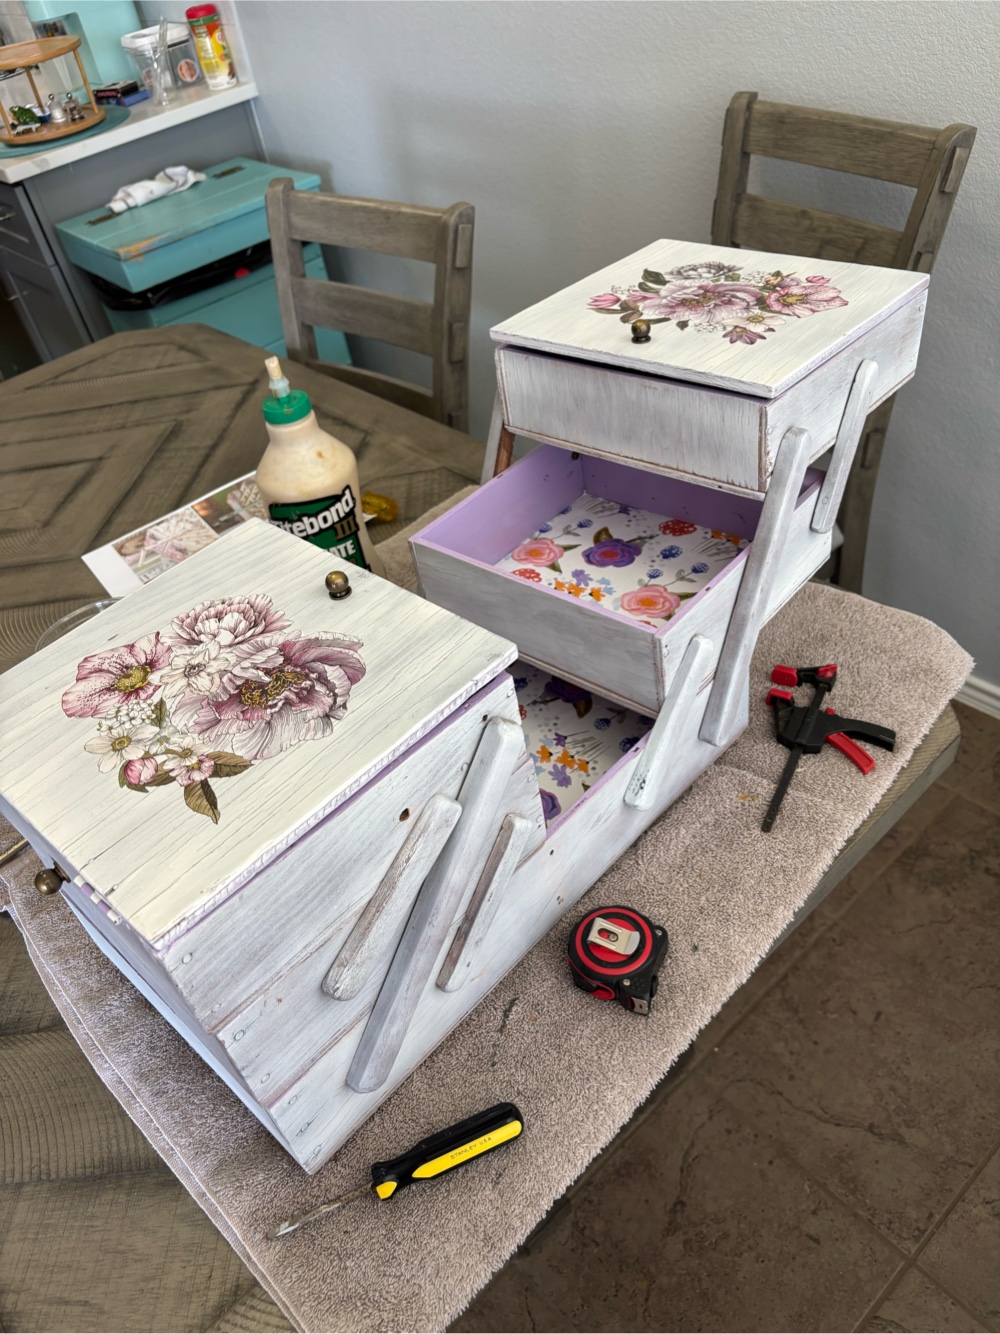
My wonderful neighbor, Mrs. Martha, came to the rescue and helped me finish one of my long‑standing UFO projects. I had the bright idea to refurbish an old wooden sewing box… and quickly learned that I am not some wood‑project person. Thankfully, Martha worked her magic and transformed that plain wooden box into a beautiful little masterpiece. I’m so grateful — thank you, Martha! You truly are amazing.
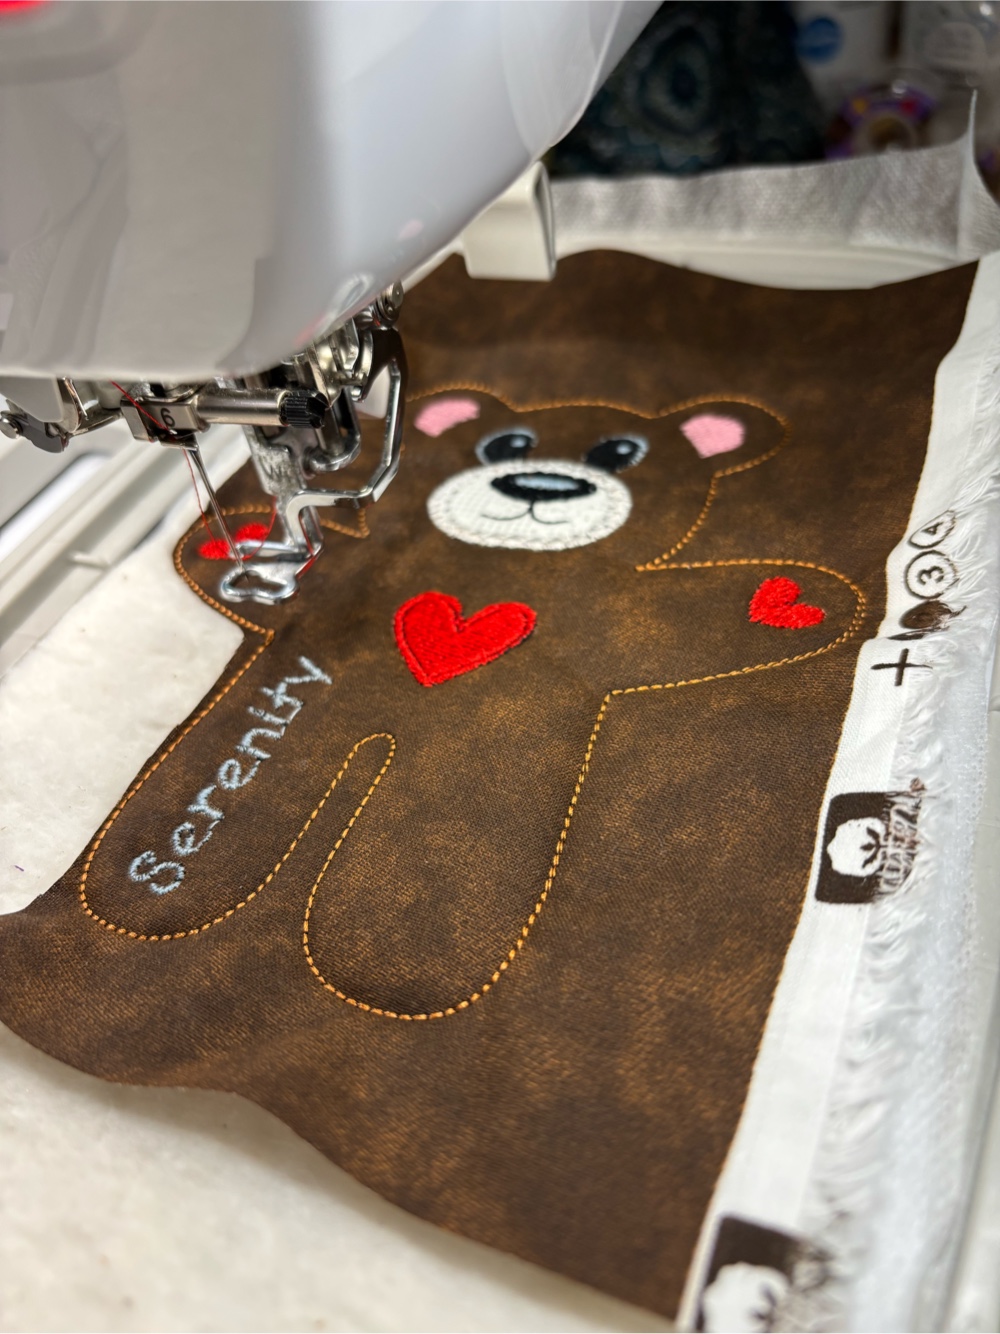
I also stitched up four teddy bears for four of my students who showed growth on their mid‑year MAP assessment. They got to choose between earning $100 in school cash or receiving a handmade bear from Mrs. Seaver. Most chose the money (no surprise there!), but a few sweet souls picked the bear. The pattern was a freebie from Kreative Kiwi Machine Embroidery Designs, so sending a little love their way for sharing it. Three students have already spent their school cash on lunch with the teacher, while the others are saving up for future events.
Another highlight: I joined my very first QOV sew‑along! It was such a fun experience, full of friendly sewists, good conversation, and maybe even a new friend or two.
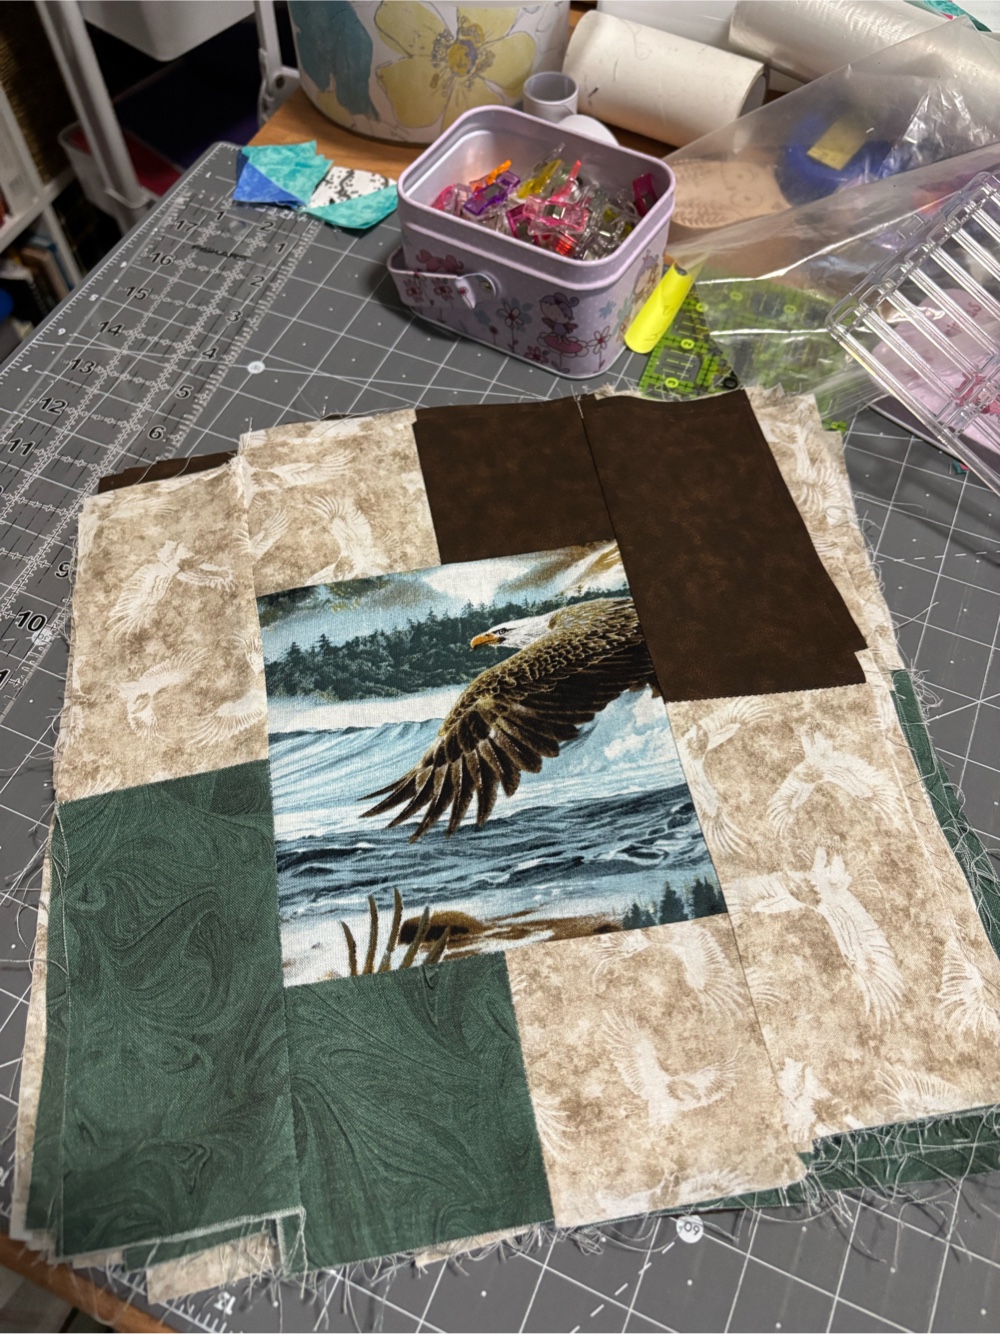
✂️ Projects Still in Progress
Not everything went according to plan — my scrappy string star quilt is still unfinished. Those tiny 2.5" pieces take forever, and I’ve only made it through about one‑fifth of the quilt so far. Maybe I’ll have it done by the end of the year… maybe?
I also haven’t finished embroidering a sweater for my daughter, Kirstin. I need to wrap that up before I see her next, even though Texas hasn’t exactly been sweater weather lately. Today’s forecast is a low of 61° and a high of 81°, so the urgency is… questionable.
🎨 Design Adventures & Creative Goals
This month’s Spoonflower challenge didn’t land me in the top 100, but I’m not discouraged. I’ll be trying again soon. I already have two design requests lined up—one bakery‑themed (cupcakes, cake, candy) and one inspired by Mario Galaxy. Time to start sketching and gathering inspiration.
🗓️ Looking Ahead
Between UFOs, classroom creations, and new design ideas, February was full of color, community, and creativity. I’m excited to see what March brings—and hopefully a few more finished projects.
Comments
Post a Comment
I love to hear back from my readers, please leave a message below: